- About Me
- Blog
- Commissions
-
Tutorials
- Solid HRT Quilt
- Solid HST Quilt
- Going Places Quilt Tutorial
- Star-in-a-Star Baby Quilt Tutorial
- Scrappy Inner Star Quilt Pattern
- Inner Star Quilt Pattern
- Grandma's Scrappy Quilt
- HST Chaos
- Scrappy Goose Quilt
- Scrappy Patchwork Wreath Quilt & Block - Reg Size
- Solid Wreath Block
- Quilt Show Ribbon Tutorial
- Double Bear Paw Block
- Improv Sticks Border
- Wreath Mega Block Quilt
- Contact Me
|
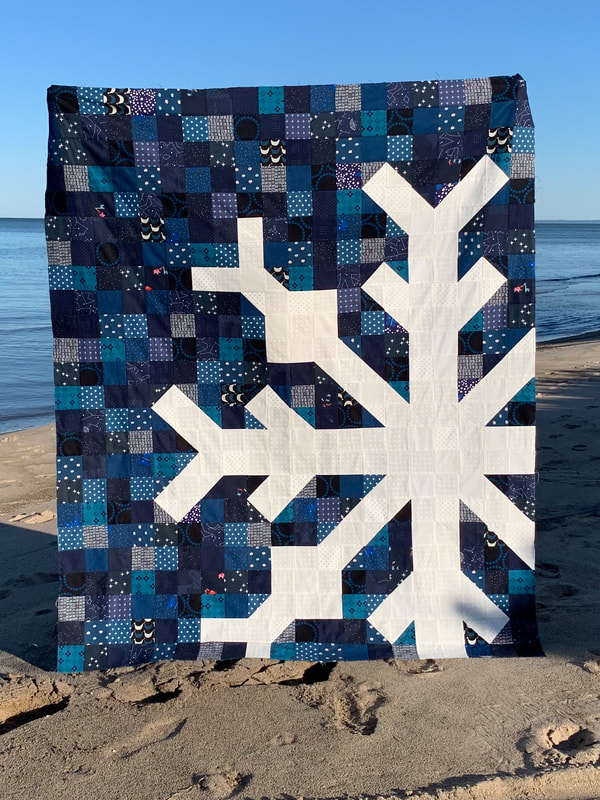
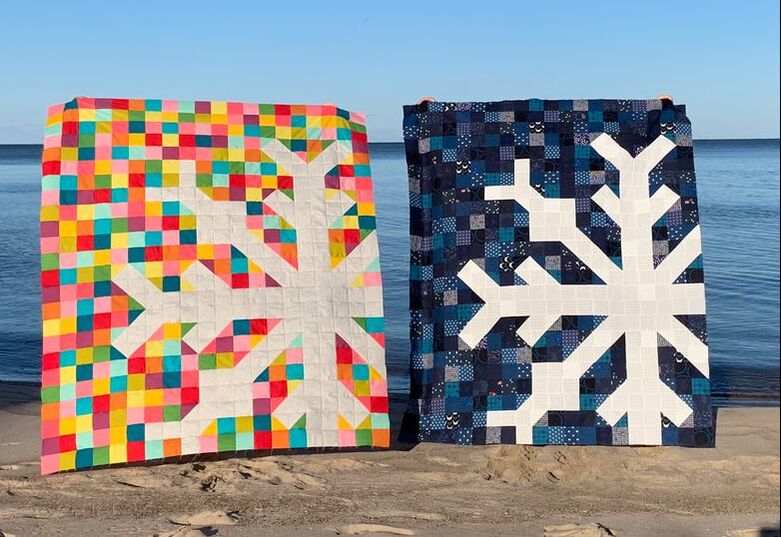
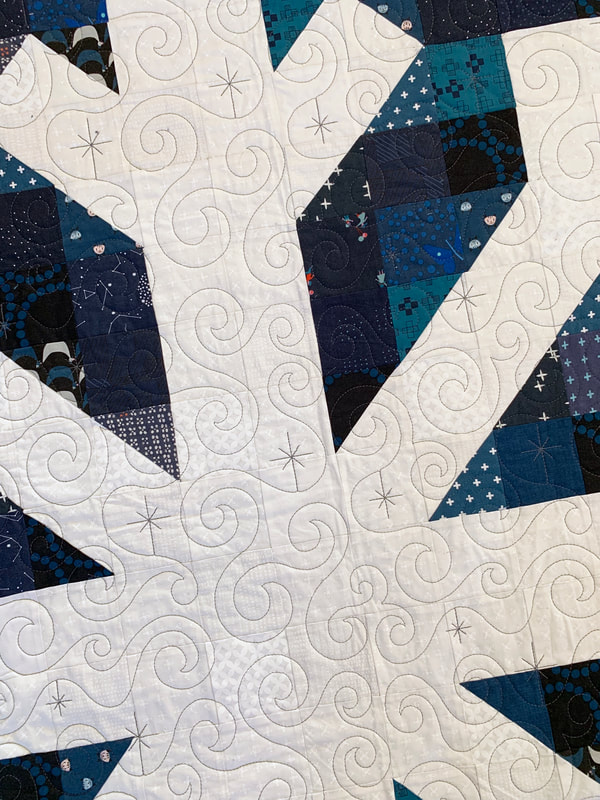
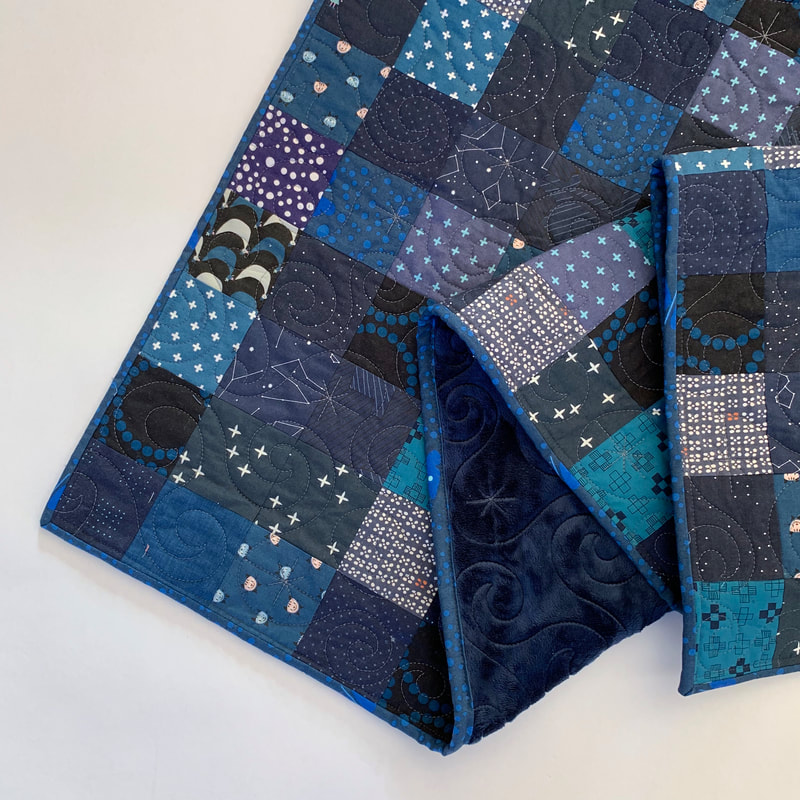
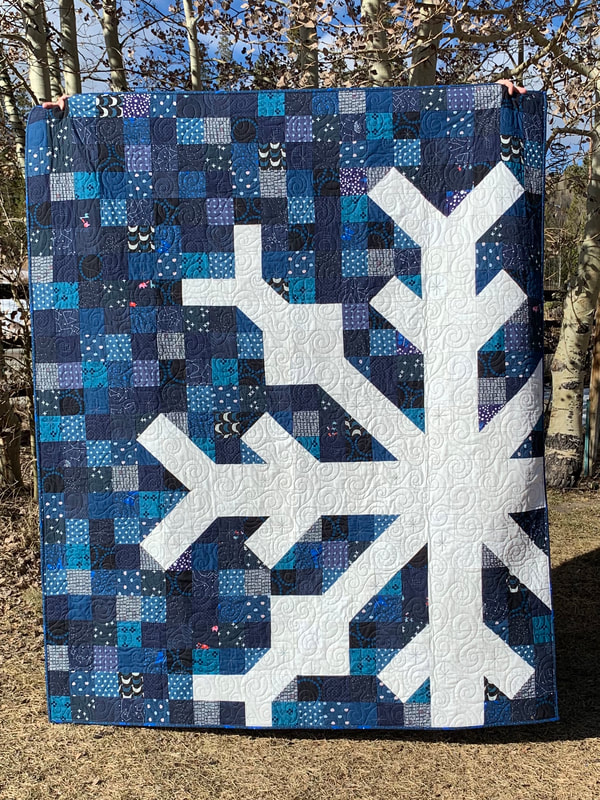
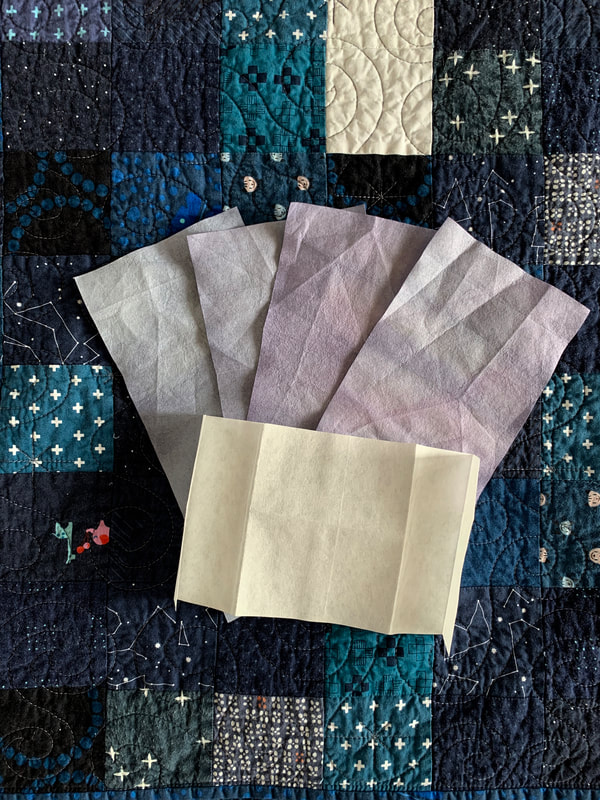
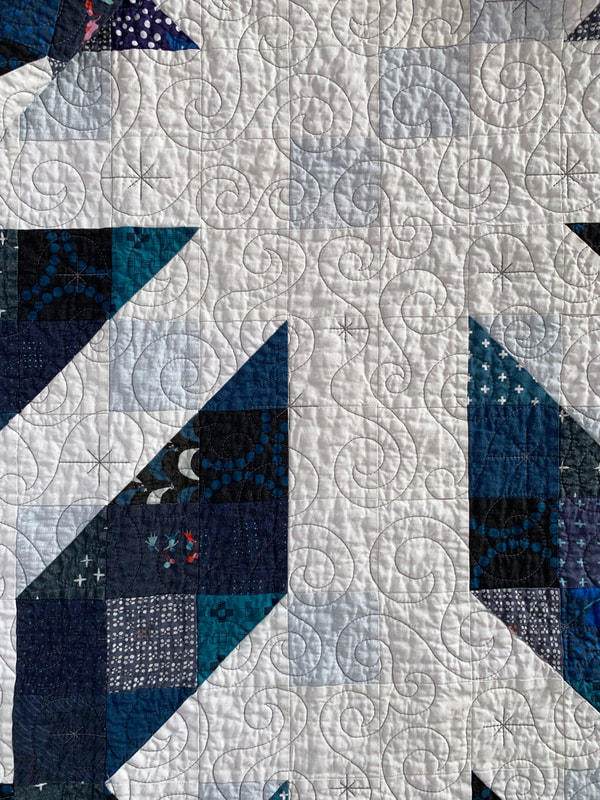
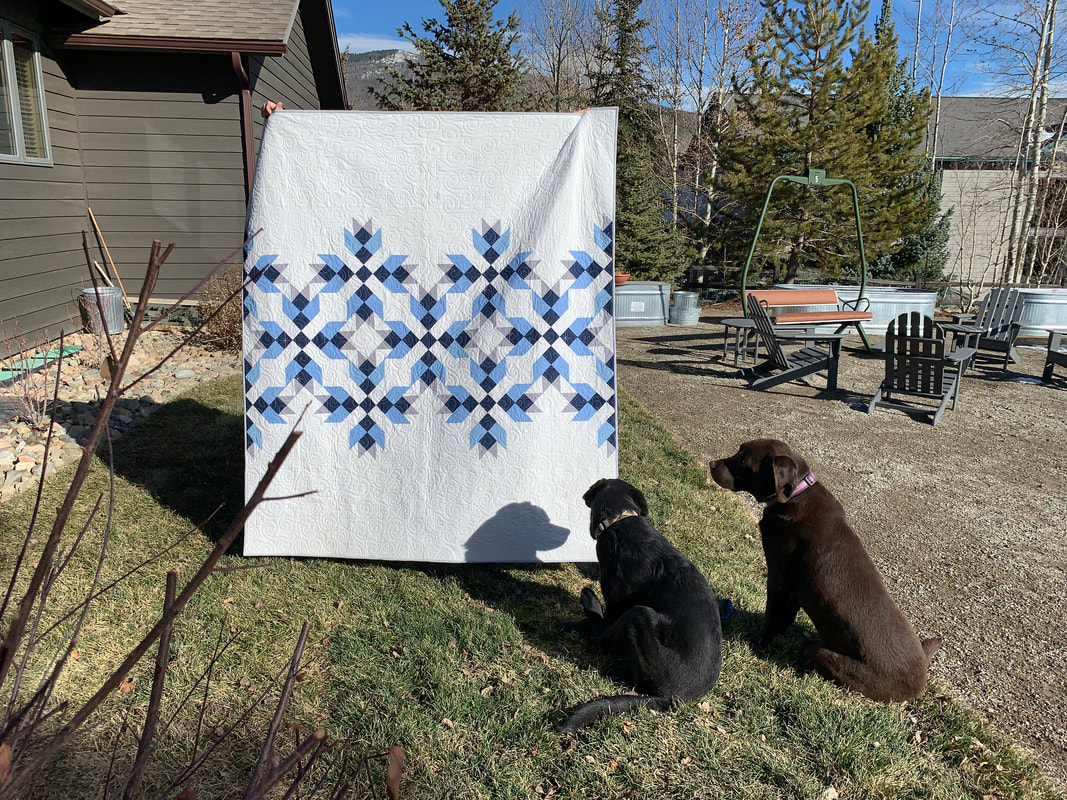
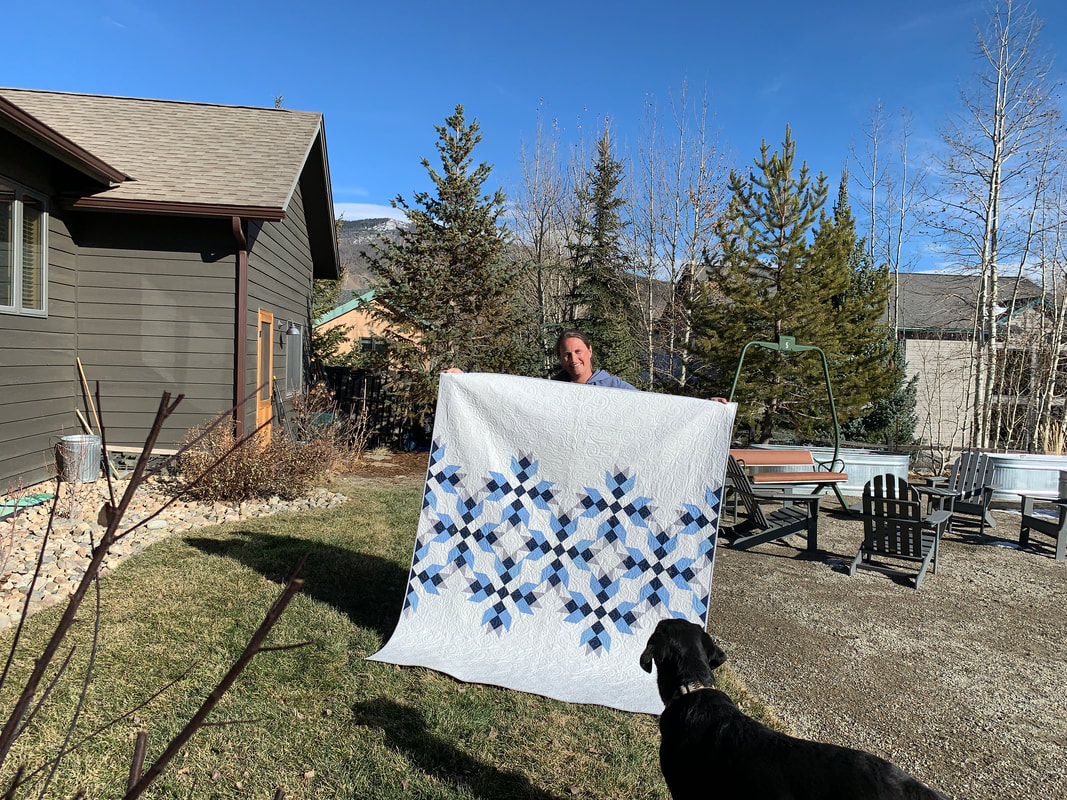
Every fall 4 girlfriends and I get together and rent a house and sew ALL WEEKEND LONG. It's awesome. When I talk about it with other friends they always ask: you just sew? You don't do anything else? Do you drink wine? The answer to all of those questions is a big ol' NO! It's a weekend devoted 100% to sewing (with very minimal sleeping). During the weekend you get a lot of projects done, so you have to make sure that you bring enough to work on. This year Nicole, of Modern Handcraft, came out with her Snowflake quilt pattern a few weeks before our retreat and I knew it would be a perfect project for that weekend. My friend Kayla, of Stitch Kayla Stitch, had the same idea! I used stashed navy blue and super dark teal prints for the background of my snowflake, and used assorted white-on-white prints for the snowflake; Kayla bought a kit from Sewtopia for her quilt. We both pieced the quilt tops on the last day of our trip and it was really fun to have someone making the same quilt that I was making - at the same time I was making it. It was like our own private sew-along! (Note: there's a real, large Snowflake sew along happening right now too.) To get these pictures were were racing sunset on Lake Erie, but we finished and got it in - just in the nick of time! This is another quilt that I had long-arm quilted using the "Midnight Sparkle" panto pattern from Urban Elementz - and again, it is backed with minky. My 3 boys fight over the minky-backed quilts, so I'm working on making more of them for winter. I chose a dark navy minky to back this quilt, and there's more about that later. I bound this quilt with the cut-off Lizzy House butterfly fabric that I used to back my latest Free-wheelin' Single Girl quilt (because darn! there is always so much leftover backing fabric when I'm trimming a quilt after quilting). This quilt finishes at 60" x 72," and normally that's how I would end a quilt-finish blog post. But read on... I always photograph a quilt and THEN wash it, because *reality* you never quite know what will happen to a quilt in the wash - especially one with high contrast fabrics like this one. I should note that I always pre-wash my quilting cotton fabrics before I use them; however, I've never tried pre-washing minky. When I put this in the wash, I added 4 Tide color-catchers as I normally would (new color-catcher shown for comparison). There was definitely still pigment coming out of the quilt in the wash, but not too bad. Most of the white fabrics maintained their brightness. All except 1 white fabric. I've had this happen before: where only 1 fabric in a quilt soaks up bleeding pigment. But I haven't been able to figure out what manufacturer's fabric is the culprit (by process of elimination I know it's not Robert Kaufman or Andover). Maybe in the new year I'll do a test - and then I'll never buy that manufacturer's fabric again! 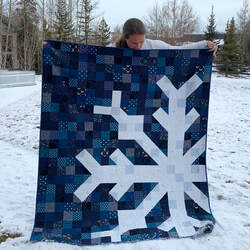 So yes, my white snowflake is now more mottled than pure white - or as my kids tell me: "Mom now the snowflake sparkles!" I don't mind much since this quilt is for personal use. In 2020 I plan to do an experiment washing several manufacturer's fabrics with a darker fabric. I also plan to experiment pre-washing minky with color-catchers and see if I can get it to the point where it stops bleeding. If you've made it this far reading my blog - Thanks! If you're curious to see what all my friends and I accomplished on our sewing retreat this year, check out #quiltnsisters2019 Now on to the the next quilting adventure!
9 Comments
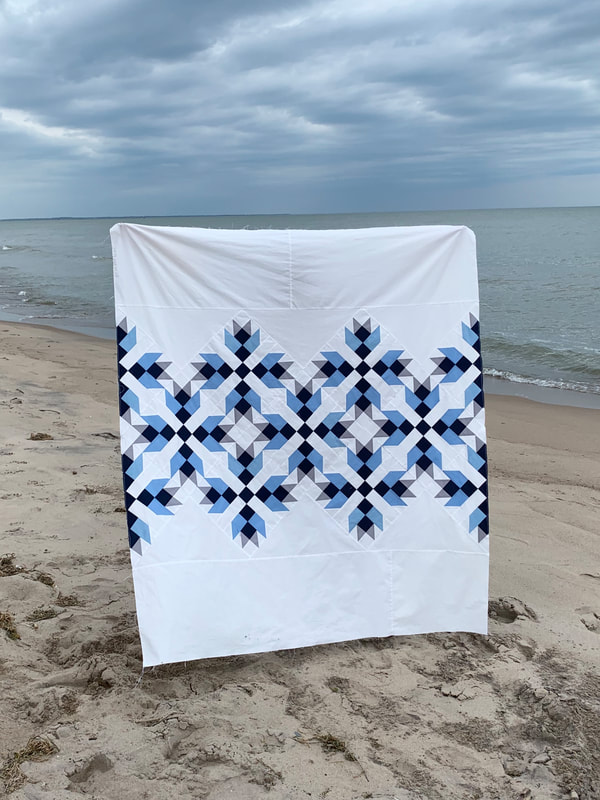
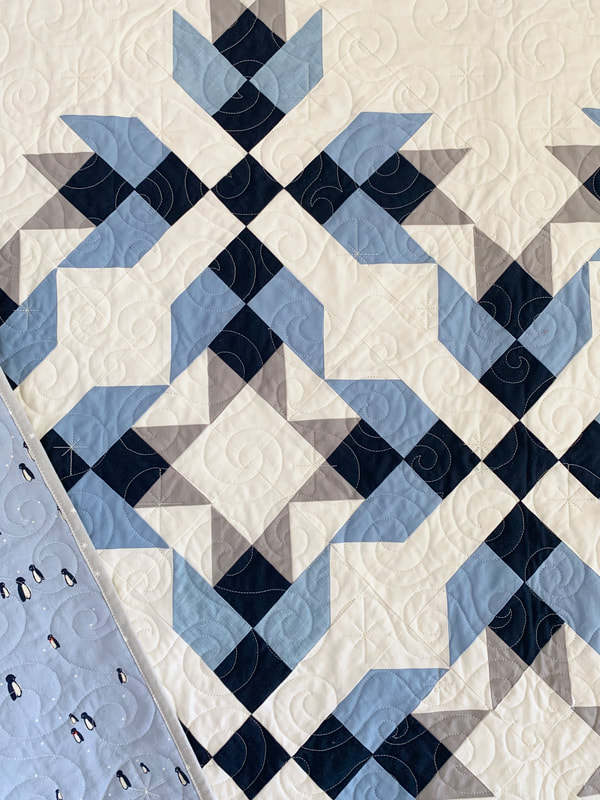
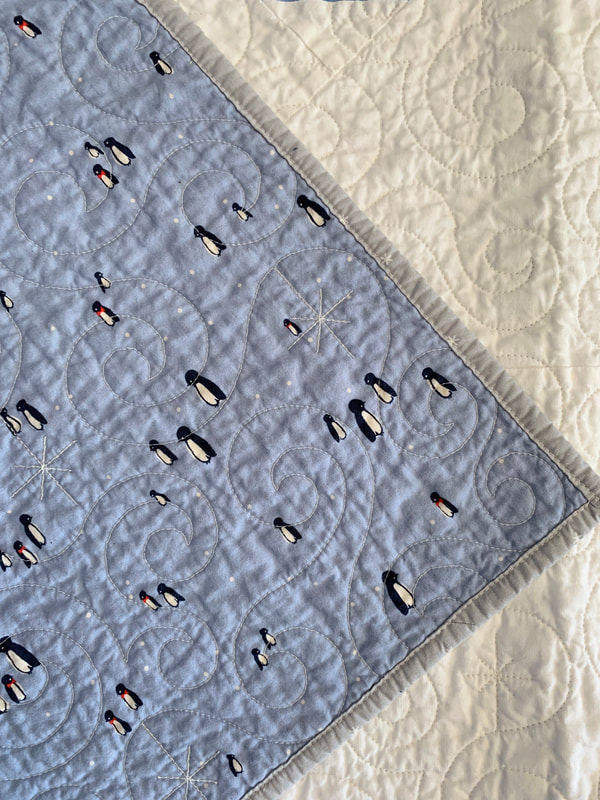
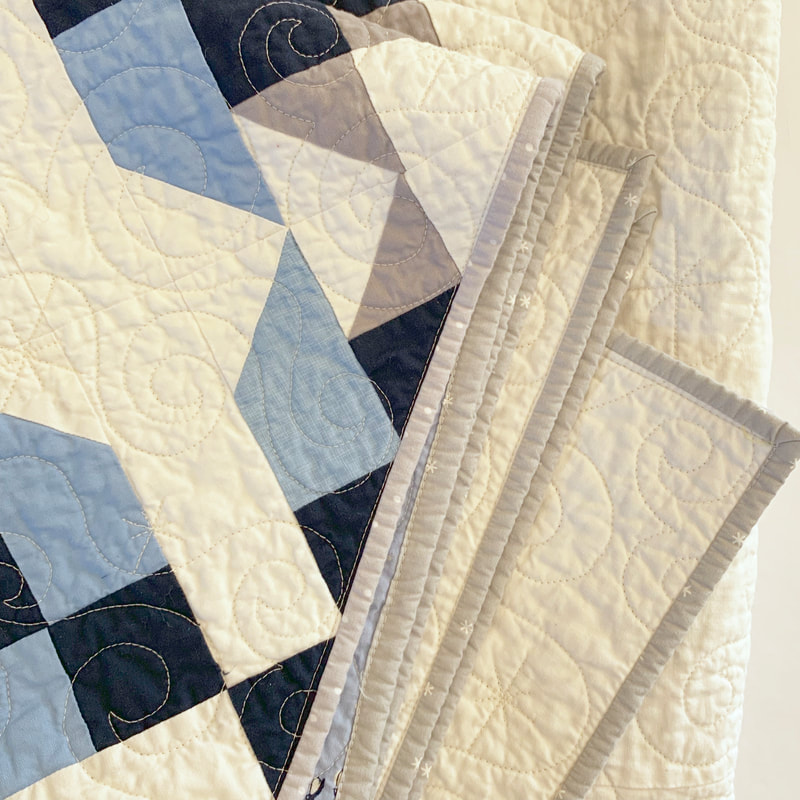
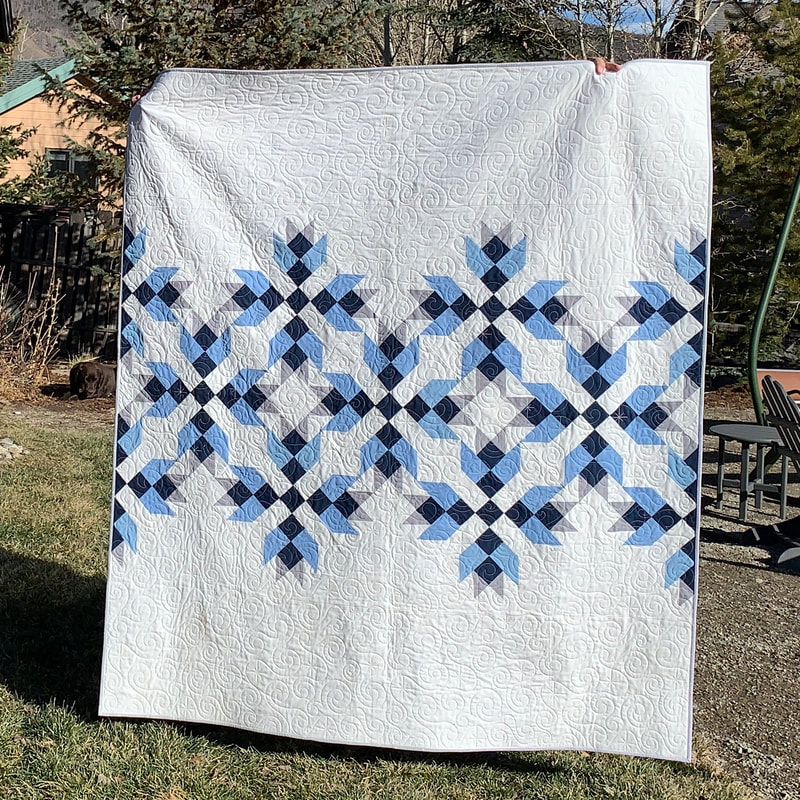
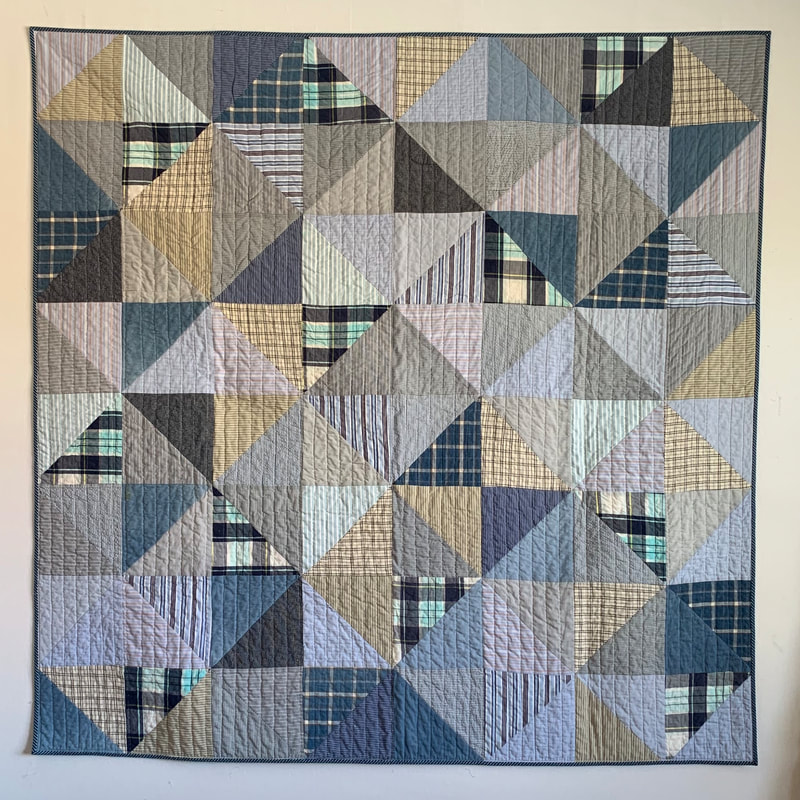
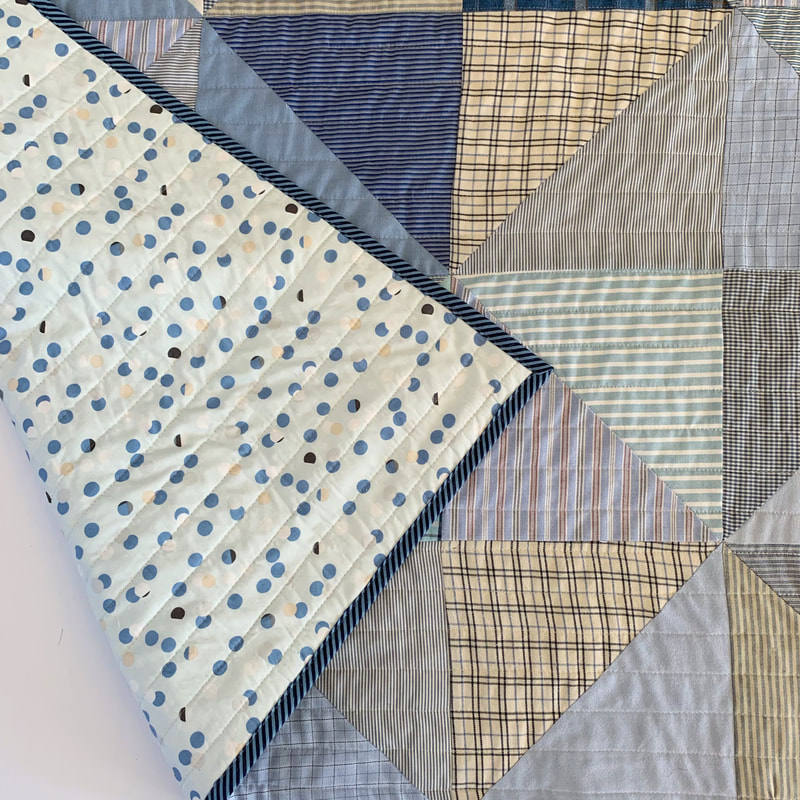
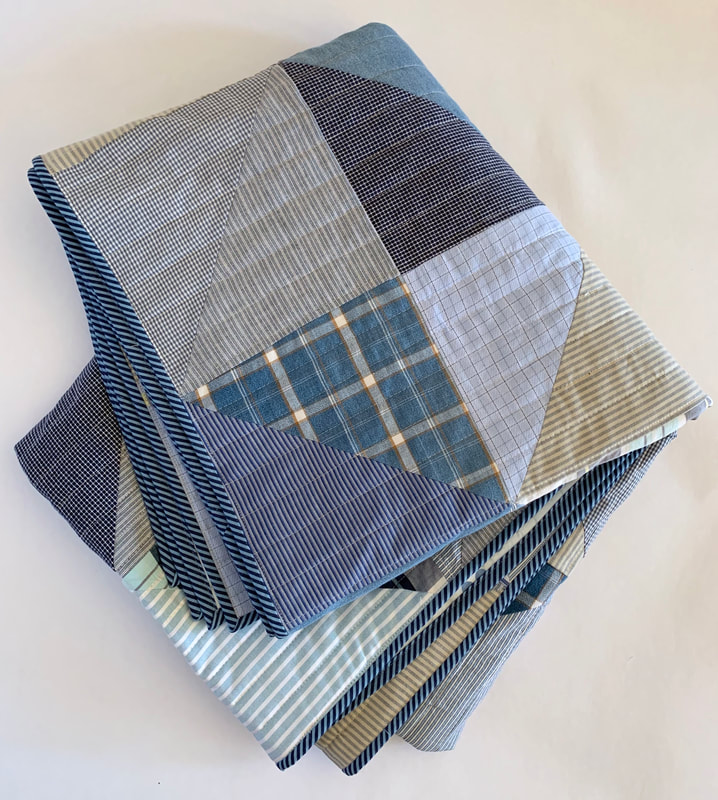
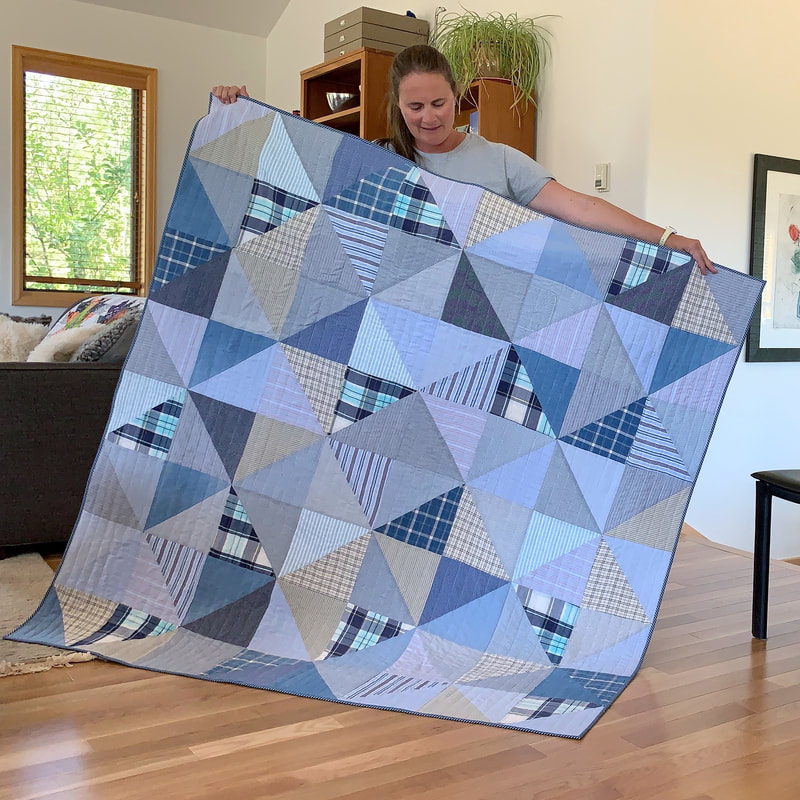
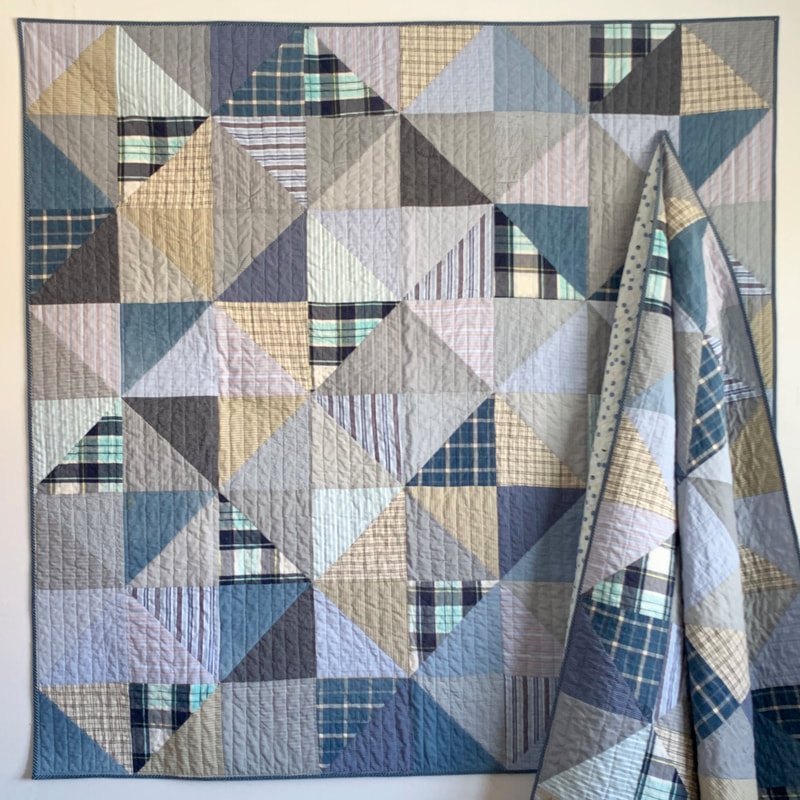
This past fall, someone in my local quilting guild suggested that we do a mystery quilt project. I thought that the idea sounded fun, so I volunteered to help organize it. Another lady and I did a quick search of #mysteryquilt on Instagram, and found Cheryl Brickey of Meadow Mist Design. The pattern that we settled on was hers, and she called it the Magnolia Mystery quilt from 2017/18. I liked how the quilt had a lot of negative space (which would be new for all the traditional quilters in the group), but was still block based (which I thought they would appreciate it). Plus it went together quickly with only 6 clues or "steps" in the whole quilt top. I wanted to have a finished quilt to show my group when I handed out the last clue at the end of this month, so I worked ahead, finished the quilt top on a sewing retreat, and just got it back from the long-arm quilter this past week. 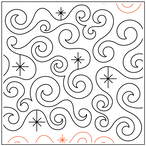 I went with a new-to-me edge-to-edge quilting pantograph from Urban Elementz, called "Midnight Sparkle." I absolutely love it and (spoiler alert), I've already used it for 2 more holiday quilts this week. To me, it's the perfect wintery blend of swirl and sparkle. I backed the quilt with a holiday penguin print from the original Cotton + Steel ladies. Those penguins and that sparkle part of the quilting make me smile. I bound the quilt with two different gray polka dot and snowflake prints that I had in my stash. I made the lap-size version of this quilt (there are also directions to make a queen-size quilt), and it finishes at 60" x 67". This quilt will live in our living room in January once we have put the Christmas decorations away. Thanks for stopping by! Did you see my last post on the red memory quilt that I made from my Father-in-law's shirts? If not, click here before you read on. The memory quilts that I've made using the slice & insert method take a lot of time, and after staring at the pile of my FiL's shirts for nearly a year, I wanted something that would go together a little quicker and more easily. I stuck with the large scale blocks, eliminated the strips, and went with large half-square triangles, and I love how they turned out. For these quilts I cut 9" squares of fabric from the shirt pieces, paired them up and sewed half-square triangles (and then trimmed the blocks to 8 1/2" square). Quilts like this require you to lay blocks out "randomly" so that no two matching fabrics are next to each other (or close to each other). That honestly takes the longest time for me. So for this quilt when I made my HST blocks and cut them apart, I put the two pieces in two separate piles. That way each pile contained a set of the same blocks. Next, I laid out one quilt, took a picture of the layout, and sewed the top together...and when I laid out the second quilt I referred to that photo and laid the second quilt out exactly the same! Such a time saver. I backed both of these quilts with a fun multi-tone blue dot fabric, and bound them with a diagonal two-tone blue stripe fabric. I quilted both of these quilts myself which means I quilted them with straight lines about 1" apart. Lots of the fabrics in this quilt were thin slippery synthetic or blended fabrics. After struggling with slipping and shifting when quilting the first quilt, I learned that these quilt tops needed to be starched before basting. The quilting went so much better with the starched tops. Quilty Details:
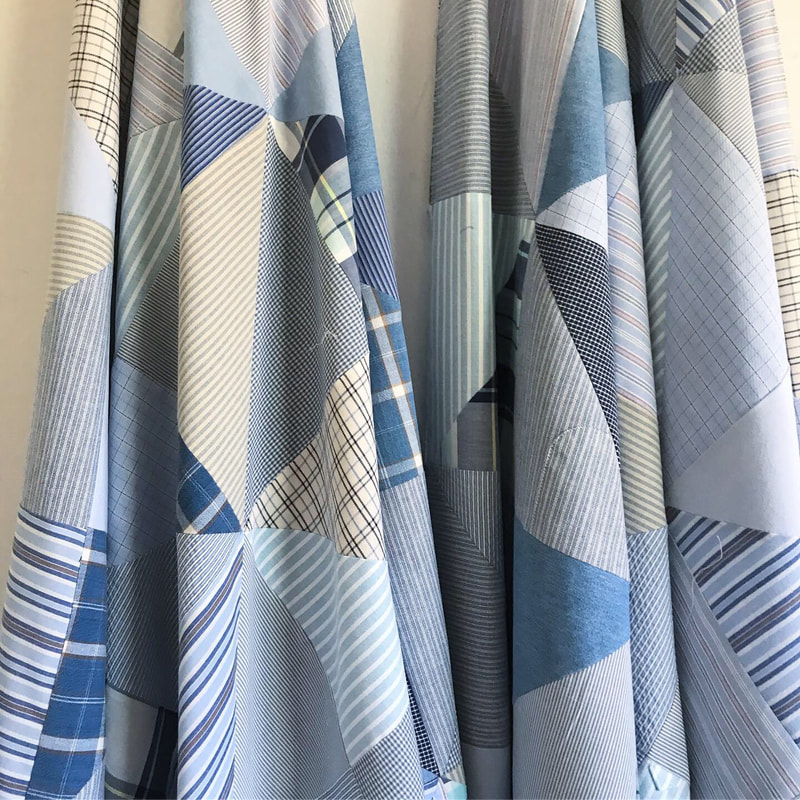
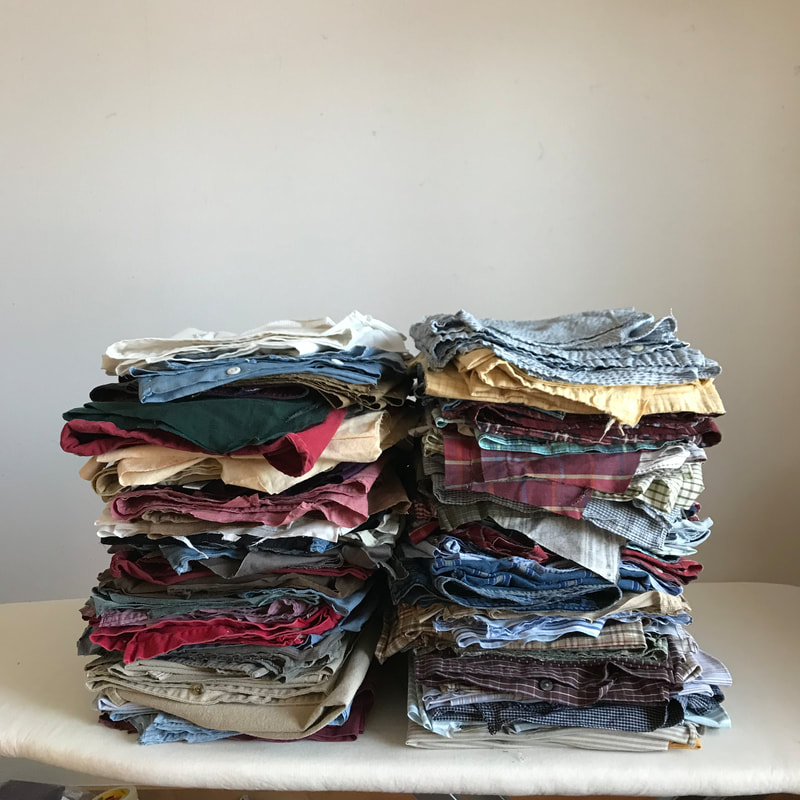
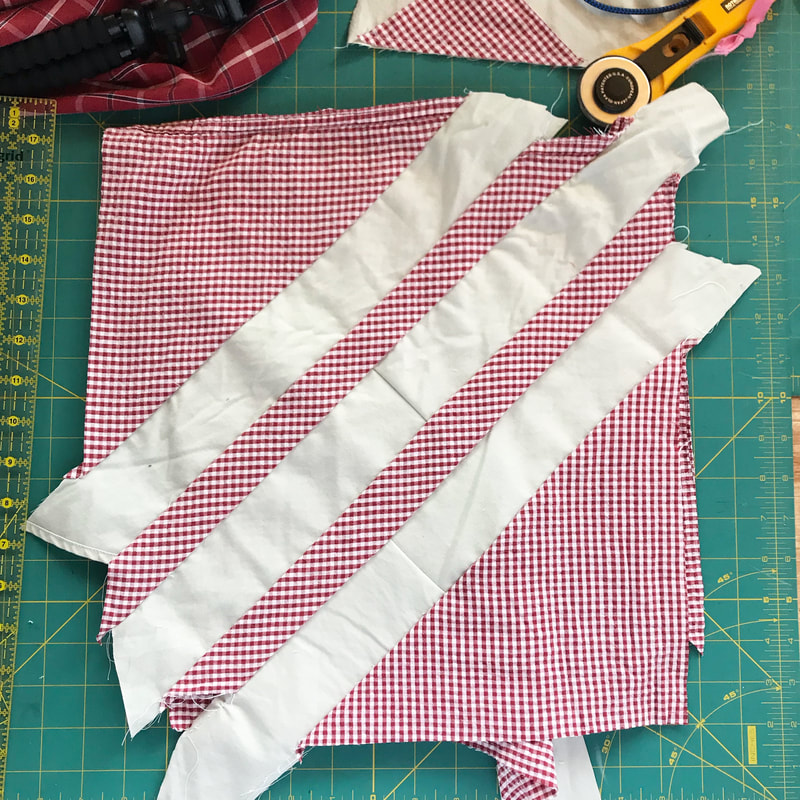
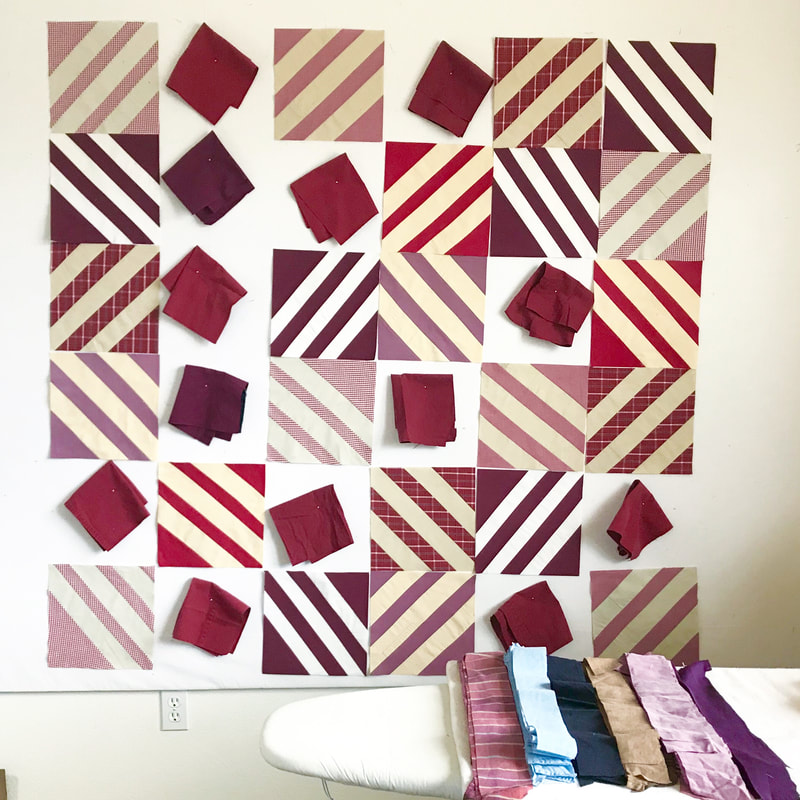
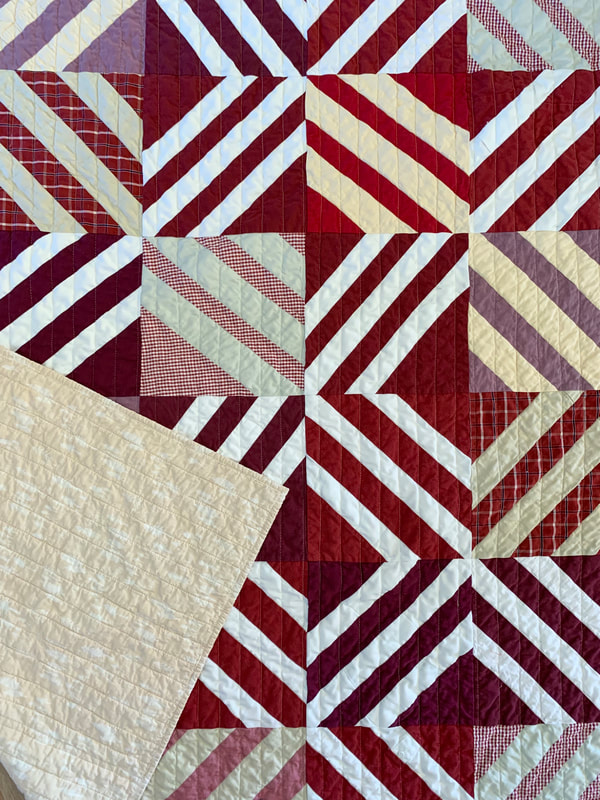
This quilt finishes at 64" square. The blocks finish at 8" square, and are laid out 8 blocks across, and 8 blocks down (64 blocks total). For more pictures of these quilts, check out #johnsshirtquilts A little over a year ago my father-in-law passed away, and I offered to make a couple of memory quilts from his numerous button-down shirts. This was to be the second time I endeavored to make memory quilts from shirts from a family member. (See #quiltsfrombeau & this link to see my first two memory quilts ever made). The picture above shows the shirts after I had deconstructed them down in to workable (flat) pieces of fabric. There were actually several more shirts that I rejected for being too stiff and thick (read: canvas and thick thick flannels). I had a lot to work with! 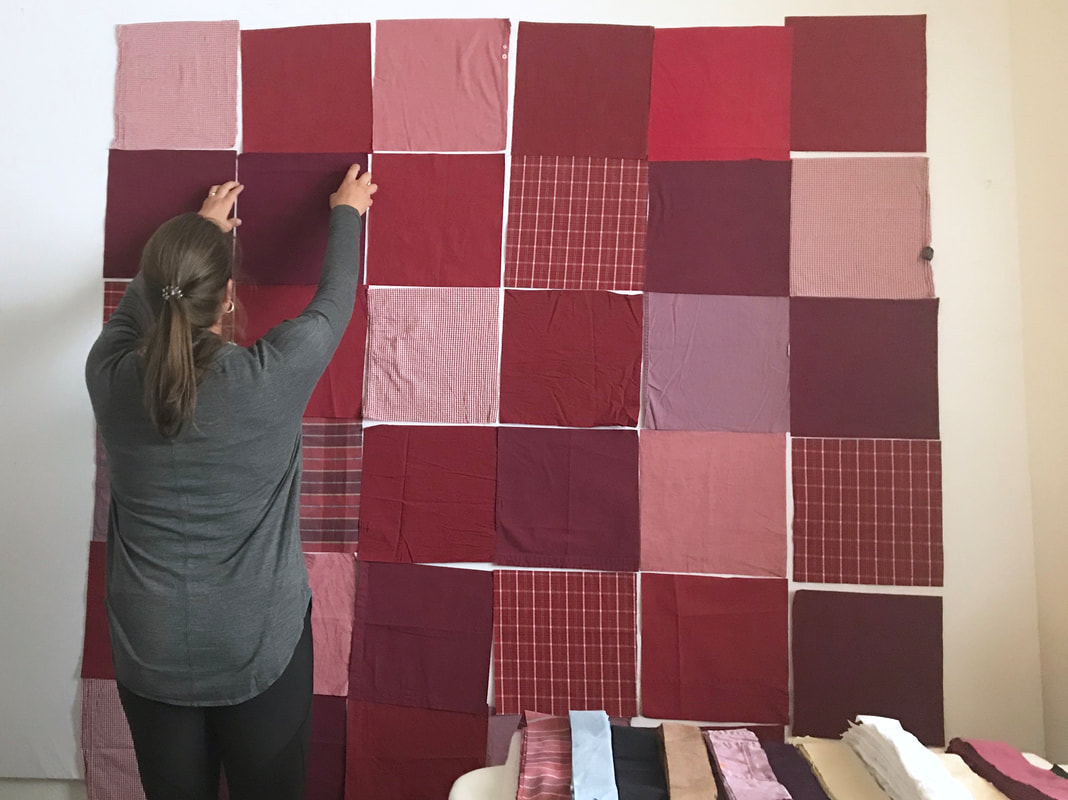 My FiL was from Nebraska and therefore had a lot LOT of red/maroon shirts. I started with those and used the same method that I used for Beau's memory quilts: I cut 12" squares and strips of varying widths and then used the "slice & insert" method. My first step was to layout the background squares. Once I had them how I wanted, I added the strips, and then trimmed the block down to 10" square. Fast forward months and months, and I recently motivated to straight-line quilt this guy. 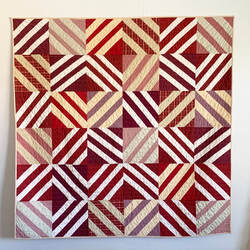 Quilty Stats: This quilt has 36 blocks that finish at 10" square, making the quilt 60" x 60". I backed it with peachy tan pine tree print from Art Gallery Fabrics (very hard to photograph). Check out #johnsshirtquilts to see more pics made from my FiL's shirts. |
Archives
November 2023
|


 RSS Feed