Tutorial: Improv Stick Border
|
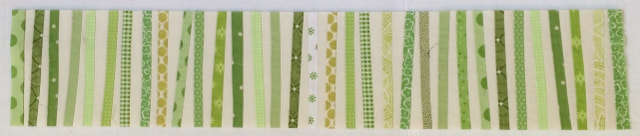
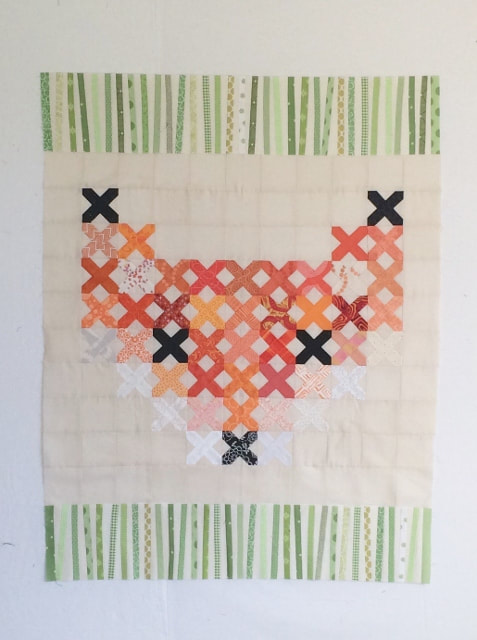
Here is a quick photo tutorial on how I made my improv grass border for the fox quilt in the Modern Quilting Round Robin. You can also call this "improv sticks" and it could be fun in a bright mixture of colors.
I wanted to make a 6 1/2" border of thin stalks of grass. There were several ways I could have done this, but I chose to use this quasi-improv method to create my border over a traditional slash-and-insert block, strip-piecing, or improvisationally piecing strips for the following reasons: - I wanted my stalks of grass to be fairly uniform in size - I didn't want my stalks to be perfectly straight. For this reason I couldn't just strip-piece. - I didn't want my stalks to be totally random. So that meant I couldn't improv piece strips. - I wanted a fairly even distribution of background fabric and green fabric - I wanted to use up scraps of background fabric, so I couldn't do a long slash-and-insert block (click here for a tutorial showing what that is) |
- I wanted to end up with a relatively straight rectangle that I could trim at the end. Sometimes when I just improv piece random strips together the block can end up pretty wonky and slightly curved.
I should also mention that my border is going to have different corner blocks made out of butterfly blocks.
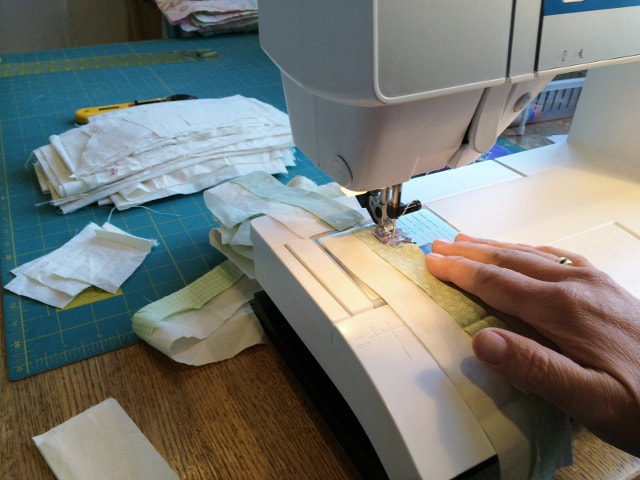
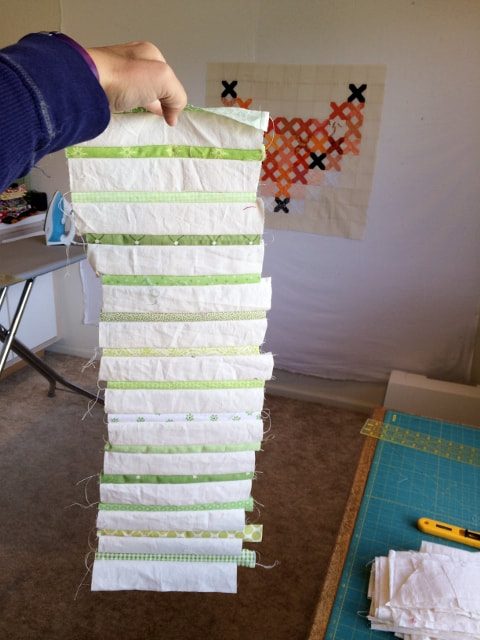
To begin, I cut my background scraps into 2" x 8" strips and I cut green scraps in to 1'' x 8" strips. I didn't exactly know how many of each strip I would need, so I just cut a lot of strips. This was part of the improv!
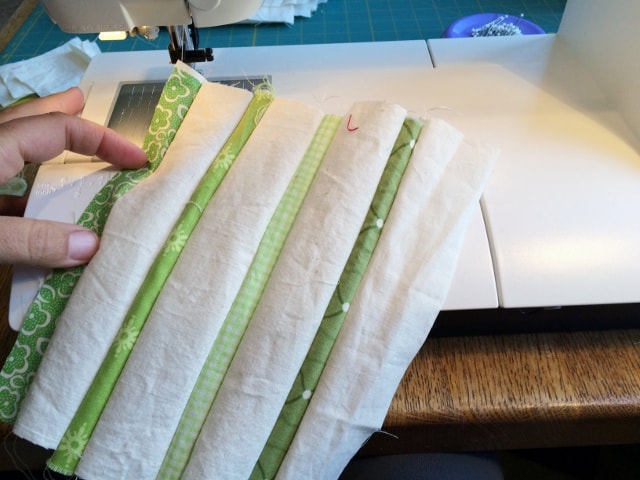
Next I chain-pieced a green strip to each white strip...and then pieced sets of strips together.

|
|
|
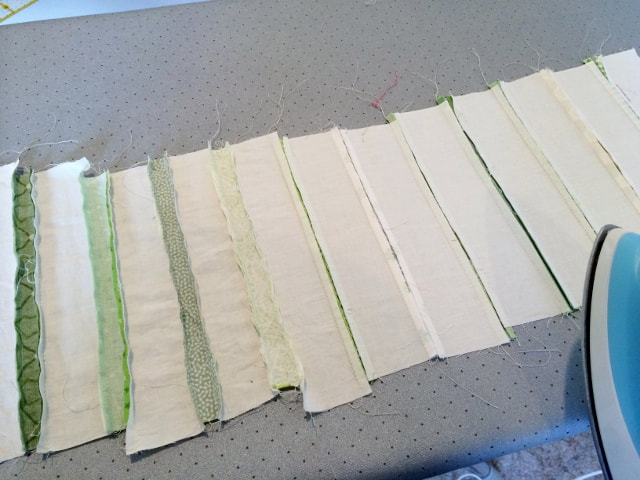
I tried to roughly line up the edges of my strip sets, but as you can see below, I didn't do a great job. No matter though - in the end I trimmed my border piece down to 6 1/2" tall, and all the uneven ends were gone.
|
|
Once my border piece of strips was roughly the length I wanted it to be, I pressed it (to the dark).
Note: Because of the width of strips that I was using, at this point I needed my border to be roughly as long now it would be when it was finished. The next step of inserting slashed pieces in to it would not actually create any length to the border since I was only inserting 1" pieces and was using a 1/4" seam allowance.
Note: Because of the width of strips that I was using, at this point I needed my border to be roughly as long now it would be when it was finished. The next step of inserting slashed pieces in to it would not actually create any length to the border since I was only inserting 1" pieces and was using a 1/4" seam allowance.
|
The next step involved the improv slashing. Here I wanted to make sure that my blades of grass or sticks didn't touch each other, so I left at least 1/4" of background fabric on each side of the green fabrics. This was a personal preference and you could totally make this border with sticks touching or overlapping. I inserted a "slashed" strip of green in between each straight-set strip of green.
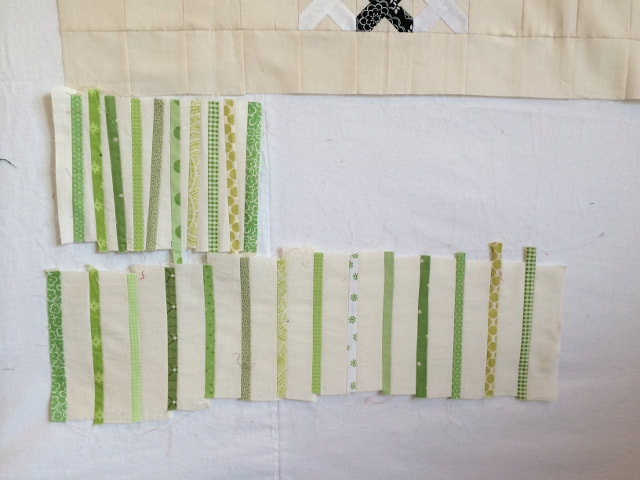
I chose to do 1 slash, then inserted a 1" strip of green, and then sewed the pieces back together. I did a slash, sewed in a green strip, did another slash, etc, until I had inserted a green slashed strip in between each straight-pieced of green. I continued on like this until my border was just about long enough. Below you can see the before and after pics. The top row has the slashed pieces inserted. The bottom row just has the pieced strip sets. |
|
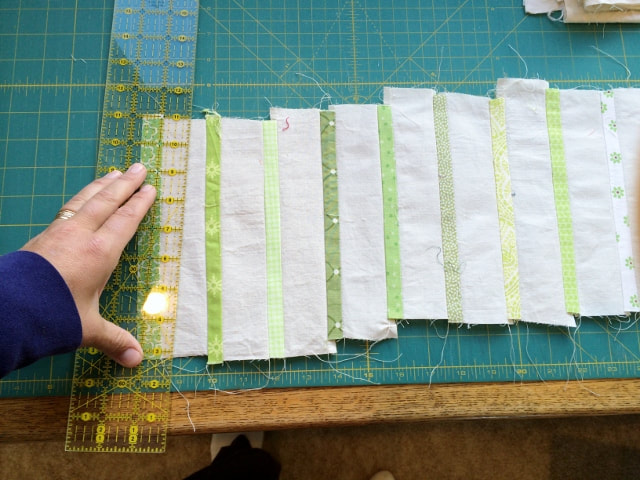
When I got close to the end I chose to add a straight green strip so my border began and ended with a green piece. (See below.) The final step was trimming it all in to a long rectangle. I lined up one of the straight green end pieces with one of the vertical lines on my cutting mat, then I lined up my ruler with one of the horizontal lines and I sliced off the uneven ends! I repeated that process so the border would be 6 1/2" tall... And that's it! My grass border was done. |
|