Tutorial: Quilt Show Ribbons
|
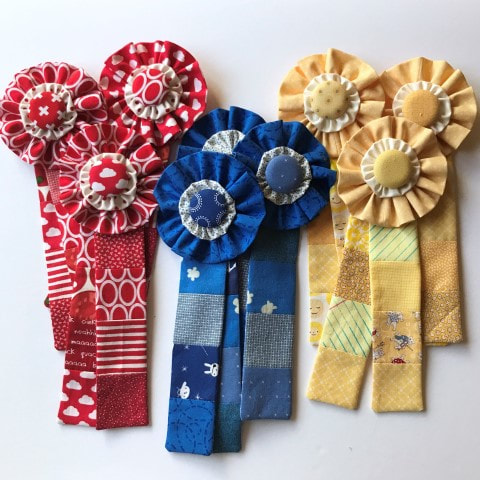
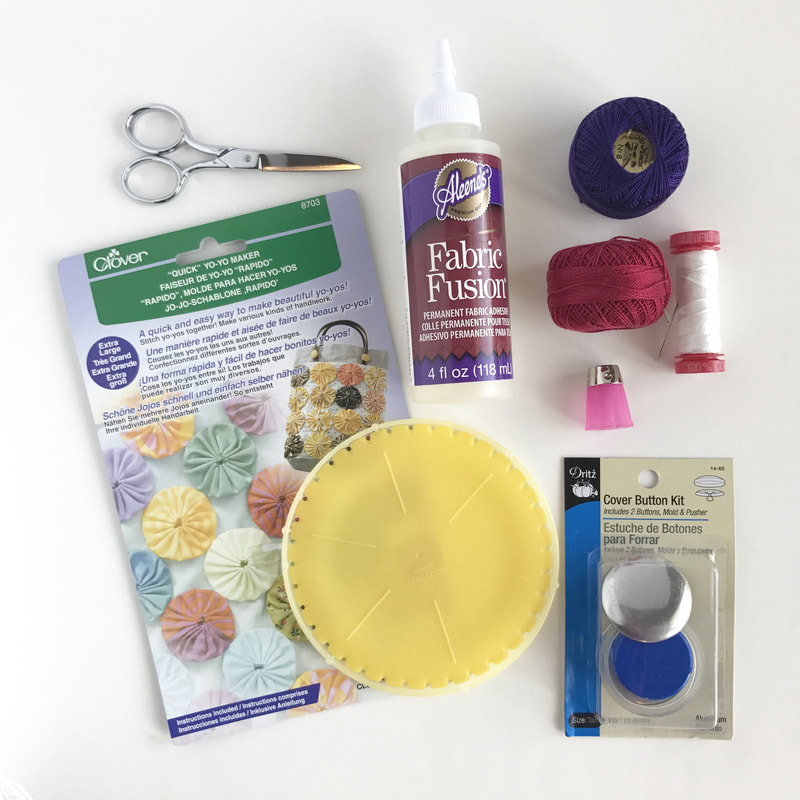
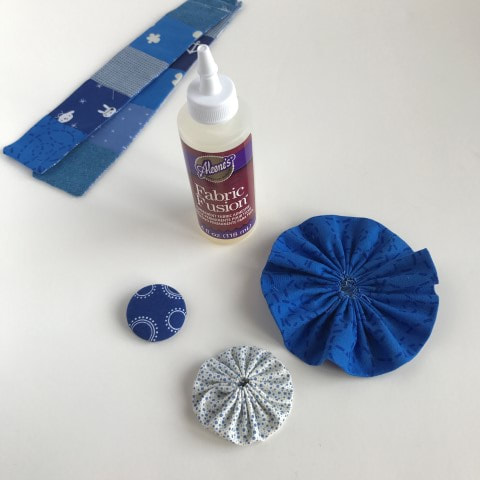
This is the second year that I've made the ribbons for my local quilt group's quilt show. This tutorial is for anyone else who may be making ribbons for a show or competition, and for me when I make them again next year and need to remember exactly how I did it. To make the ribbons, you will need the items shown at left, plus a few more.
Ribbon Details This tutorial shows you how to make a ribbon that is roughly ____ tall and ___ wide at the rosette on top. The ribbon is made of five parts: rostette, yo-yo, streamers, button and pin clasp. I used scraps to make my ribbons, but they could also be made from a fat quarter of fabric. Supplies - Clover XL "Quick Yo-Yo Maker" - Dritz Cover Button Kit, size 60 - Hand-sewing supplies including a thimble, needle, thick thread, and scissors - Fabric glue - Glue gun - 1" pin clasp |
Cutting Your Fabric
As I mentioned, I used scraps for my ribbons again this year. Below are listed the dimensions of fabric that you will need for each part of the ribbon.
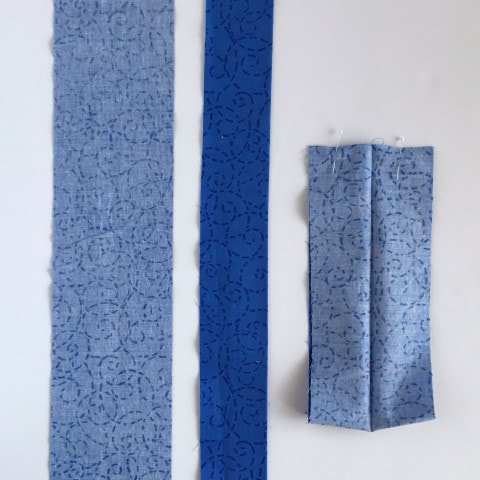
Rosette: (1) @ 4" x 20"
Yo-Yo: (1) @ 5.5" x 5.5"
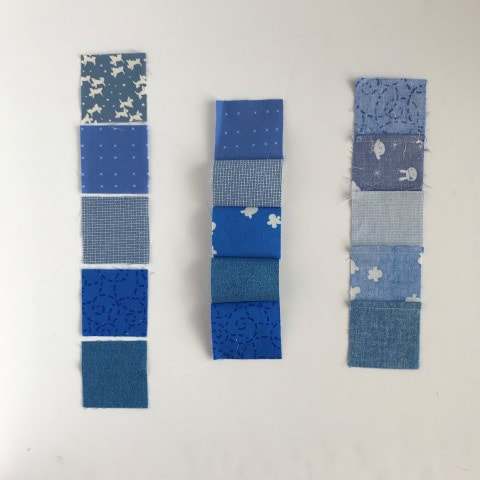
Streamers*: (4) @ 2.5" x 10.5"
Button: (1) @ 2.5" x 2.5"
*For my streamers, I used 2.5" squares of fabric that I sewed together in to strips to make the fronts of my two streamers. For the back of the streamers I used a solid piece of fabric (not piece).
As I mentioned, I used scraps for my ribbons again this year. Below are listed the dimensions of fabric that you will need for each part of the ribbon.
Rosette: (1) @ 4" x 20"
Yo-Yo: (1) @ 5.5" x 5.5"
Streamers*: (4) @ 2.5" x 10.5"
Button: (1) @ 2.5" x 2.5"
*For my streamers, I used 2.5" squares of fabric that I sewed together in to strips to make the fronts of my two streamers. For the back of the streamers I used a solid piece of fabric (not piece).
|
Making the Streamers
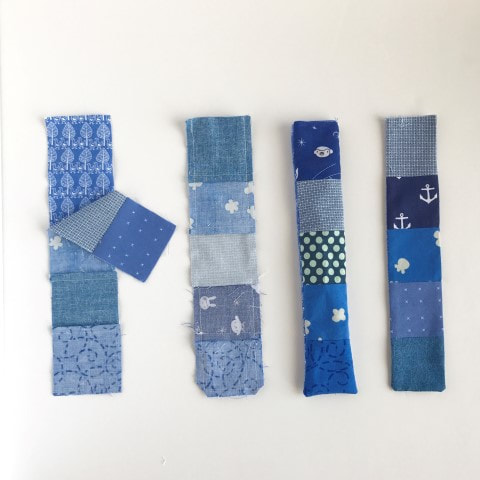
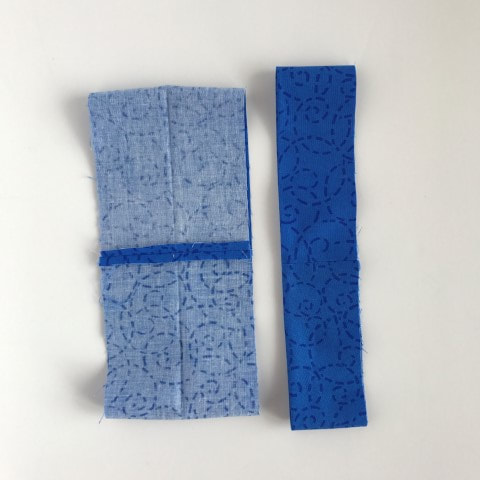
1. Sew your fabric for the front of the streamers together and press. If necessary, trim to 2.5" x10.5" 2. Put your streamer front together with the fabric for the back of your streamer. Make sure you have the rights sides together. 3. Sew along 3 sides of your streamer, leaving the top (short) end open. |
|
|
4. Clip the bottom 2 corners of the streamer, turn it right-side-out and press. Repeat steps to make a second streamer (each ribbon has two streamers). Then lay the streamers on-top of each other, but slightly angled so that they are off-set at the bottom. Sew the tops of the streamers together to just hold them in place.
|
Making the Rosettes
1. Fold your 4" x 20" piece of fabric in half the short way with wrong sides together and press. You will now have a piece of fabric that is 2" x 20". 2. Open the piece of fabric and fold in half the long way with right sides together. Pin and sew along the short edge using a 1/4" seam allowance. |
|
|
3. Next you need to press the seam that you just sewed open - but don't press the whole piece of fabric. Just press that one seam open.
4. Now fold your ring of fabric so that it is wrong-side-together again, and if necessary re-press the long fold. |
|
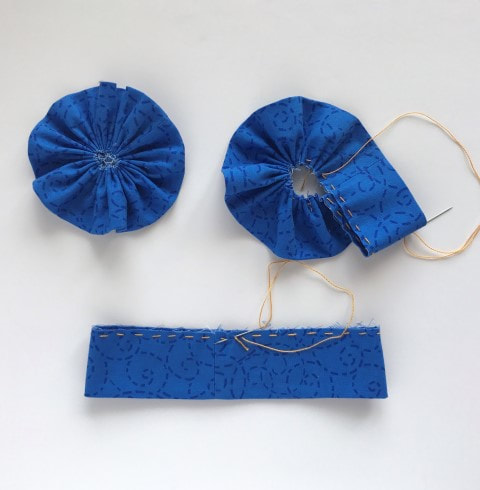
5. Take your needle and a knotted piece of your thick thread and sew a running stitch along the open edge of the ring, about 1/4" from the edge of the fabric. Sew along the entire open edge of the ring of fabric. When you return to where you started sewing, sew 1 stitch that over laps your first stitch.
6. Gently but firmly pull on the end of the tread that is threaded thru the needle to create the rosette. Stitch a strong knot to hold the rosette together in the center where your running stitches are. |
|
|
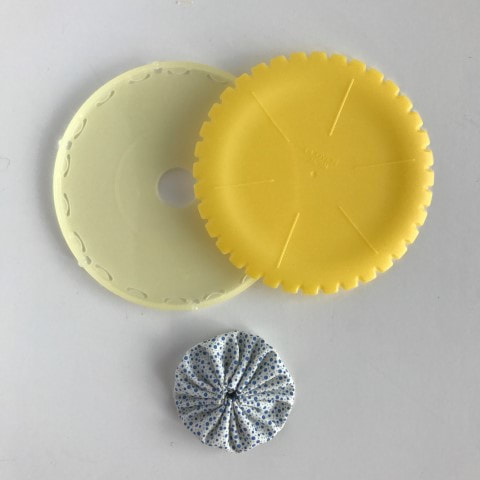
Making the Yo-yo
1. Using the 5.5" square of fabric follow the directions that came with the Clover yo-yo maker |
|
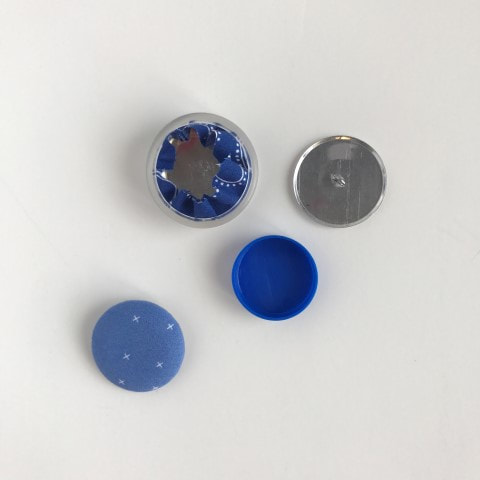
Making the Fabric-Covered Button
1. Using the 2.5" square of fabric follow the directions that came with the Dritz Button Cover tool. |
|
|
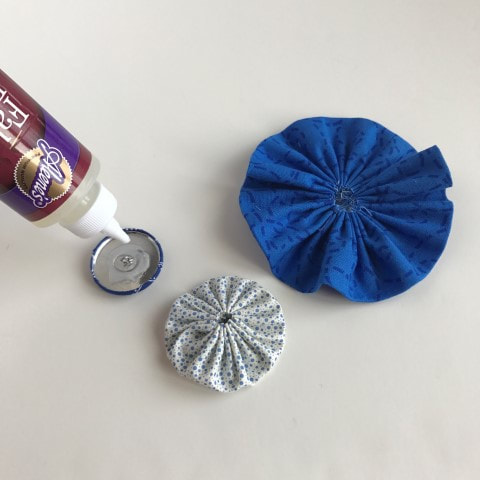
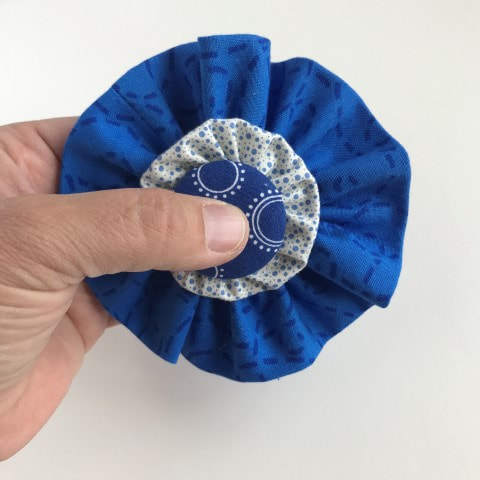
Assembling the Ribbon
To assemble the ribbon we are going to glue all of the piece together. I start with the button and work my way back to the pin clasp. 1. Put a ring of fabric glue on the back of the fabric-covered button and then put the button in the center of the yo-yo. I like to stick the metal loop on the back of the button inside the stitches for the yo-yo 2. Put a ring of glue around the center of the rosette and place the button/yo-yo on top of the rosette. Press and hold until the glue has set, about 30 seconds or so. |
|
|
|
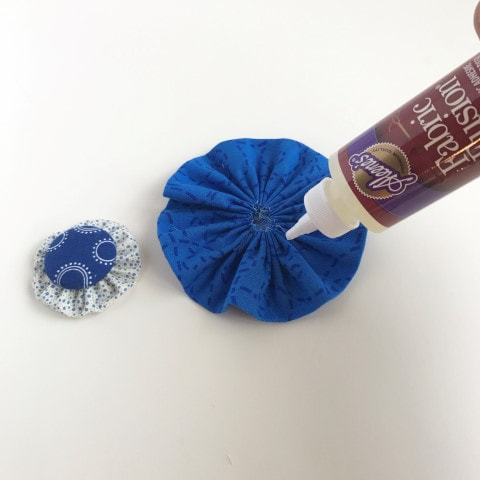
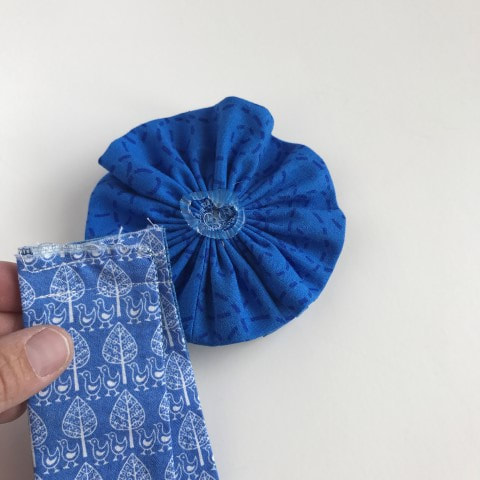
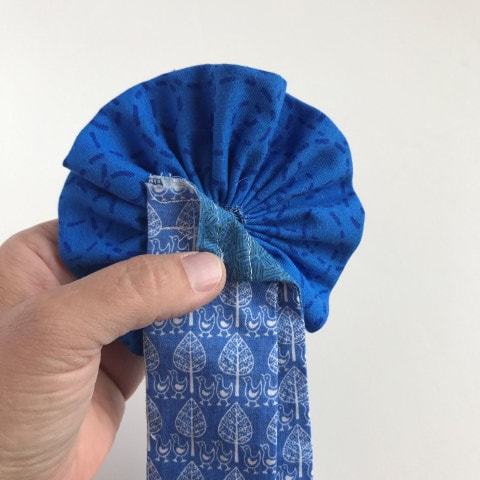
3. After a few minutes of drying, flip the rosette over and put a ring of glue on the back.
4. Place the two streamers that have been sewn together at the top over the glue. Press and hold a little longer.
4. Place the two streamers that have been sewn together at the top over the glue. Press and hold a little longer.
|
|
|
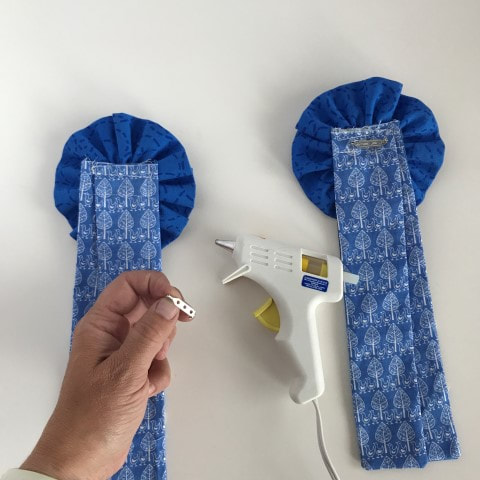
5. After letting the ribbon dry for a bit (an hour?) I come back and attach the pin clasp using a glue gun. I put a small dot of the hot glue on the back of the streamers and then place the pin in the glue. Let this dry for another hour or so.
Voila! You have just made a very special show ribbon!! |
|