- About Me
- Blog
- Commissions
-
Tutorials
- Solid HRT Quilt
- Solid HST Quilt
- Going Places Quilt Tutorial
- Star-in-a-Star Baby Quilt Tutorial
- Scrappy Inner Star Quilt Pattern
- Inner Star Quilt Pattern
- Grandma's Scrappy Quilt
- HST Chaos
- Scrappy Goose Quilt
- Scrappy Patchwork Wreath Quilt & Block - Reg Size
- Solid Wreath Block
- Quilt Show Ribbon Tutorial
- Double Bear Paw Block
- Improv Sticks Border
- Wreath Mega Block Quilt
- Contact Me
|
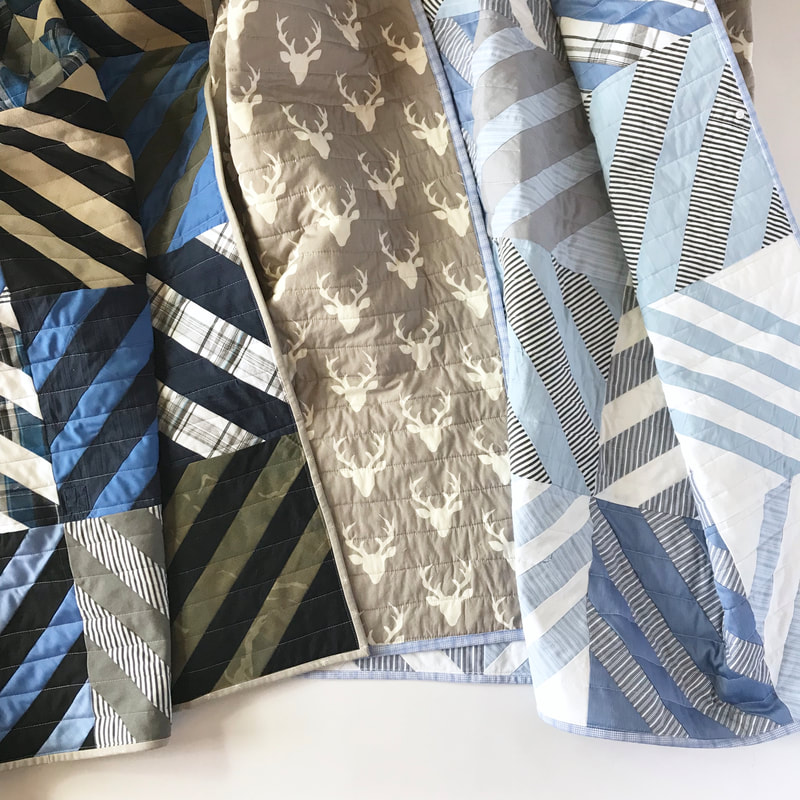
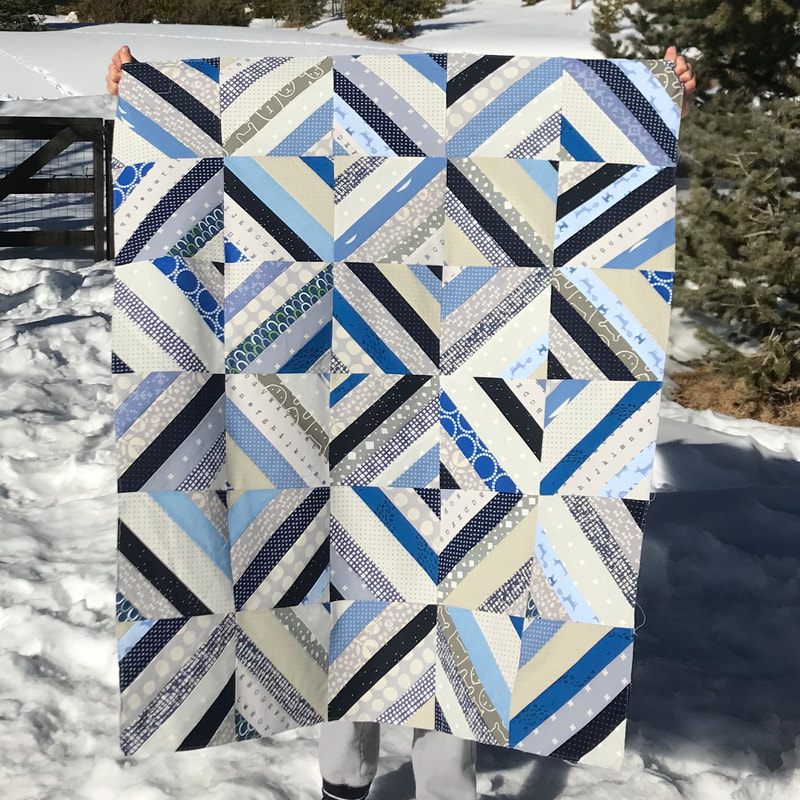
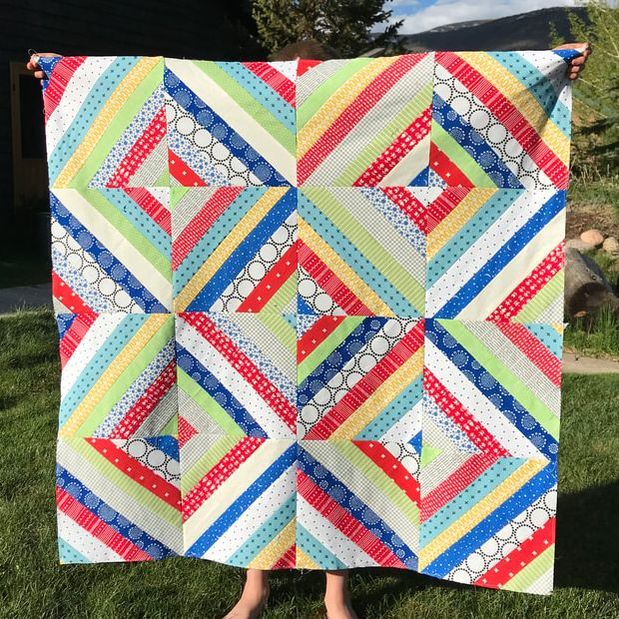
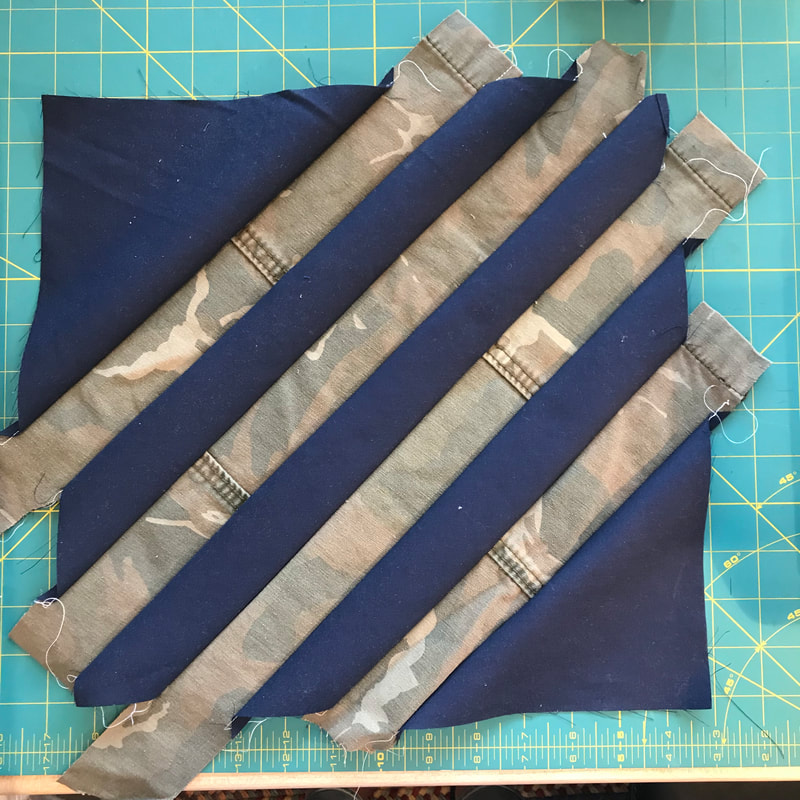
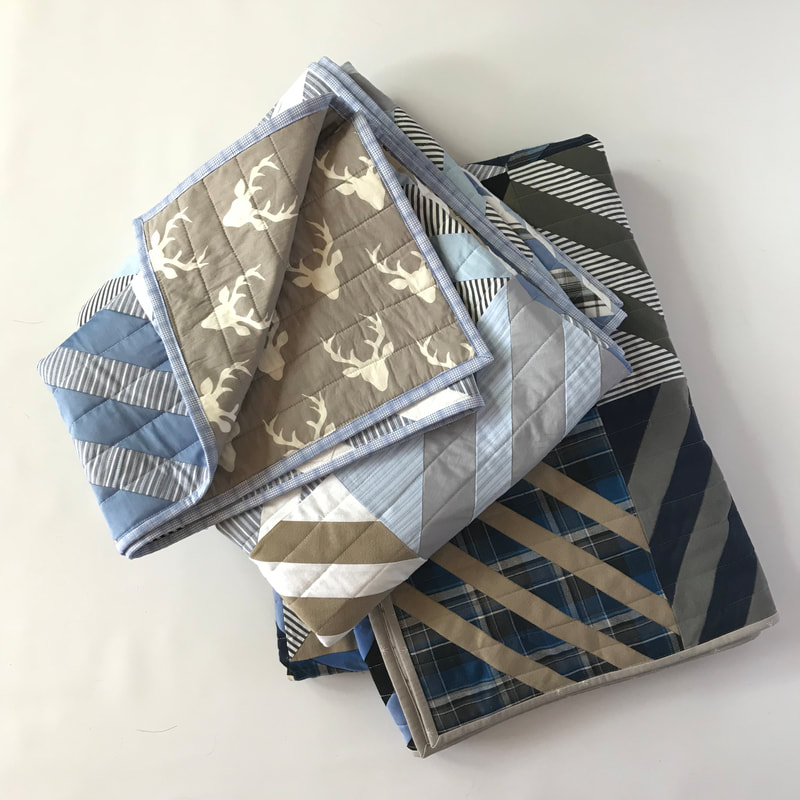
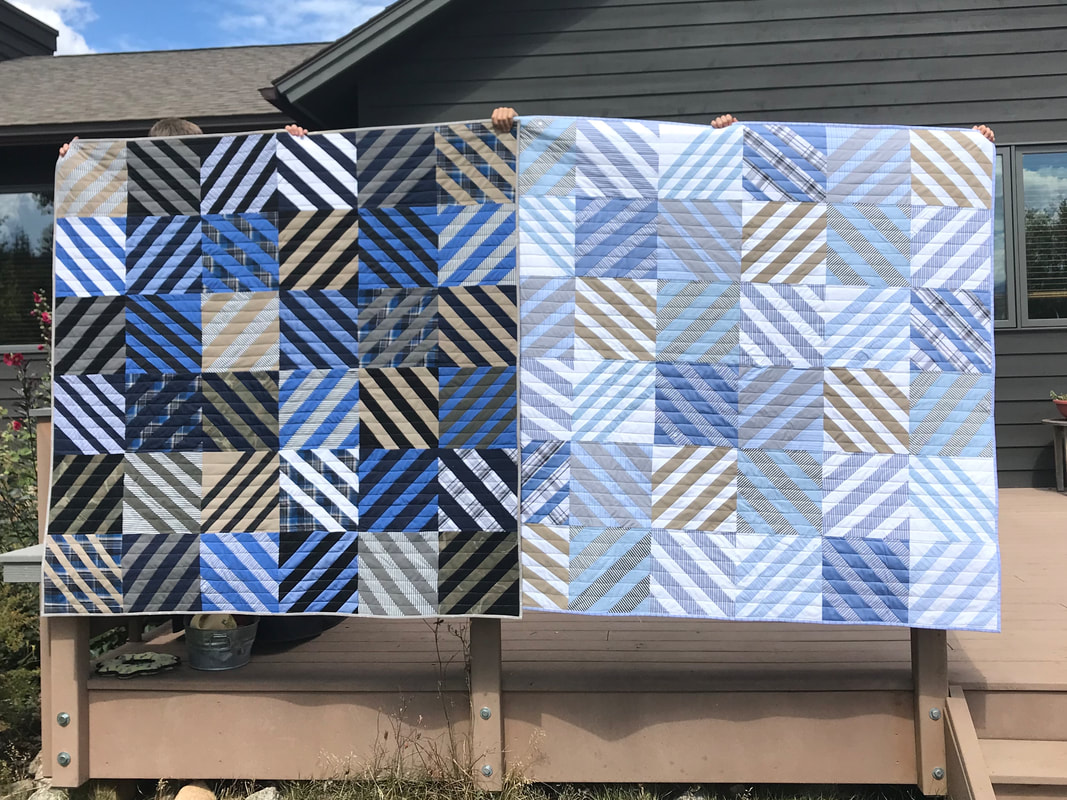
My cousin passed away unexpectedly last December and I offered to make my aunt and uncle and his sister a memory quilt from my cousin's old shirts, shorts and pants (no t-shirts!). I wanted the quilts to look like traditional pieced quilts, not what I had always seen done for memory quilts - with large squares of fabric from shirts sewn together in a 1-square pattern (click here to see what I'm talking about). I had see this quilt on Instagram, and liked the idea of making a string quilt. I thought it would be a way to mix a lot of fabrics successfully, but wasn't sure how I wanted to construct the blocks. The "Blue Strings" baby quilt that I just blogged about was my first attempt at constructing string blocks. The primary color baby string quilt was my second attempt (though it's still waiting to be quilted). The two different construction methods that I used worked well enough, but after making these 2 quilts, I decided that with my cousins shirts I didn't want to mix all the different fabrics in one block and I didn't want to have to tear out foundation paper. In the end, I didn't use either method that I tested, and instead tried something new entirely, and I loved it. For my blocks, I cut apart the shirts and pants/shorts to make them in to the biggest flattest pieces that I could. I also left pockets and buttons where I could. Next, I cut 12 1/2" squares from the biggest pieces I had (the backs and arms of shirts and the legs of pants), and cut the rest of the smaller pieces in to strips of varying widths (from 1 1/4" - 2 3/4"). Once I had everything cut and could see what I had to work with, I separated the large 12 1/2" squares in to a set of dark squares for my aunt and uncle's quilt in Wisconsin, and a set of lighter squares for my cousin's quilt in Florida. Then I went to work using the "slice and insert" method - slicing the 12 1/2" square and sewing in a strip of a contrasting fabric. I opted to use 1 fabric for all the inserted strips in each block, and tried to keep things consistent. For example, I used all the strips from the camo shorts in navy blue 12 1/2" blocks, and strips from the black and white shirt in light blue squares, etc. When I had inserted 4 strips in each square piece of fabric, I trimmed the block down to 10 1/2" square. I backed both of the quilts with the same deer head print from Art Gallery fabrics (Hello Bear Buck), and quilted them with 1 1/2" spaced straight lines. Since some of the clothing fabrics are heavier than quilting cotton, the quilts are also a little heavier than my normal quilts, but have a lovely drape and feel to them. I was worried about incorporating things like Carhartt canvas in the quilts, but actually found that the canvas was one of my favorite fabrics to work with - the more slippery synthetic shirt fabric not so much.
I am thrilled with how these "memory" quilts turned out, and with the fact that people don't immediately recognize that the fabrics in the quilts are old shirts and pants. I think that they look like great quilts in themselves, and have special meaning to the people who will be using them. Quilt Stats: Both quilts finish at roughly 60" square (using a 6x6 layout and 36 blocks each). Blocks finish at 10" x 10" For pictures of these quilts in progress, please check out #quiltsfrombeau
3 Comments
9/21/2018 05:21:54 pm
These are lovely. Really lovely and thoughtful. I'm sorry about your cousin but yay for nice quilts!
Reply
Mary D
10/24/2018 07:25:24 am
Your idea was a great one for memory quilts. The quilts are just lovely.
Reply
Sue
4/22/2020 06:18:29 am
Just beautiful. I will remember this. I have made several memory quilts. I made nine bow-tie pattern quilts out of my father-in-laws shirts, pajamas and seer-sucker suits for his grandchildren. He was a small town physician who always wore a bow tie and in summer he always wore a seer-sucker suit. I also loved that the quilts didn't immediately scream memory quilts. Well done you!!
Reply
Leave a Reply. |
Archives
November 2023
|


 RSS Feed