- About Me
- Blog
- Commissions
-
Tutorials
- Solid HRT Quilt
- Solid HST Quilt
- Going Places Quilt Tutorial
- Star-in-a-Star Baby Quilt Tutorial
- Scrappy Inner Star Quilt Pattern
- Inner Star Quilt Pattern
- Grandma's Scrappy Quilt
- HST Chaos
- Scrappy Goose Quilt
- Scrappy Patchwork Wreath Quilt & Block - Reg Size
- Solid Wreath Block
- Quilt Show Ribbon Tutorial
- Double Bear Paw Block
- Improv Sticks Border
- Wreath Mega Block Quilt
- Contact Me
|
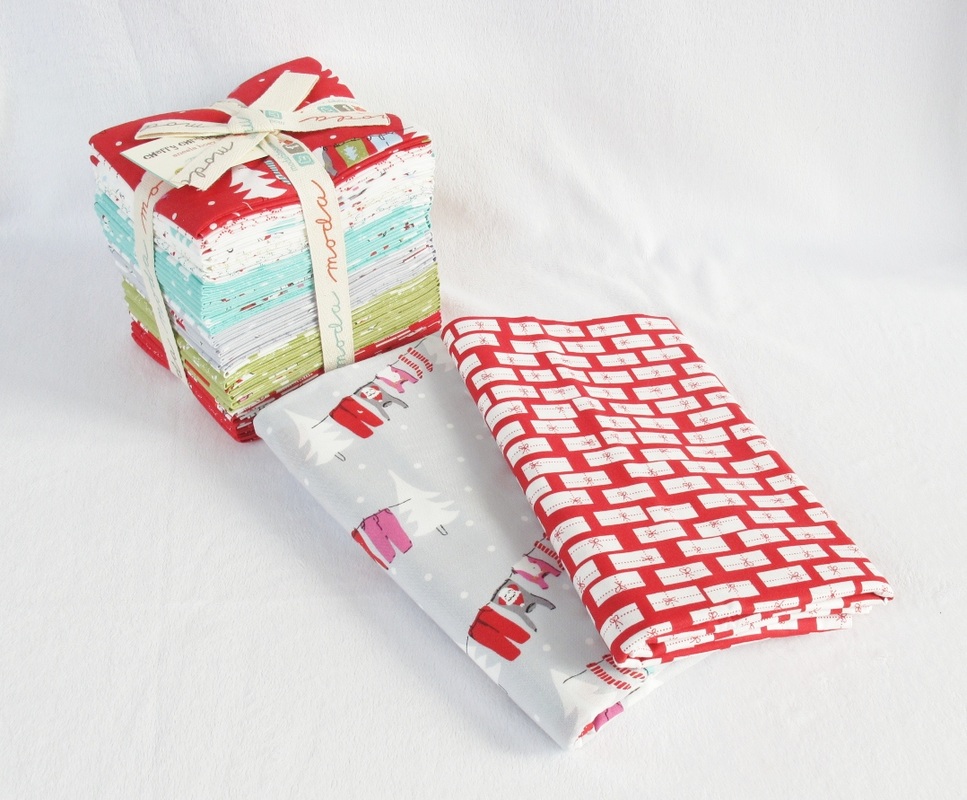
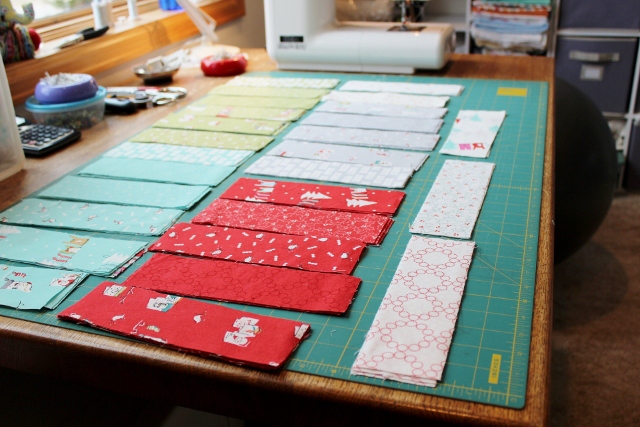
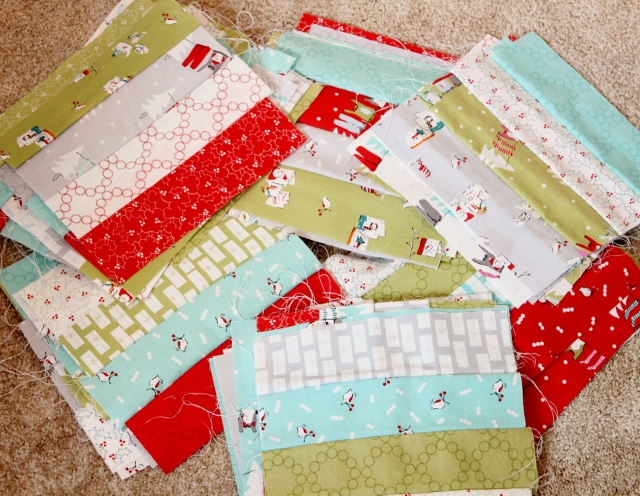
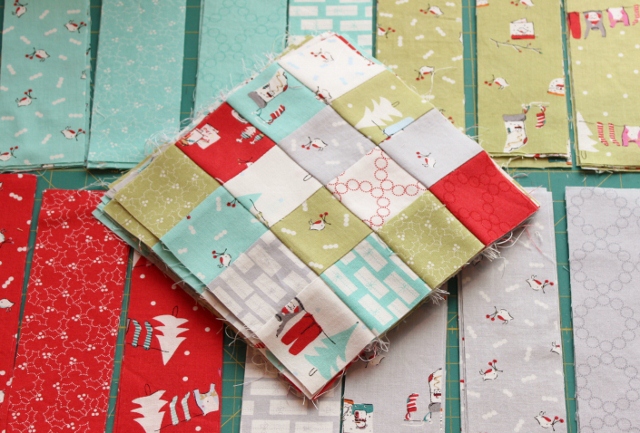
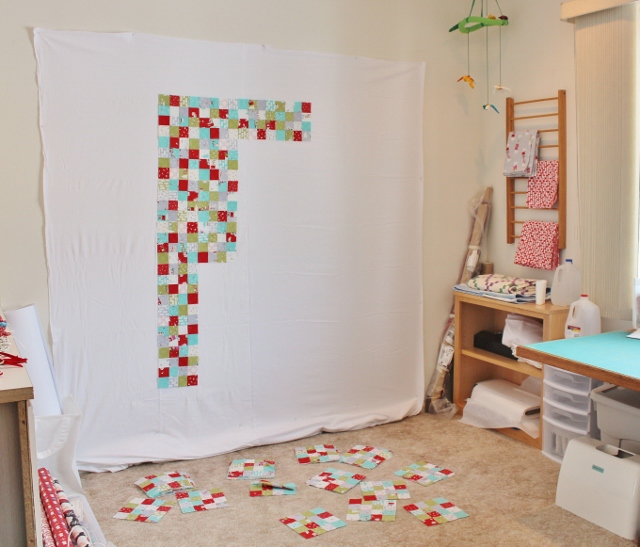
Remember this? After making my postage stamp table runner, I treated myself to this fat quarter bundle of Aneela Hoey's Cherry Christmas fabrics - with the idea that I'd make a couple of holiday table runners when I finished making all of my holiday gift bags. Well, I finished my bags a few weeks ago and got straight to work cutting fabric for my table runners (1 for me, 1 for my sister). I used the same method as I used for my first table runner (strip piece, but don't use full-length strips). You can find a tutorial from Red Pepper Quilts here. I roughly calculated that I only needed to cut two 2 1/2 in strips from each fat quarter in order to make two table runners. Next step: sew strips together and try to make as many random combinations as possible! When I was finished sewing all my mini-strips in to sets, I quickly realized that even though I had completely thought my pattern through, and sketched things out, when it came time to sew my strips together, I got over-excited and sewed strips in sets of 4, rather than sets of 3. Oops. Oh well, "No biggie," I thought. I can still make a table runner, it'll just be a bit wider than I had originally planned. So I continued on... I cut all my new strip-squares, put them together as randomly as possible, and sewed them all in to 16-patch squares. At this point I started to think. "Hmmm...I'm going to have a lot of fabric left over. And this might look pretty cool as a quilt..." And that was that. My table runners turned in to a quilt. Hence all the new mini-strips seen above with my 16-patch squares! So, back to the cutting board for me! I chopped all the remaining fabric up in to 2 1/2 in strips (and then cut those in half length-wise) and started again. It has been kind-of fun to not really plan out a quilt. As I was building blocks, I had no idea how large the quilt would end up (how many blocks I would have in the end). But I went with it. Once I got all my 16-patch squares completed, I decided I needed a better way to lay them out and play with them than my current method of placing them all on the floor. So I took down the artwork on one of my sewing room walls, sewed together 6 yards of white flannel, and thumb-tacked the flannel to the wall. And voila! I had a design wall. Merry Christmas to me! My design wall doesn't look too fancy, and perhaps some day I'll trim it out with maple trim board, and cut it down a little, but I love it! It is so much easier to lay out a quilt when you can stand back from it, than it is to lay blocks out on the floor. Using my new wall, I had some fun playing with the layout and now have begun sewing all my squares together.
I'm rather amused that what began as a rush project to complete two table runners before Christmas, has resulted in a large quilt (roughly 64"x74" I'm guessing) for my sister, and a design wall for me! (The quilt will totally not be done before Christmas.) Now on to thinking about how I'm going to quilt this one...
0 Comments
|
Archives
November 2023
|


 RSS Feed