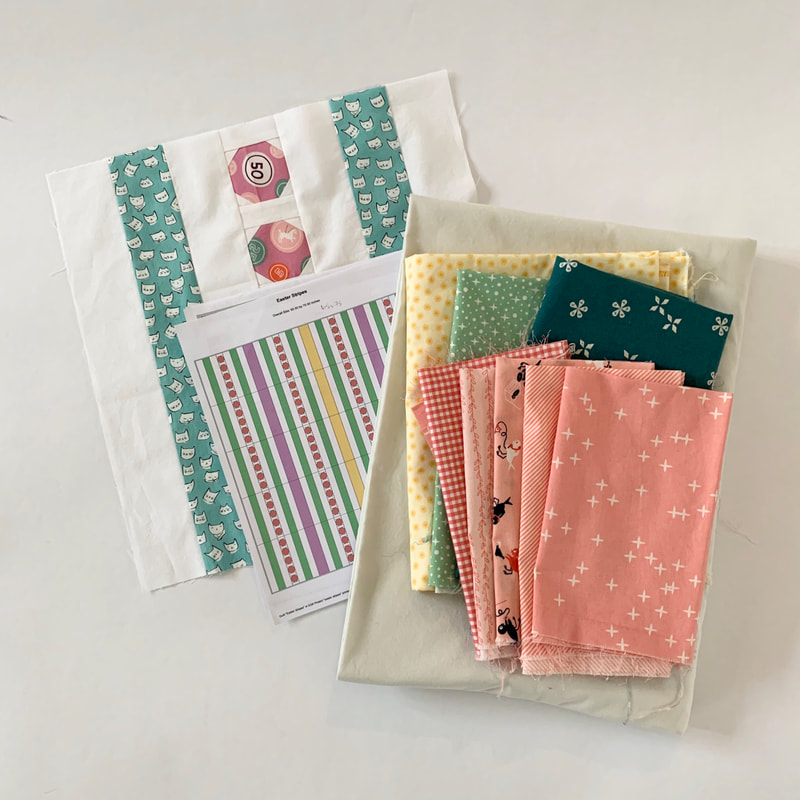
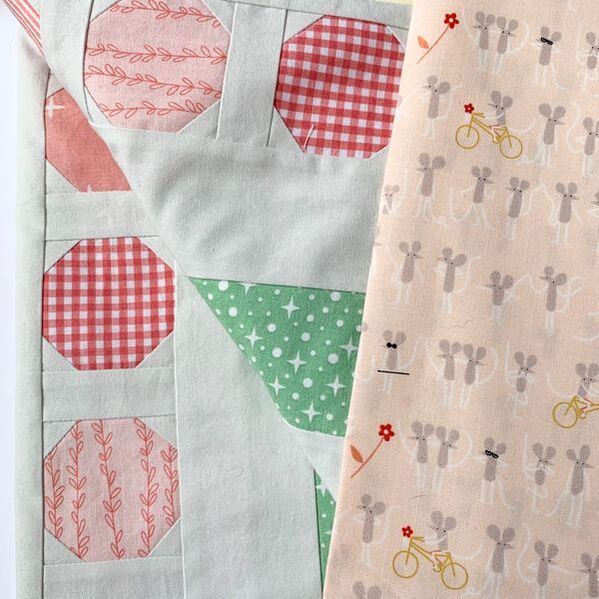
 A test block, pattern, and preliminary idea for fabrics for this quilt.
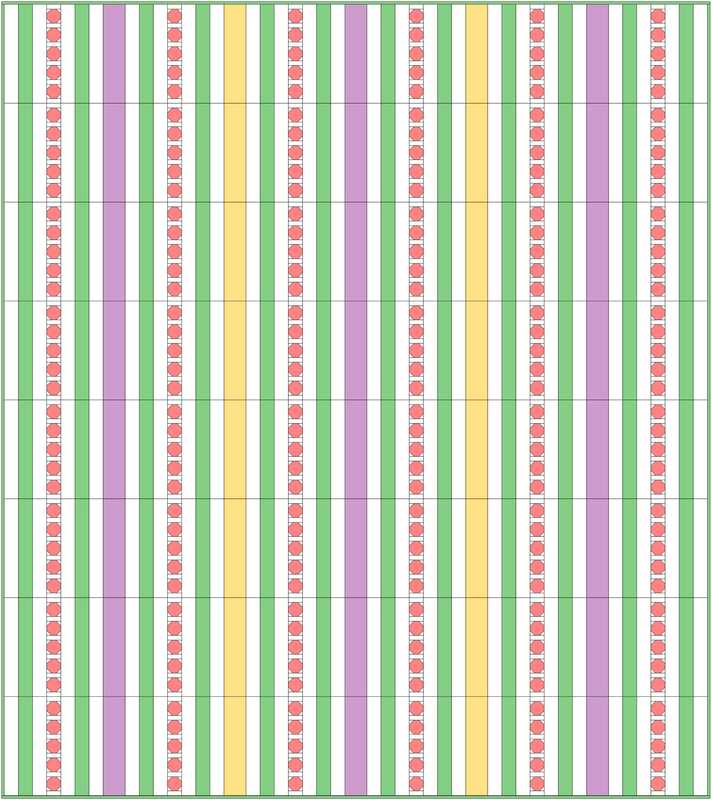
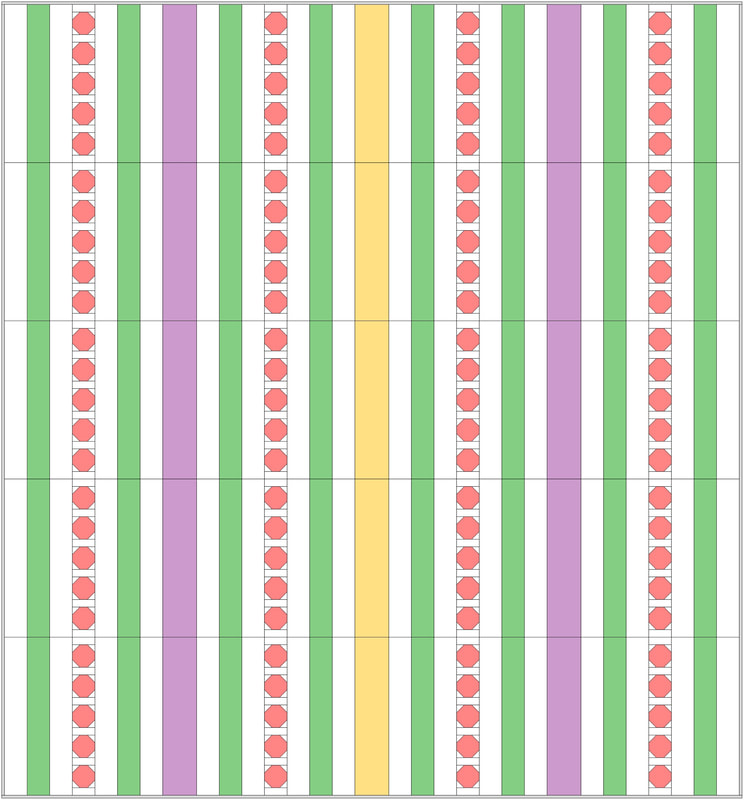
If you follow me on Instagram, you already know that I had fun using Play Craft's palette builder to choose colors, and then fabric, for this quilt. (You can also find those stories saved in my Instagram Highlights here.) You can see the fabric I originally pulled in the top photo in this post. You might notice tho, that some of those fabrics are missing from the next picture...and actually I also eventually removed the purple stripe (shown below) from the quilt top too. 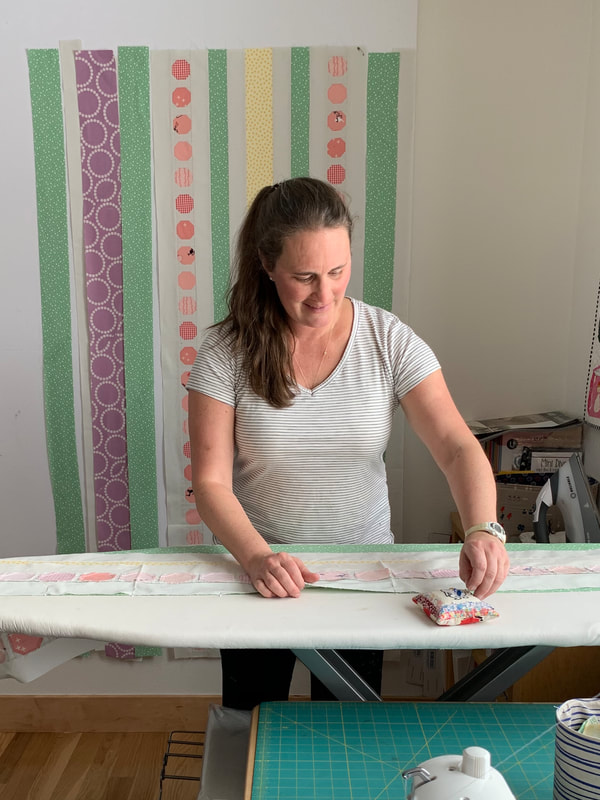 In the end, I went with just green and yellow stripes, on a "haze" lt gray background (Kona Cotton). I loved making the polka dot blocks, and it renewed my design to make an all polka-dot quilt some day. 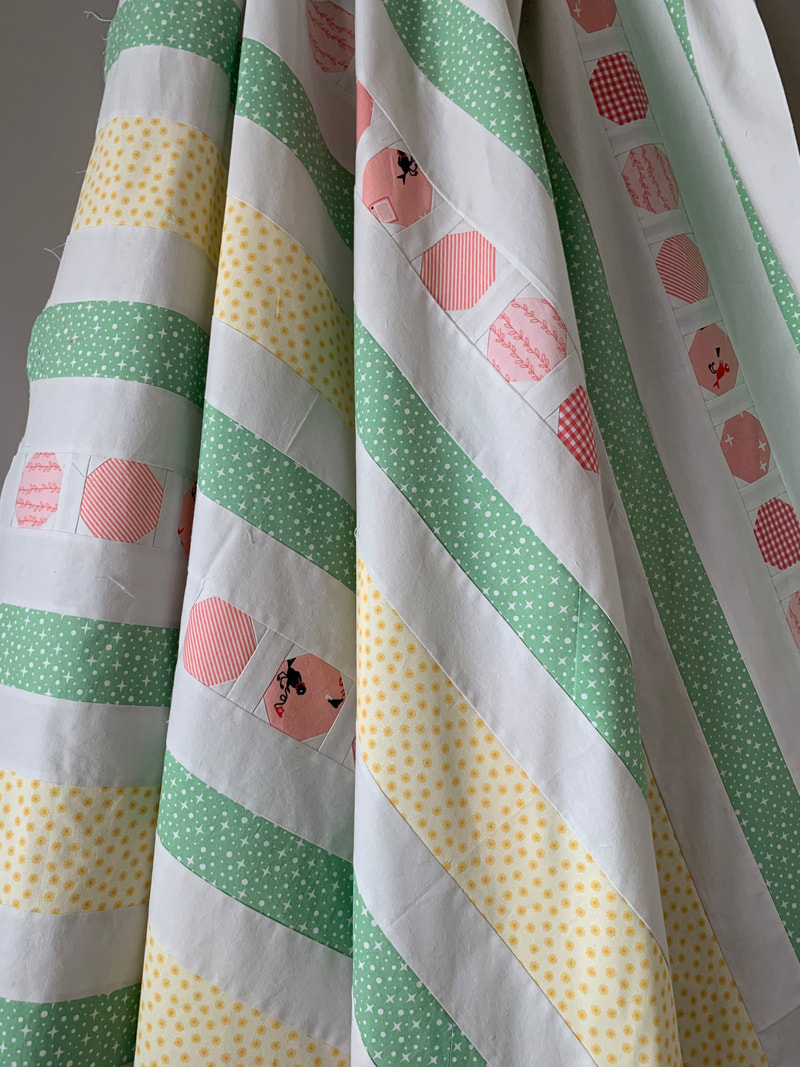 The purple fabric ended up on the binding and I love how it works with the other colors in the quilt. I had this guy quilted by my local long-arm quilter using a design from Urban Elementz called Flower Child. 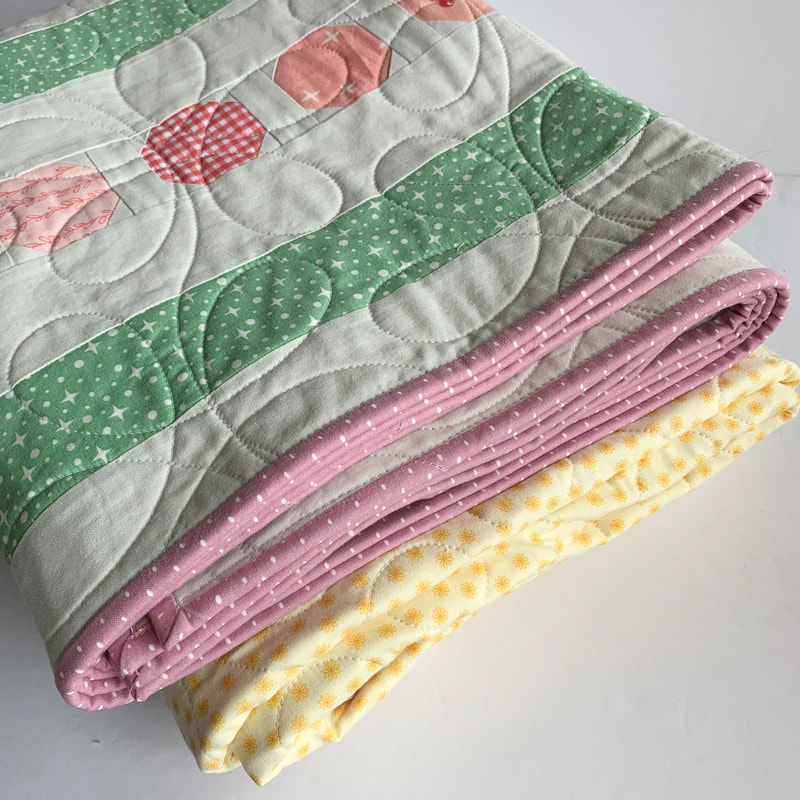
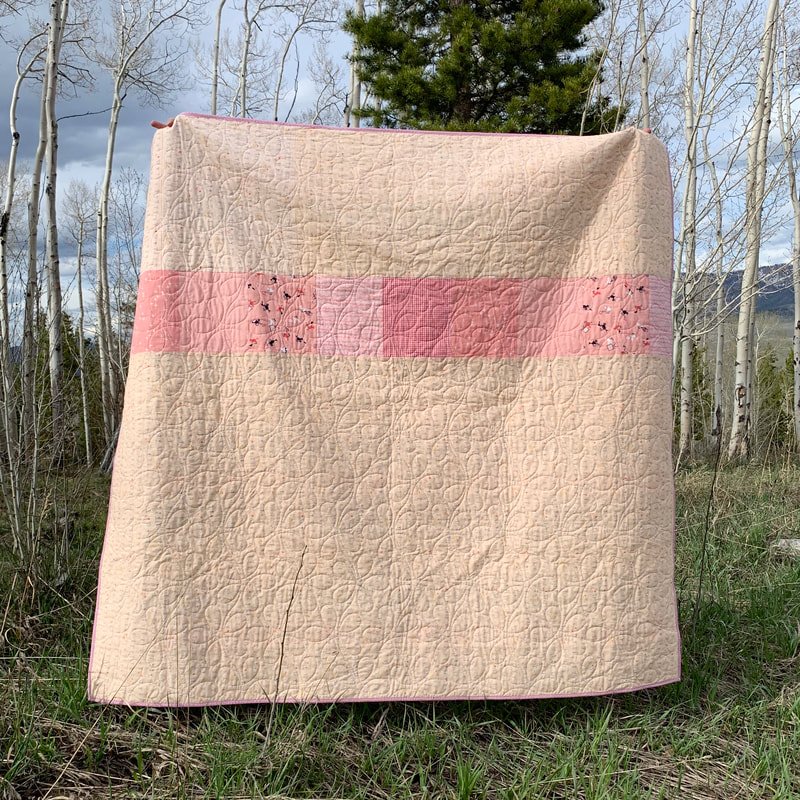
The back of this quilt is mostly a peach (OOP) mouse print from Lizzy House, however I wasn't able to find all that I needed online, and I ended up having to piece a strip using the peach fabrics from the quilt's front. In all, this quilt finishes at around 67 x 72. Scroll through for more photos, and thanks for stopping by! 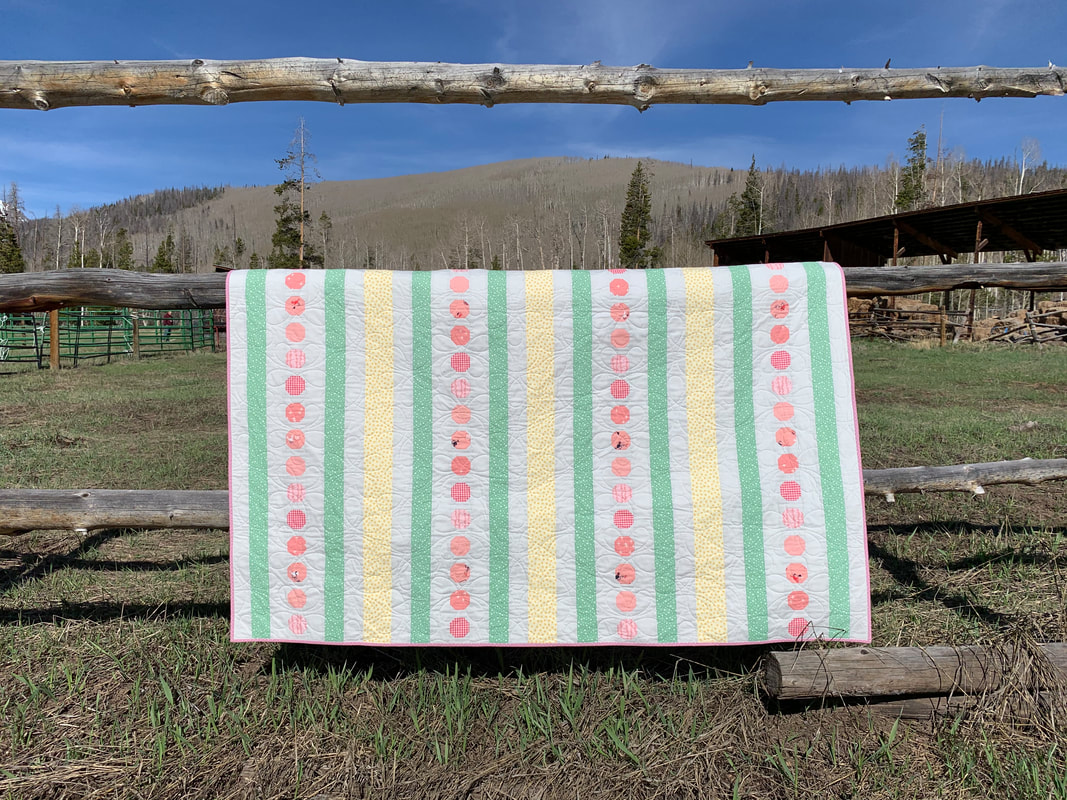 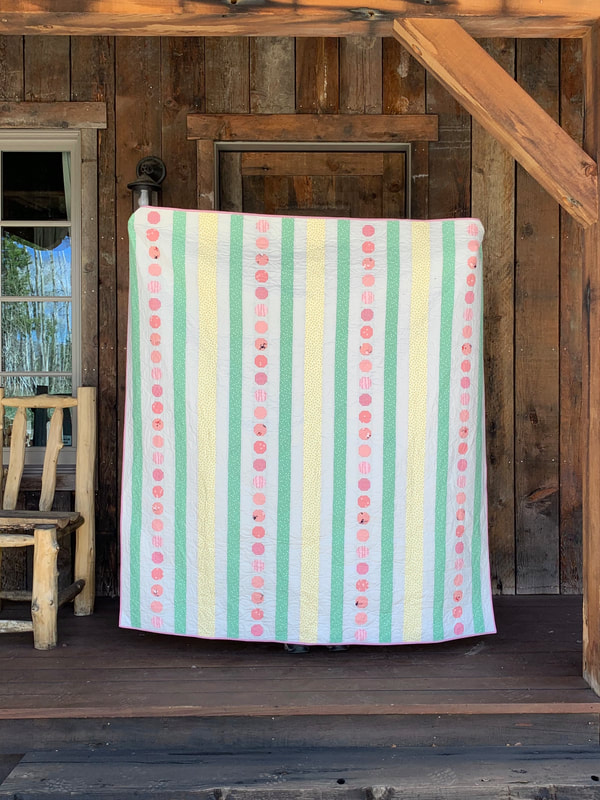 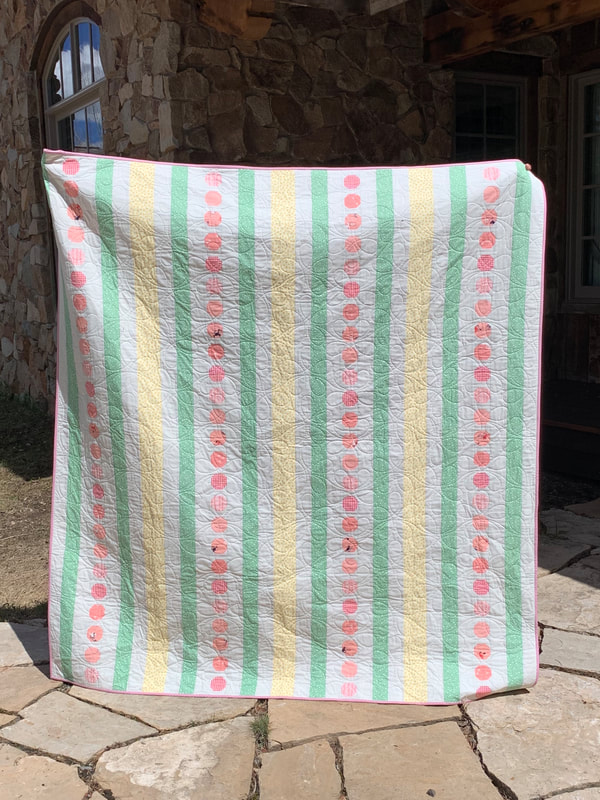
1 Comment
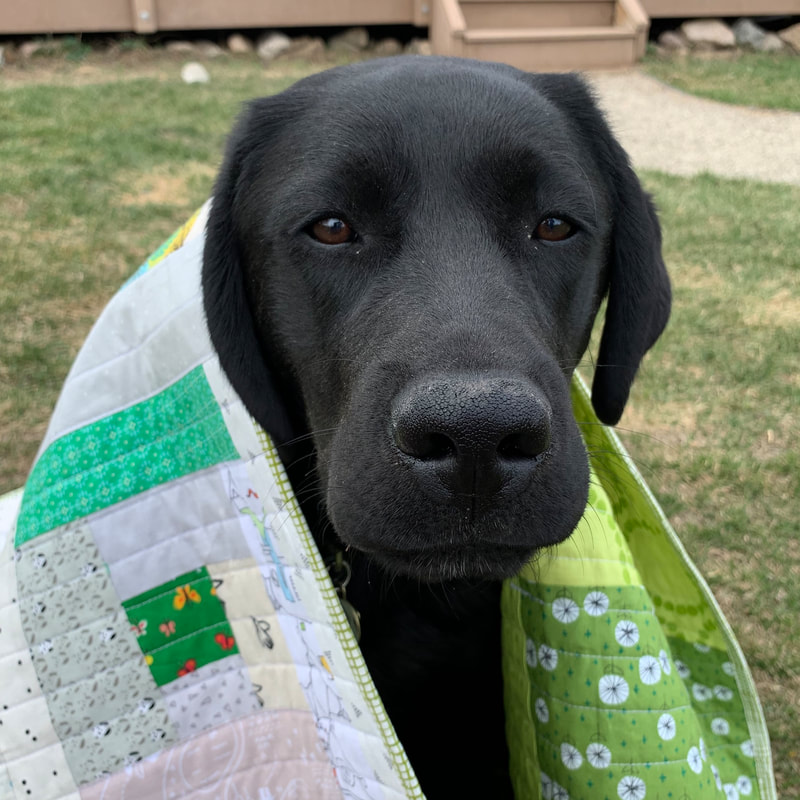
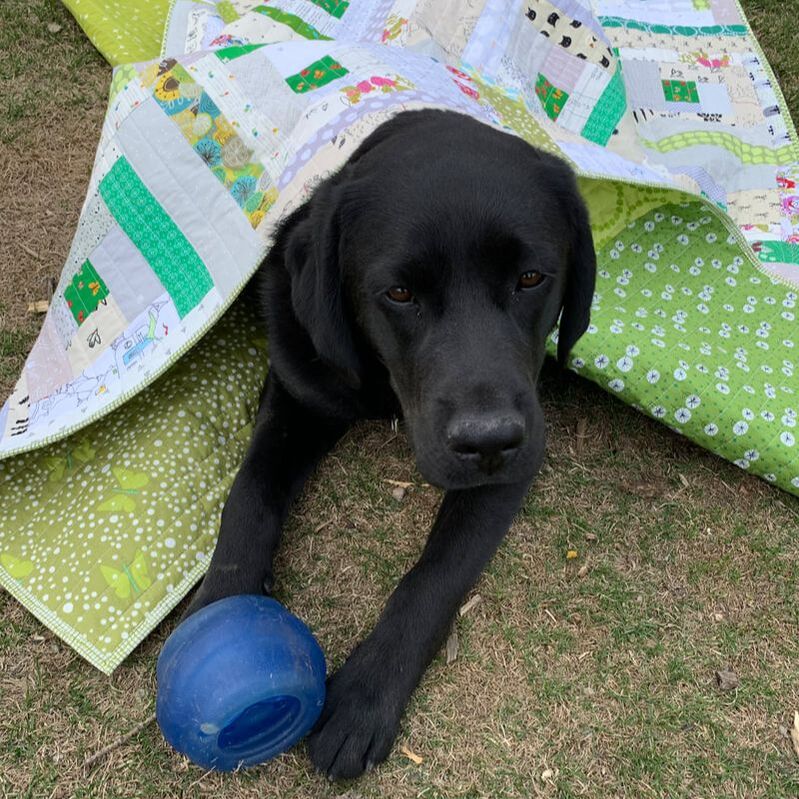
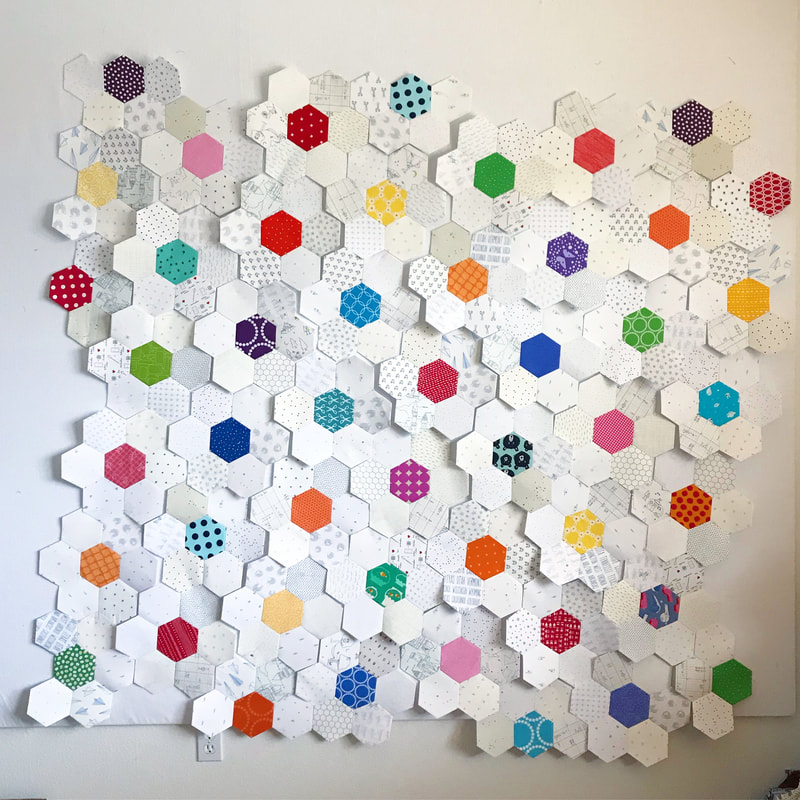 In September 2018, I started my second large-scale English paper-pieced (EPP) quilt project. After a few stops and starts, I settled on this design: bright pops of primary colors surrounded by predominantly black and white low-volume fabrics. Check out #myrthsbluehexies to see pics of my first epp quilt, or read this blog post. It is worth noting that my first EPP quilt was gifted to my mother for a significant birthday, and ever since that I wanted a quilt like it for my own. So this EPP quilt followed a similar pattern and was finished with similar materials. 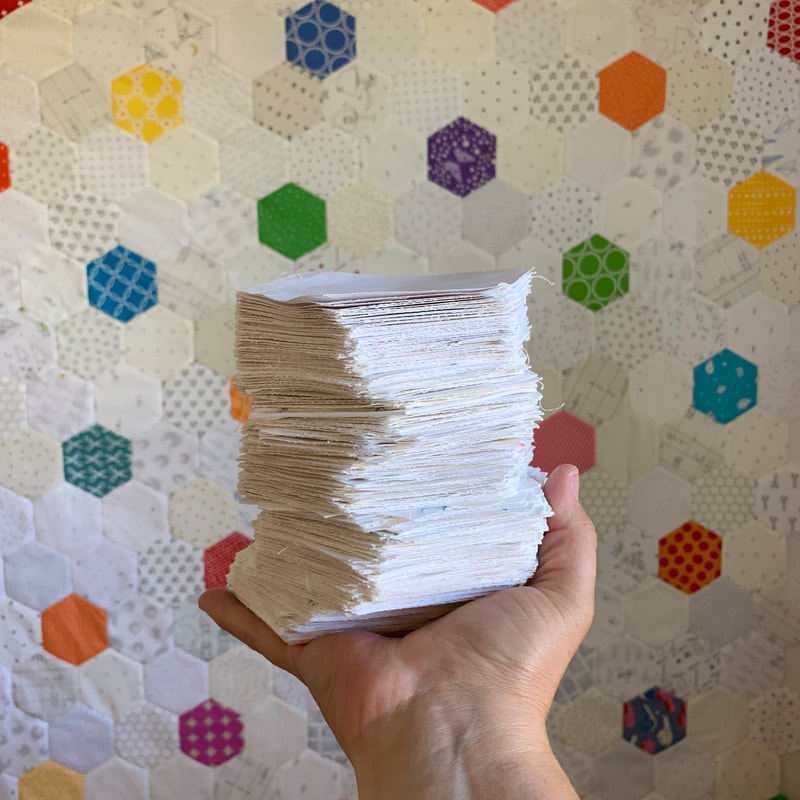 Similar to my first EPP quilt, I used 2 1/2" hexagon pieces from Paper Pieces. I am not a fussy (sewing) person, so to me the bigger the hexie, the better because bigger = less piecing overall. For fun, this time I pulled all of the papers out of the back of my quilt at the same time (soooo satisfying) and I had to snap the picture above. 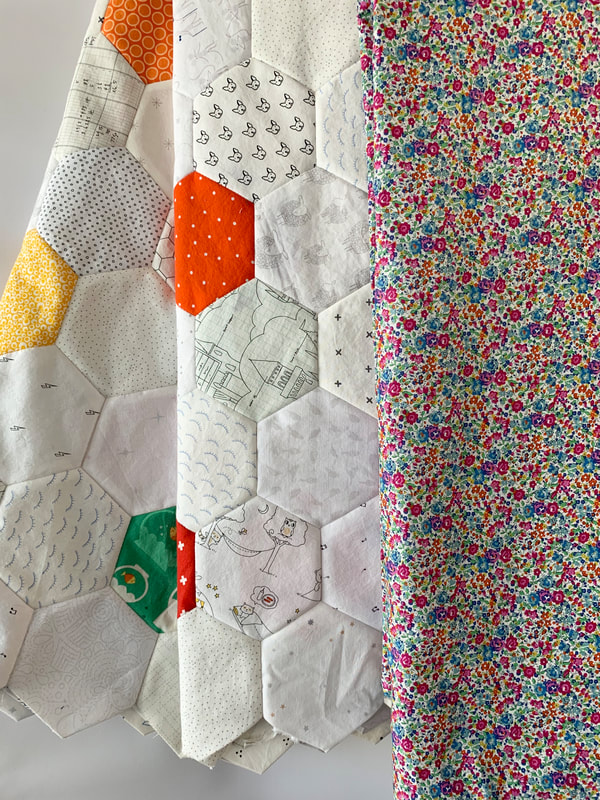 Again - similar to my first EPP quilt, I wanted to back this quilt with a "lawn" fabric - and who makes the most fabulous lawn fabrics? Liberty of London! Yes it cost a small fortune, but this just might be my last hand-sewn quilt, and it was worth it to choose a fun multi-color print that is soft as butter to back this quilt. I went with their "Emma & Georgina" fabric and got it from DuckaDilly here in the US. 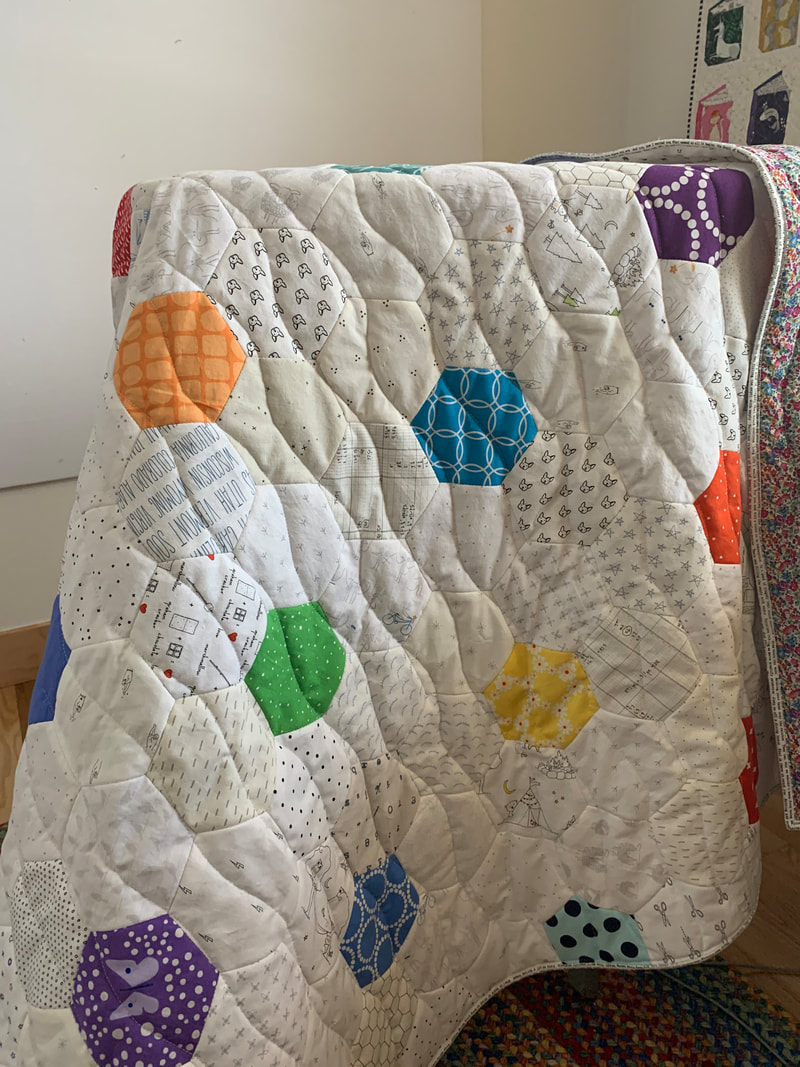 I used Hobbs Tuscany wool batting in this quilt - and again it delivered a lofty soft quilt. I quilted it on my home machine with wavy lines going through the center of each hexagon in quasi-lines. For me the wool batting is so puffy that it lends itself to the wavy lines more than straight lines. 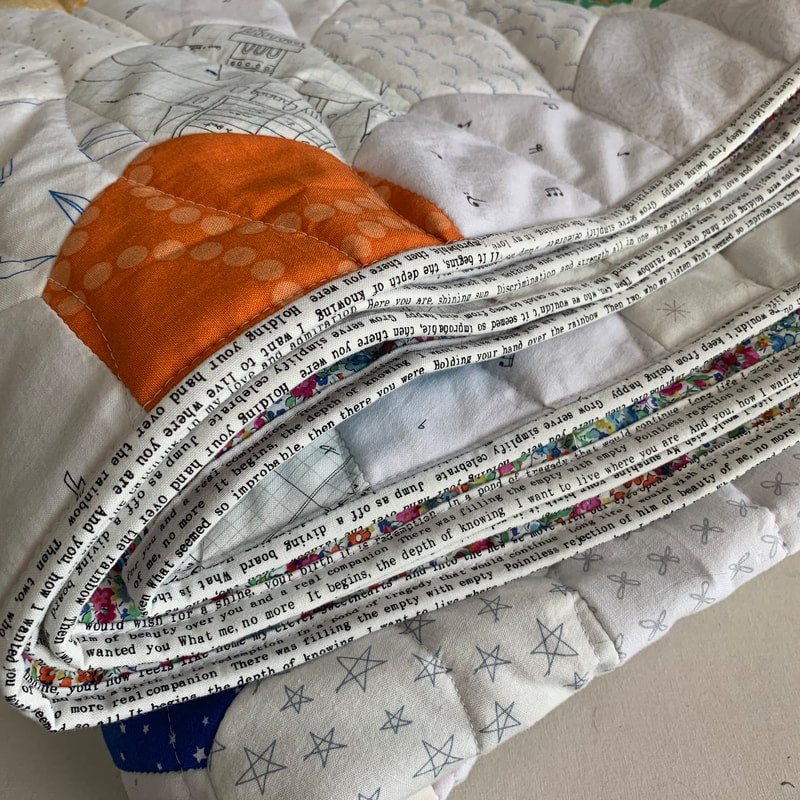 I bound the quilt with an Allison Glass text print and I love how it's a slightly denser print than the other low-volume prints in the background of the quilt. It draws a visual line around the edge of the quilt that is noticeable, but not over-bearing. 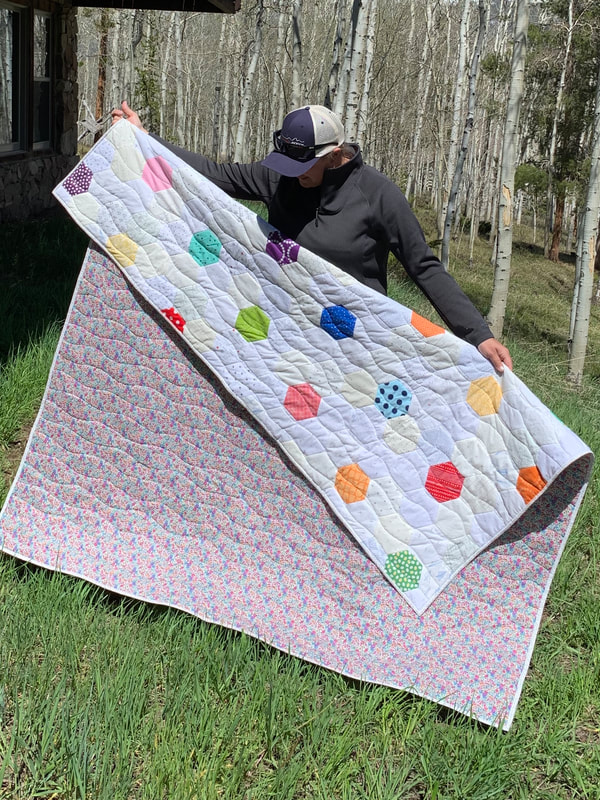 Quilt Stats: This quilt has 333 hexagon pieces that make up the quilt top, and it finishes at 65.5" x 74". Of those 333, 48 are primary colors, and 285 are low-volume background fabrics. There are 33 whole "flower" blocks, and the rest are partial flower blocks, or just low-volume hexies filling in the edges. Thanks for reading along! Below are a few more pictures for your visual enjoyment. 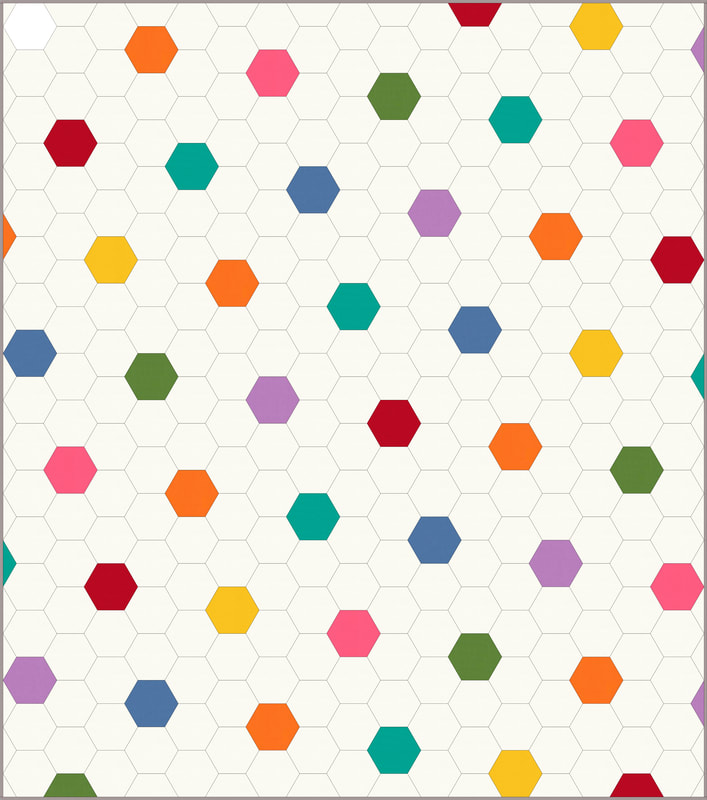 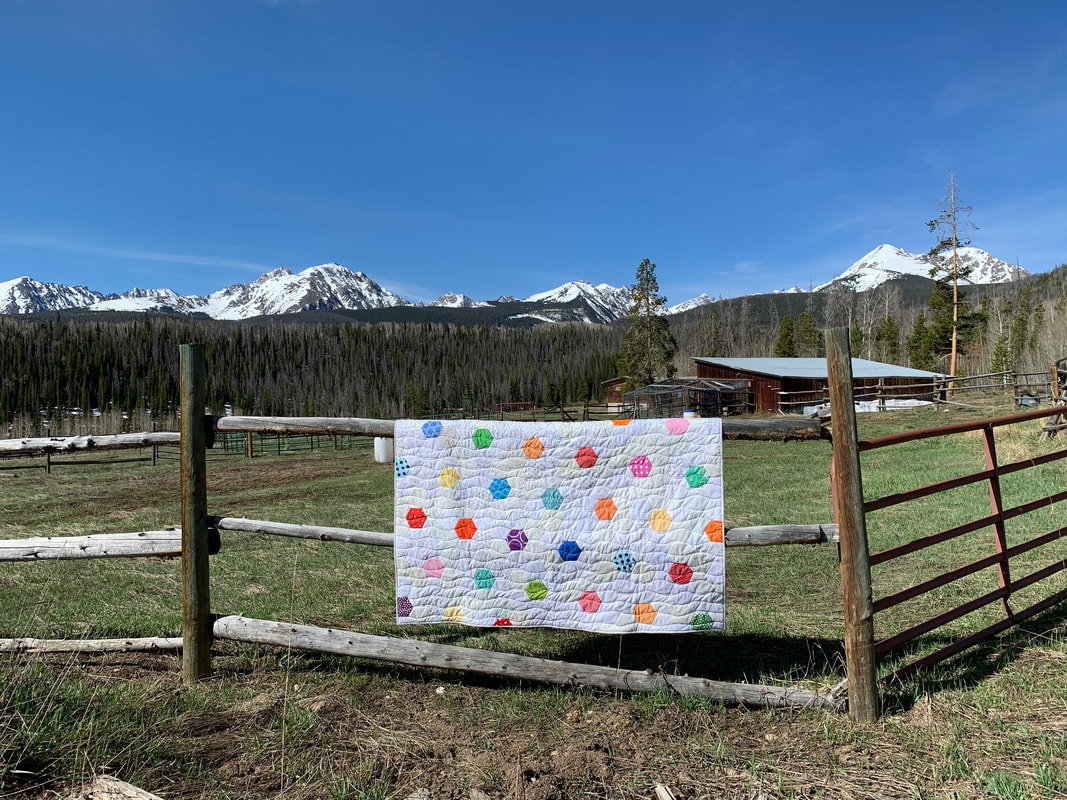 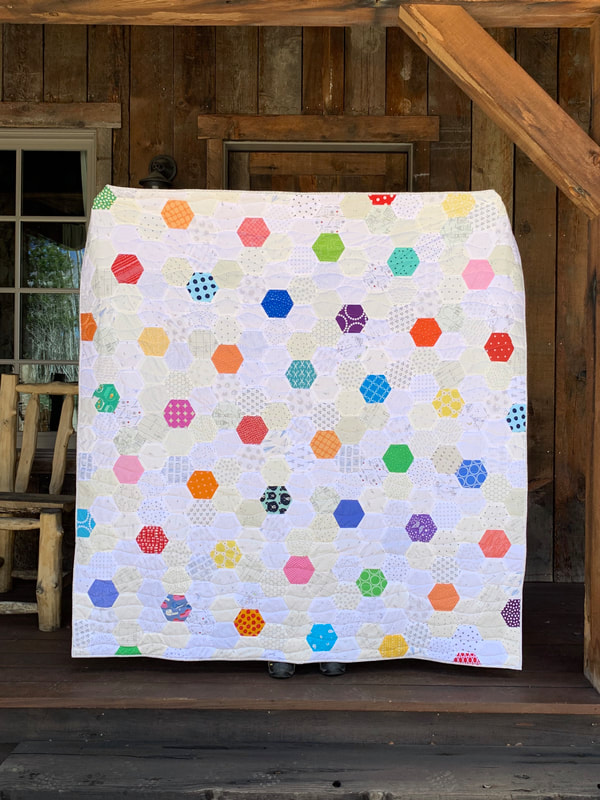  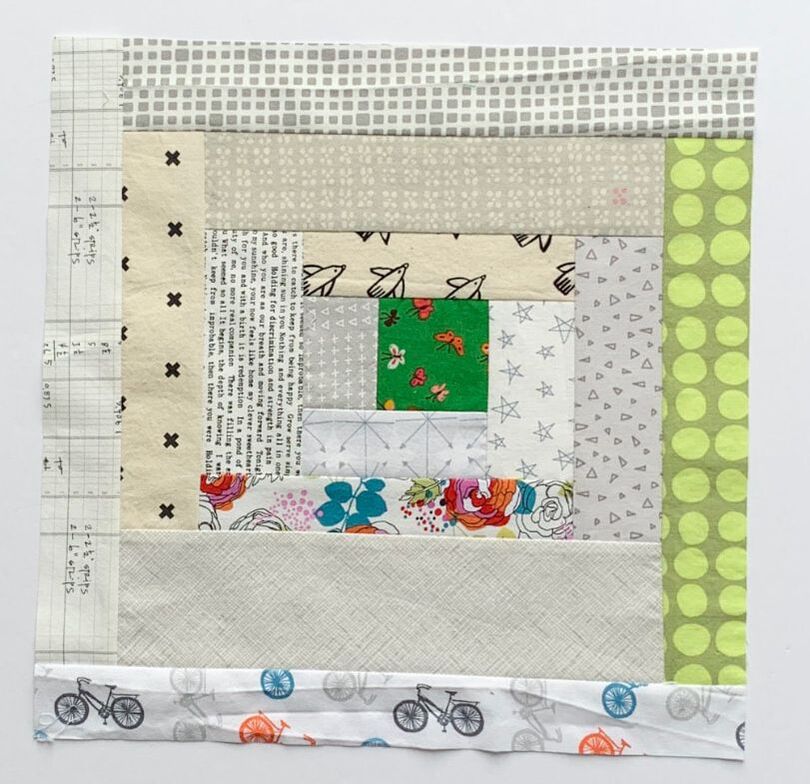 I find it hard to believe, but in my 19 years of quilting, I'd never made a log-cabin quilt. I did make a baby quilt with 1 "mega" log cabin block, and I've made individual small log-cabin blocks for swaps and bees - but those are different in my book. So this month, I decided to change that. A few weeks ago, Rossie Hutchinson (@rossiecrafts) started an informal log-cabin sew-a-long and it sparked inspiration. Conveniently, recently I had begun saving "stings" when cutting quilts - and a friend (@robineggbluedesigns) offered to send me some of her scraps. The multi-colored print above is from her, and it was the jumping off point for this quilt: I loved the pops of color in the print, and the green in particular (the green dot shown above is also from her). So, during Zoom calls with friends & family, I began sewing together strips of assorted widths. It was the perfect mindless improv project to work on while chatting. 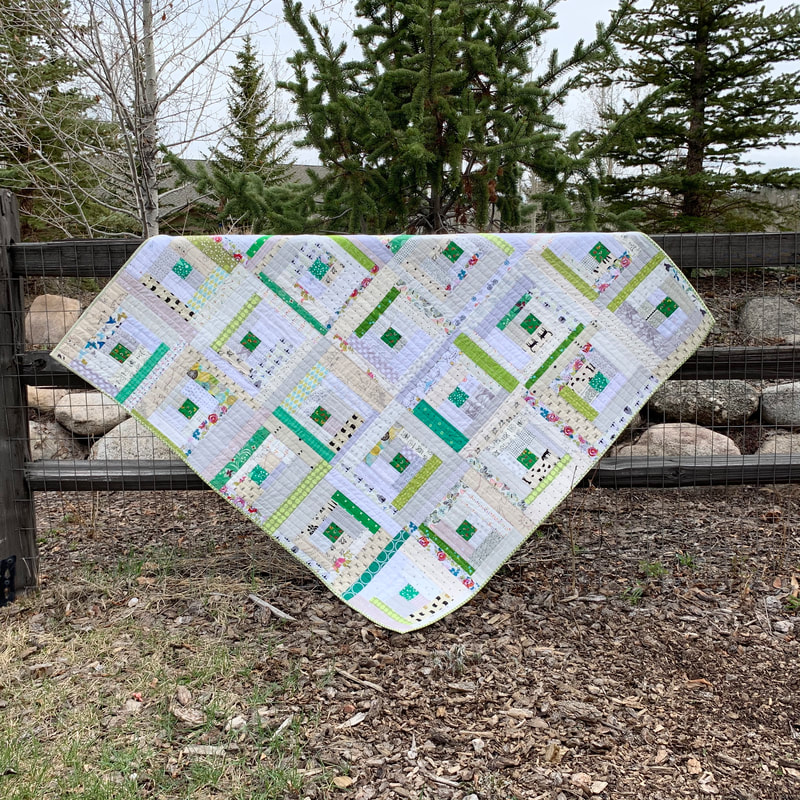 Fast forward a couple of weeks, and I have a completed quilt! I made 25 blocks and trimmed them to 12 1/2" square and ended up with a roughly 60" x 60" quilt. Every inch of this quilt top came from my scrap bins (or the scraps sent to me), and the back is 100% from my stash. The greens on the back don't perfectly match - but they all remind me of spring and they all were on hand. 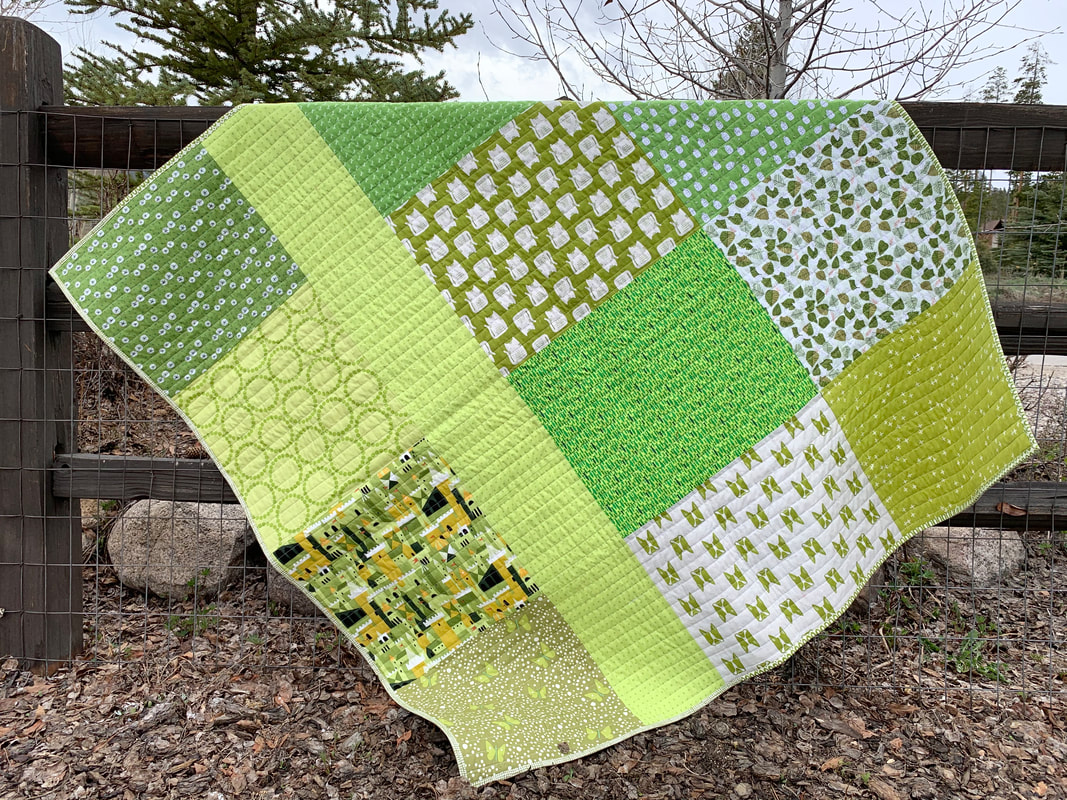 I bound the quilt with two more fabrics that I had on hand, and quilted more 1"-spaced straight lines on my home machine. 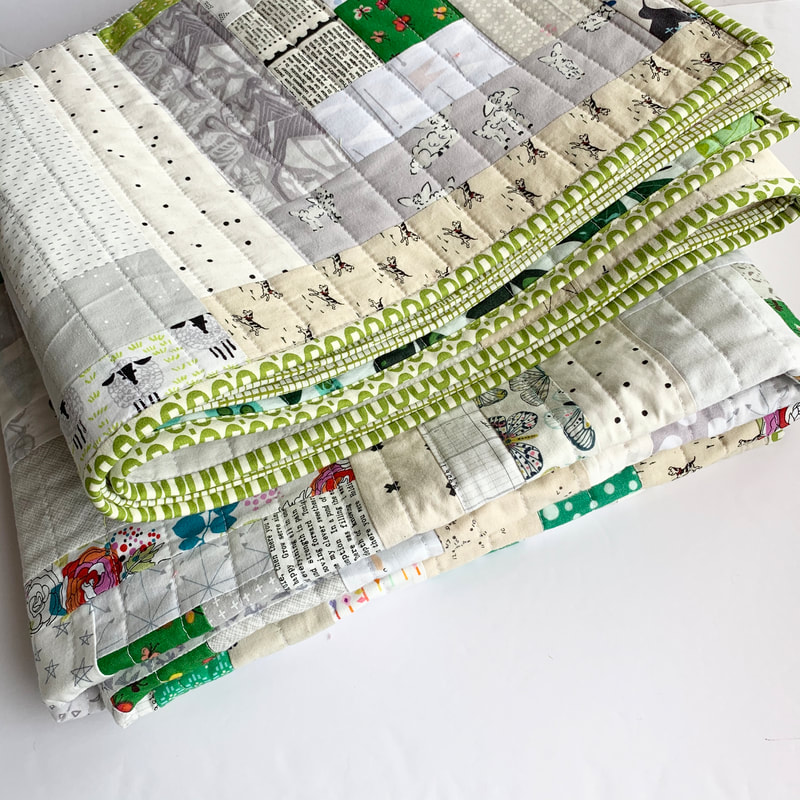 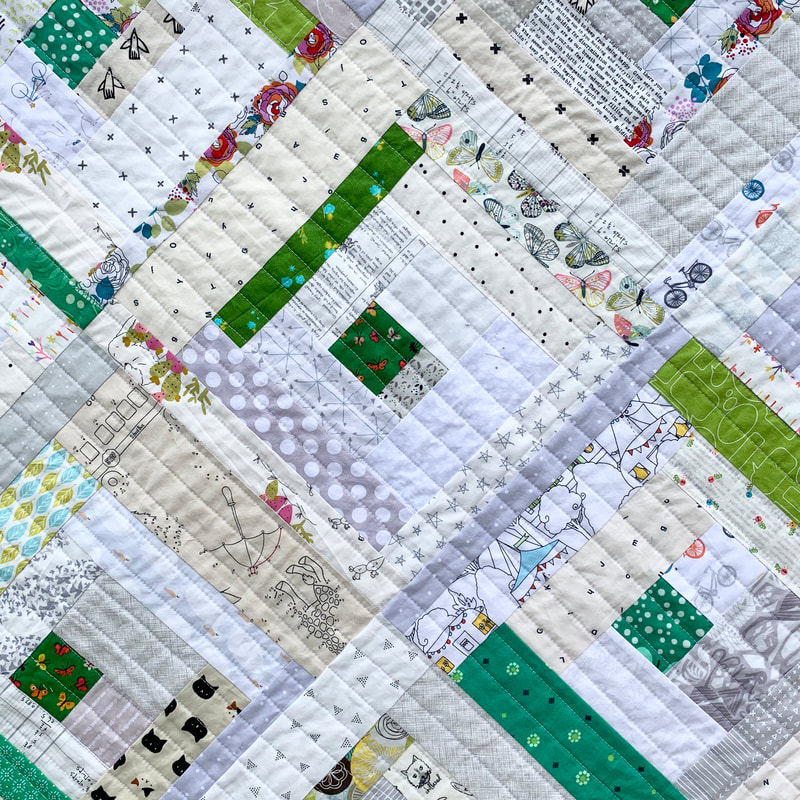 After spending so much time & focus on my Inner Star Quilt patterns, and the three versions that I made of that quilt, this log cabin quilt was a breath of fresh air. I absolutely love this quilt, but my Mom expressed interest in it, so it'll be a late Mother's Day gift to her. I know she'll give it lots of love. Thanks for following along with me on my sewing adventures, and scroll on to see some pics of my dog, Leo, and the quilt. He loves to jump in my quilt pics, so when he had a quiet moment I took my revenge and wrapped him in the quilt. 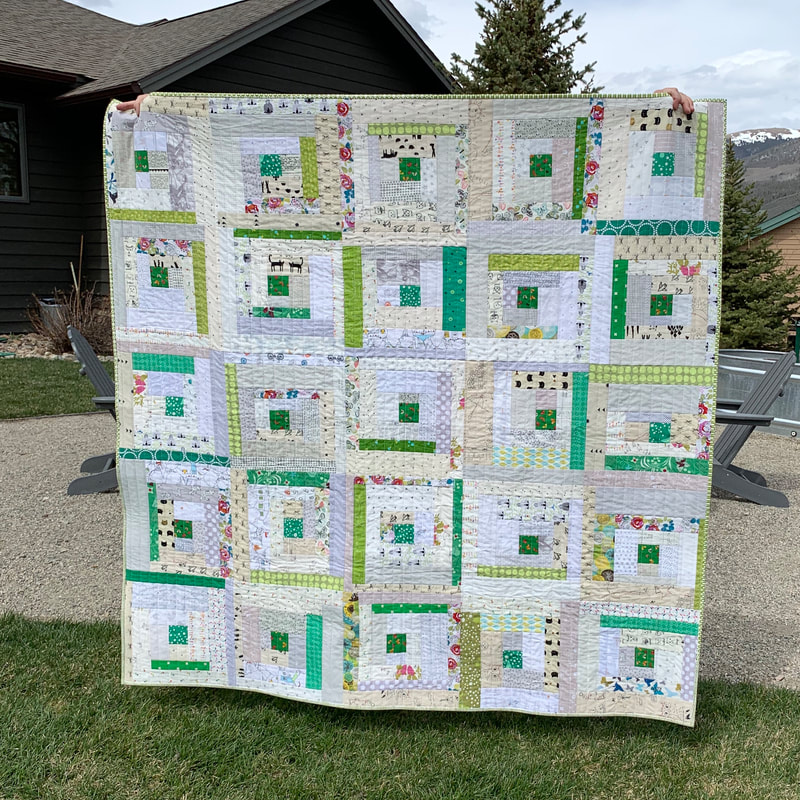
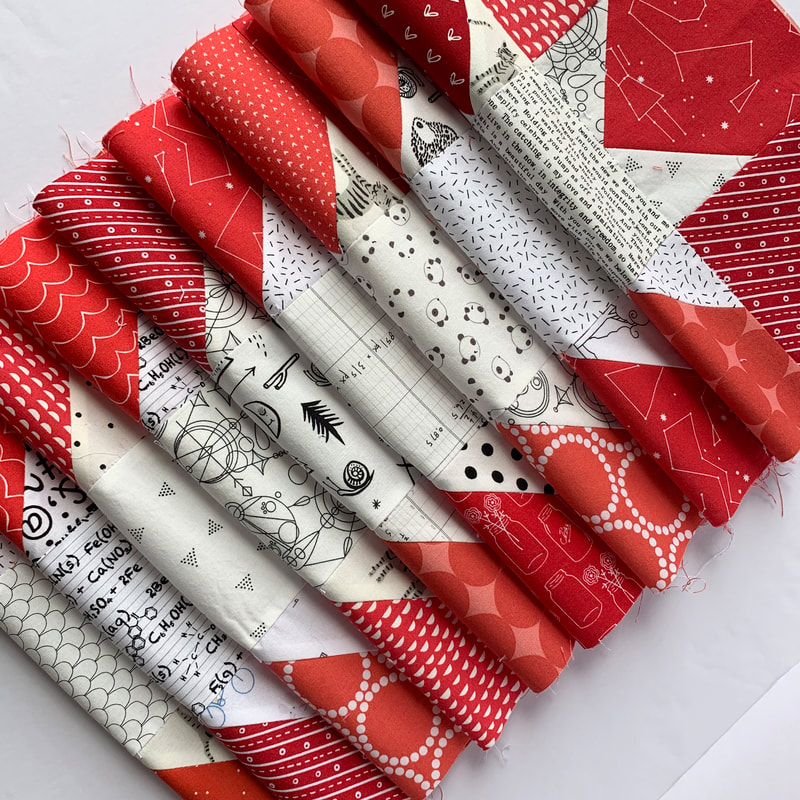 Pretty soon after I started my original blue version of my Inner Star pattern, I had the thought that I must make a scrappy one. I raided my stash and found 21 red and white prints and I paired those with more of the same low-volume fabrics from the blue quilt. 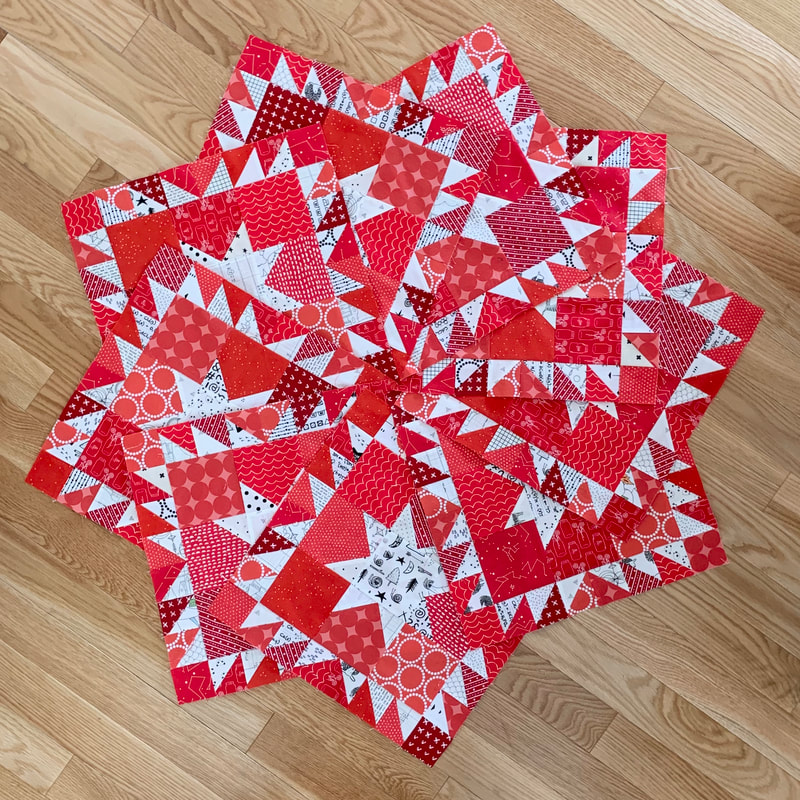 I used 9 of the red fabrics to make the blocks, and another 12 to make up the sashing. That made it easy to layout the quilt and not have a sashing piece next to the same fabric in the adjacent block. 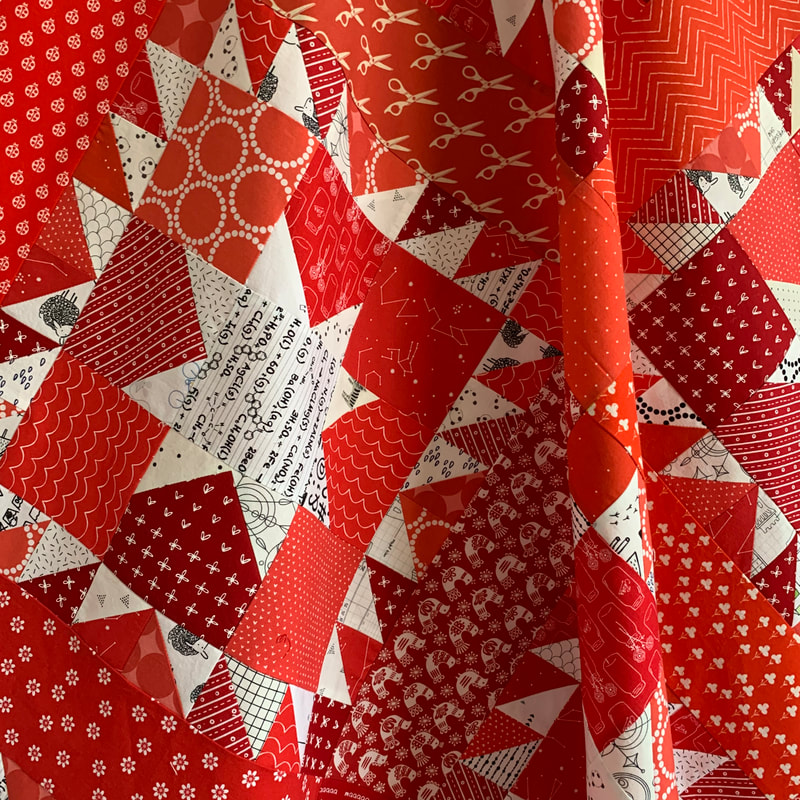 I used strips left over from cutting the red 2 1/2" corner squares to make the quilt binding. A scrappy quilt needs a scrappy binding, right? 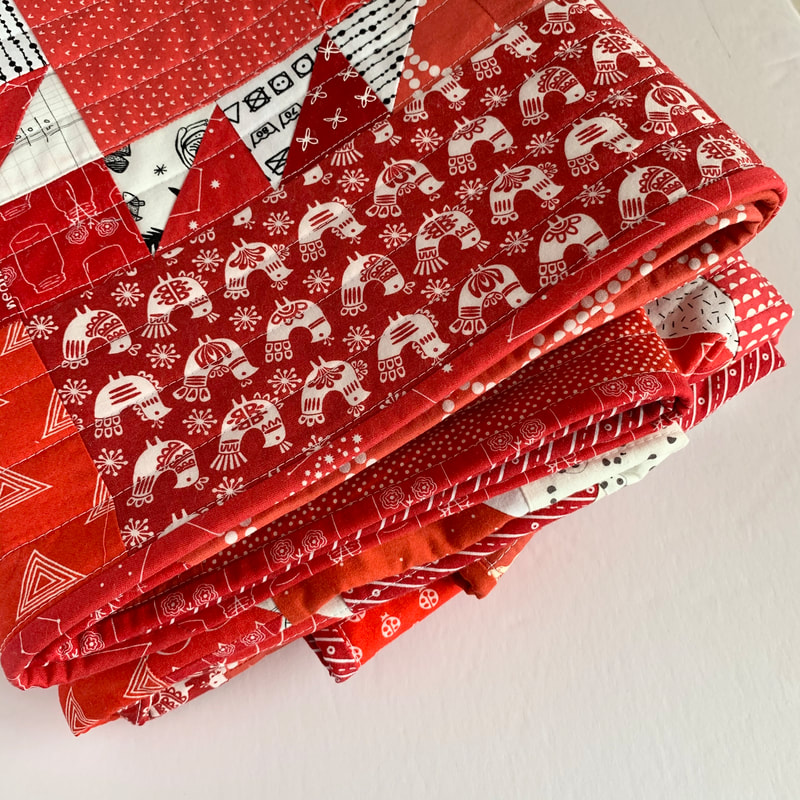 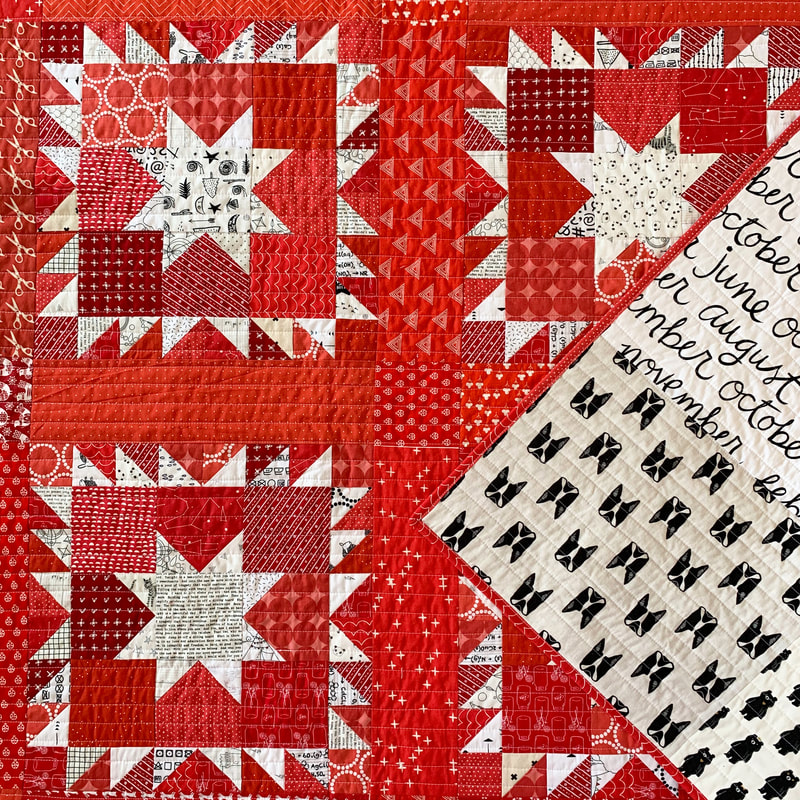 I pieced the backing for this quilt using large-scale black and white prints, and b/w prints that don't qualify as "low-volume" in my book; and quilted it on my home machine with straight lines that are about 1" apart. 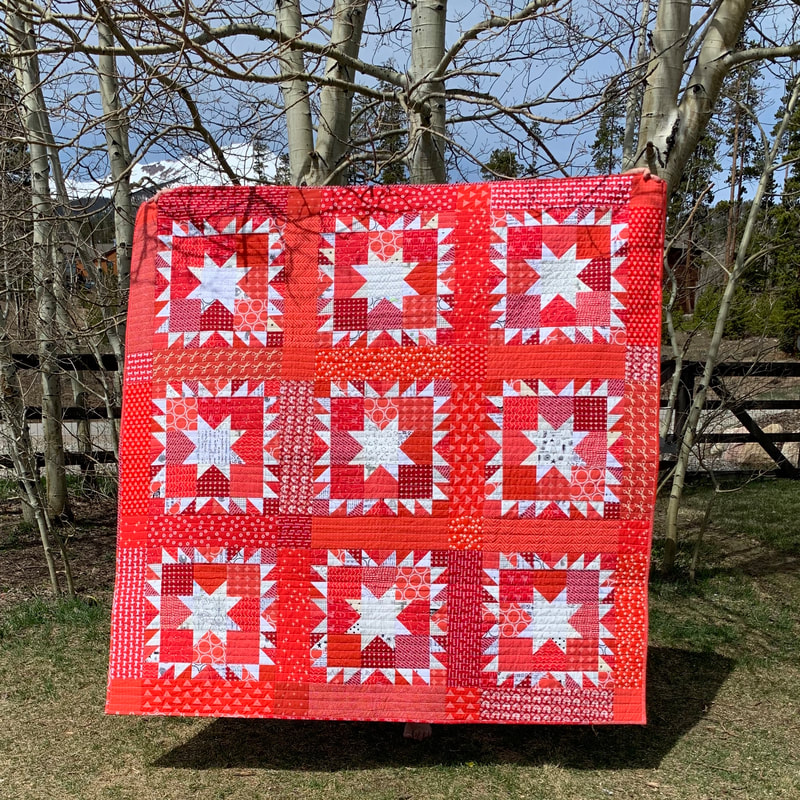 Making a scrappy quilt always takes a little more time to cut and place fabrics, but in the end I think that the result makes it all worth it. I've updated my Inner Star Quilt pattern to make a scrappy version, and you can find it here. For more pictures of Inner Star Quilts, check out #innerstarquilt and as always, please tag me if you make one of my patterns @handmademyrth - I love seeing your work! 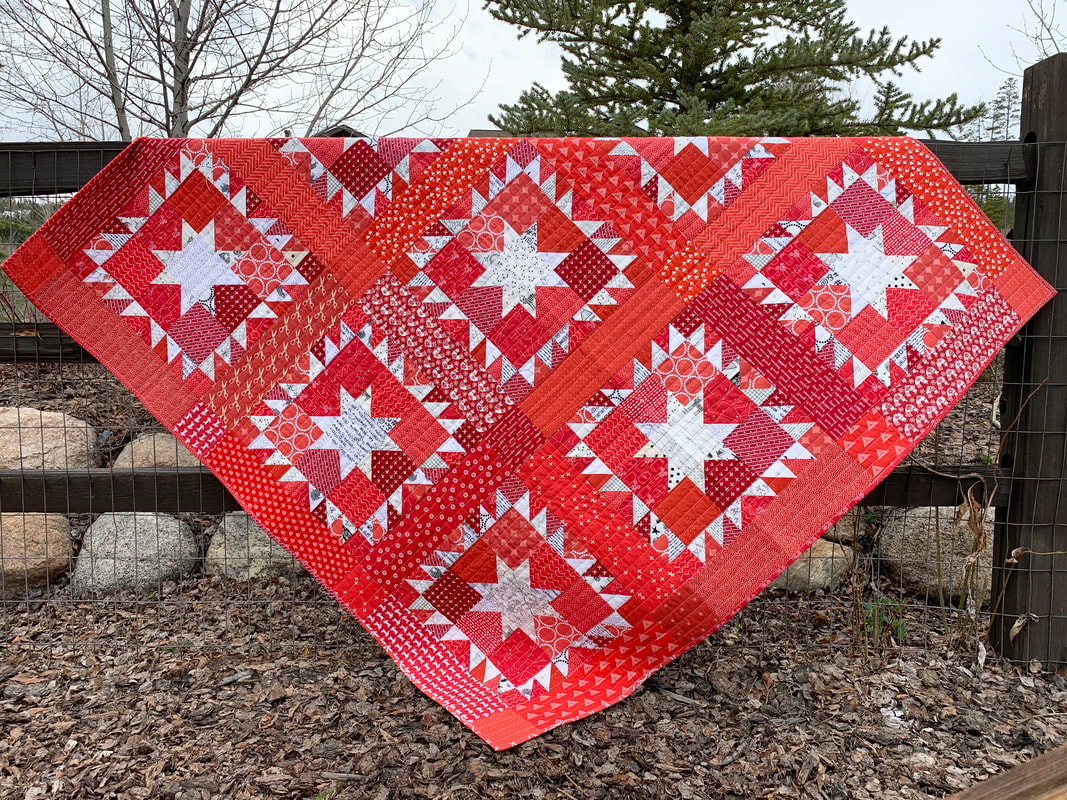 |
Archives
November 2023
 |
 RSS Feed