- About Me
- Blog
- Commissions
-
Tutorials
- Solid HRT Quilt
- Solid HST Quilt
- Going Places Quilt Tutorial
- Star-in-a-Star Baby Quilt Tutorial
- Scrappy Inner Star Quilt Pattern
- Inner Star Quilt Pattern
- Grandma's Scrappy Quilt
- HST Chaos
- Scrappy Goose Quilt
- Scrappy Patchwork Wreath Quilt & Block - Reg Size
- Solid Wreath Block
- Quilt Show Ribbon Tutorial
- Double Bear Paw Block
- Improv Sticks Border
- Wreath Mega Block Quilt
- Contact Me
|
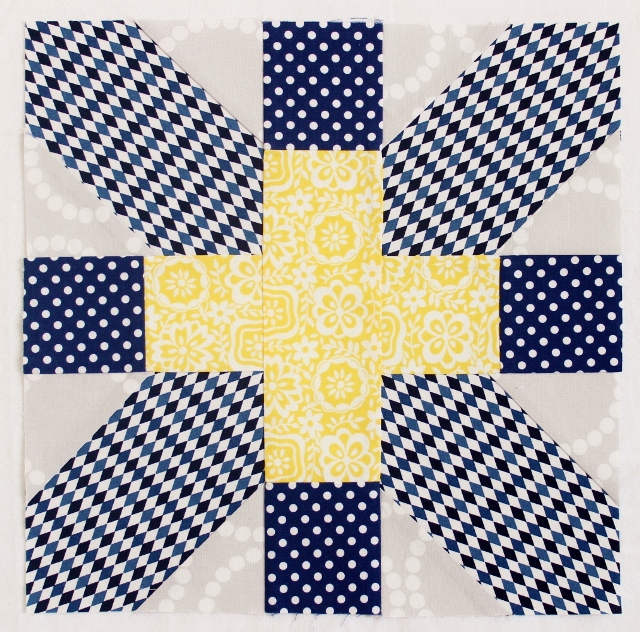
The Boston Modern Quilt Guild has sent out a call to the Modern Quilt Community for quilt blocks. These blocks will be assembled by the Boston Guild in to quilts for victims of the recent marathon bombing. They requested that blocks be made in the colors of the marathon: blue, gray, white and yellow.
My "x and +" block will soon be on its way to MA! I'm glad to be able to help in some small way.
0 Comments
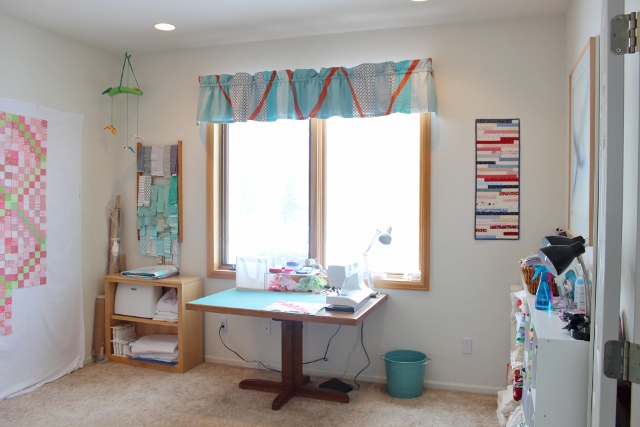
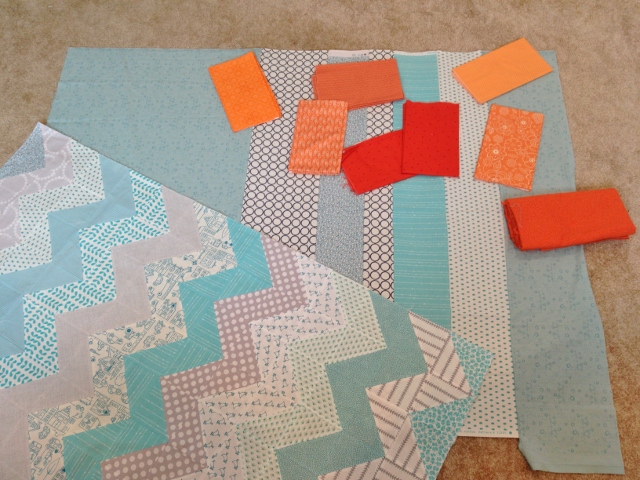
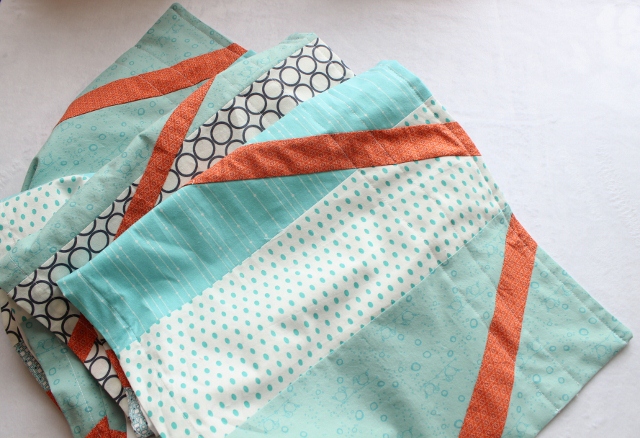
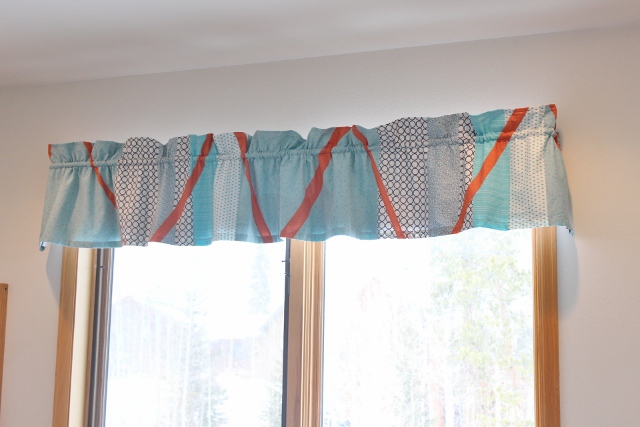
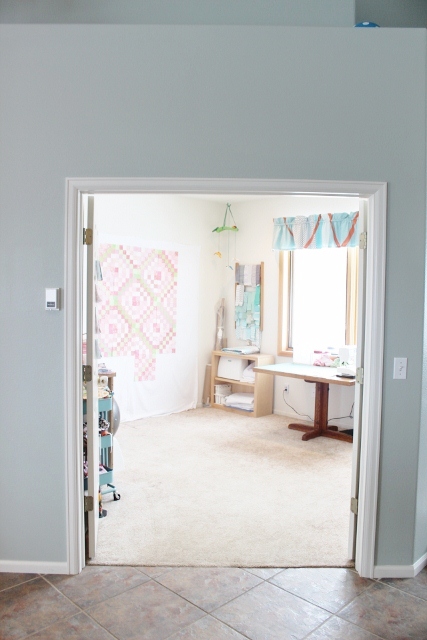
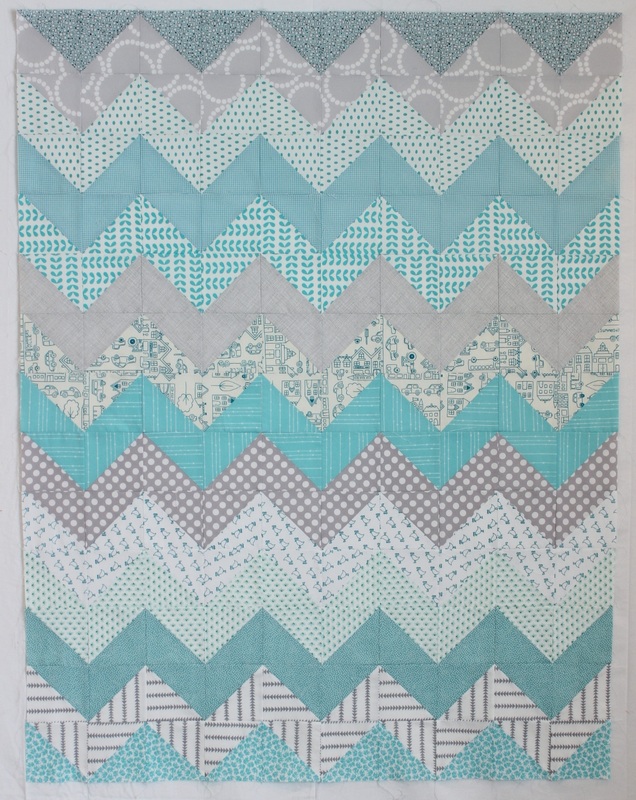
It was another snowy day here. So impulsively I pulled down the faux-linen vertical blinds from the window in my sewing room...and turned a potential quilt backing into a new window valance! If you follow me on Flickr, you will have already seen this pic (below). I was experimenting with making a pieced backing for my chevron quilt. However, once I had the pieces sewn together I didn't like it for a backing. My next move was going to be to cut some big perpendicular "slashes" across the strips and turn it in to a modern quilt top. And that's where it sat for a week. Until I woke up this morning and decided to turn it in to a pieced panel for a window valance. I still liked the the idea of making orange slashes. So I cut the panel in half and then went about slashing a sort-of wonky disjointed chevron across the strips. Next I found a piece of black-out lining, hemmed them both, sewed them together on three sides, and sewed a pocket for a curtain rod. And voila! Window valance. Can I just say that I have been obsessed with turquoise or mint lately. I inadvertently painted my living area walls a light turquoise-y color (I thought it would be much more gray than it ended up being). Regardless, the new valance also looks nice with the entry/kitchen walls. Next project: I'm looking forward to finishing the Scrappy Trips Around the World quilt shown here on my design wall (left).
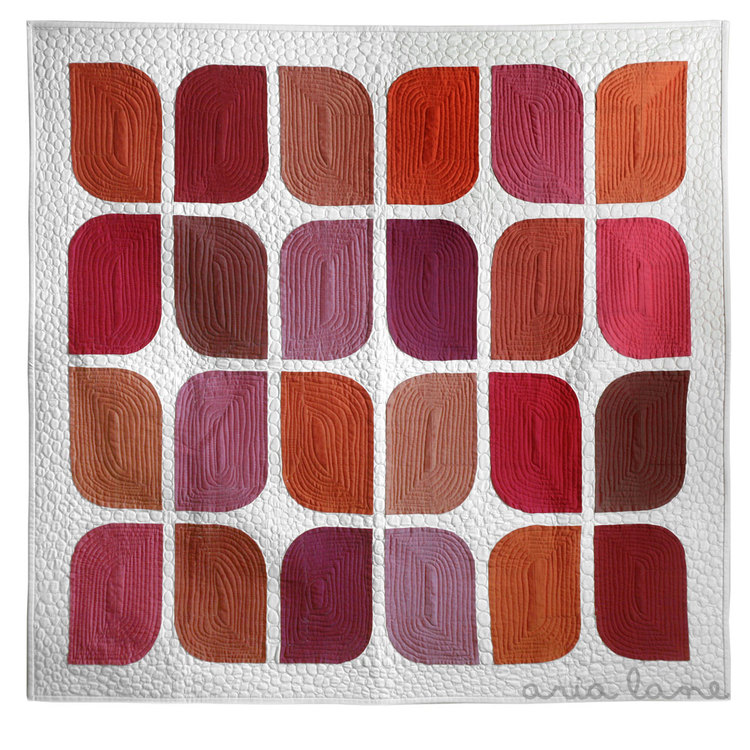
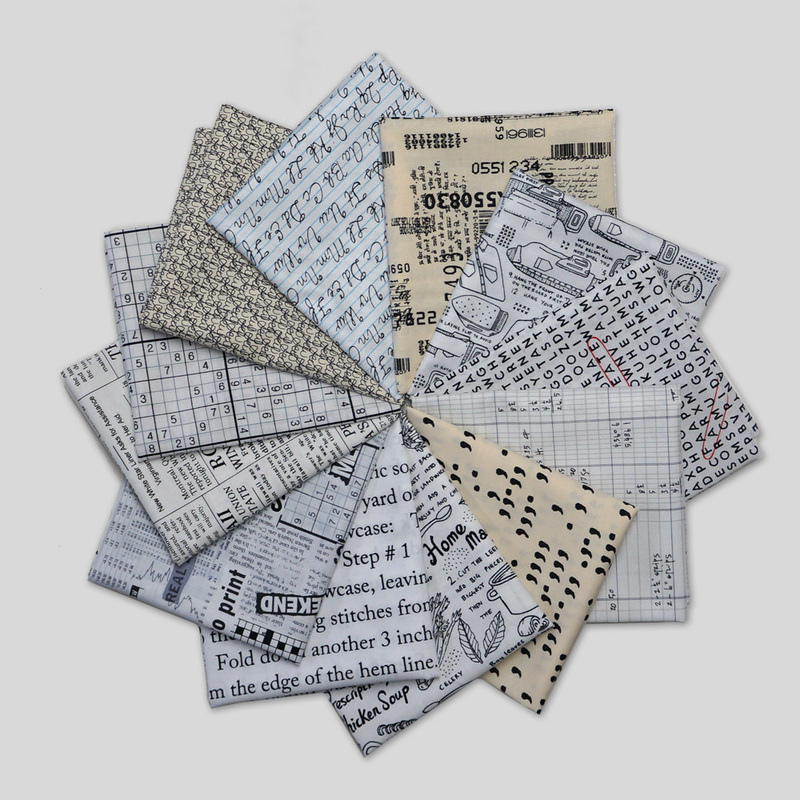
I've decided to join the Pile O'Fabric "Retro Rubies" quilt along. Why not? I could use some practice on sewing curves. Plus, it's fun to share my projects on Flickr with people who are doing similar projects. I'm thinking this would be a fun project to try using black & white text prints for the background, and a fun bold solid or two. I have a bunch of Kona solids left over from the quilts for my twins! Ok, I'm off to search the internet for as many text prints as I can find. (I've already ordered this pack from Pink Castle Fabrics to get me started.) Stay tuned!
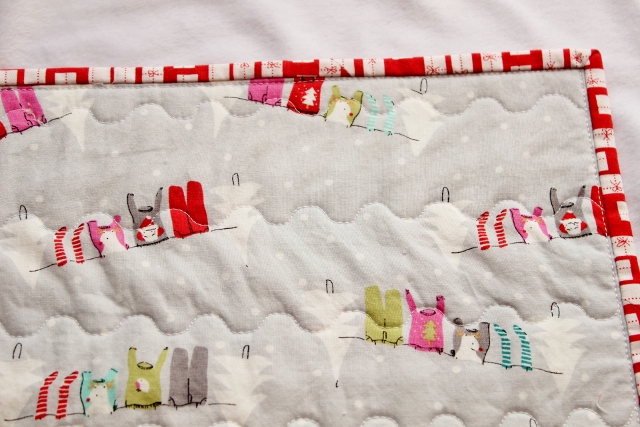
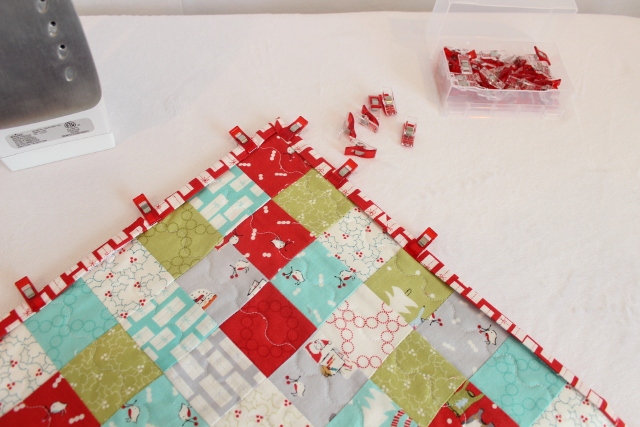
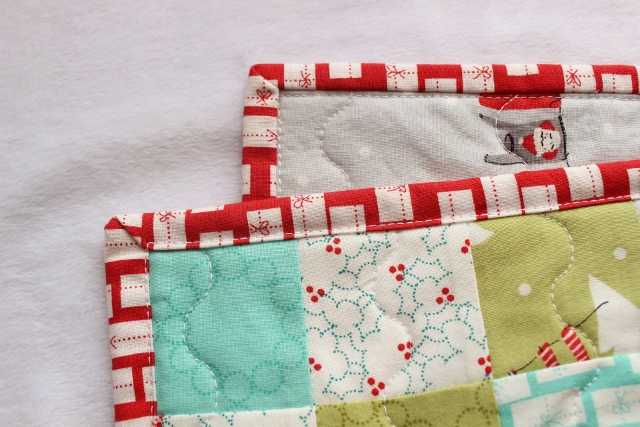
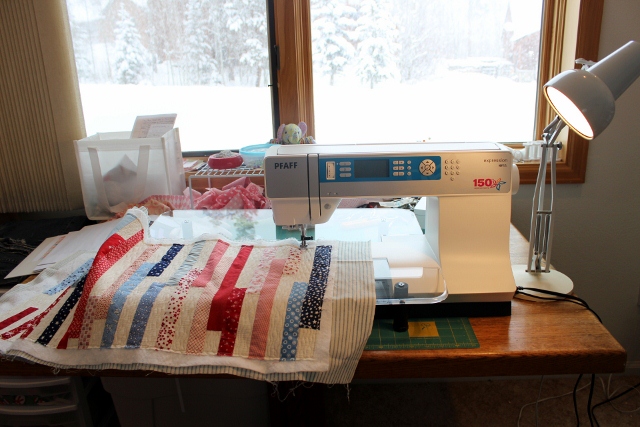
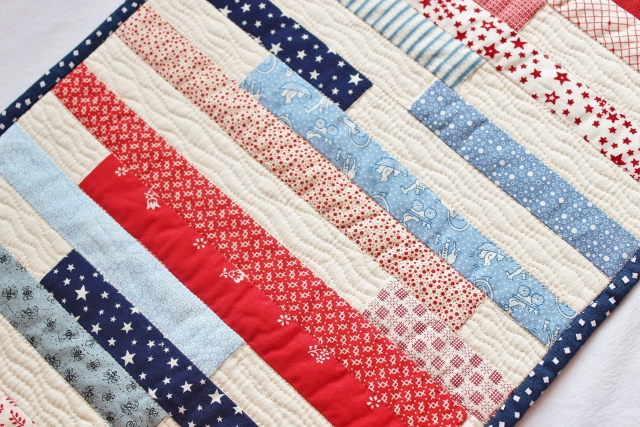
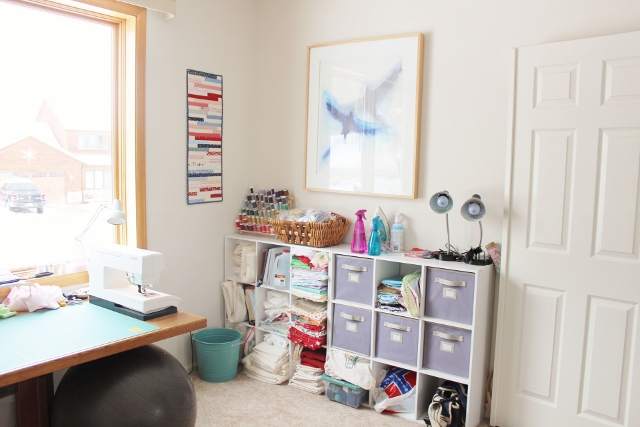
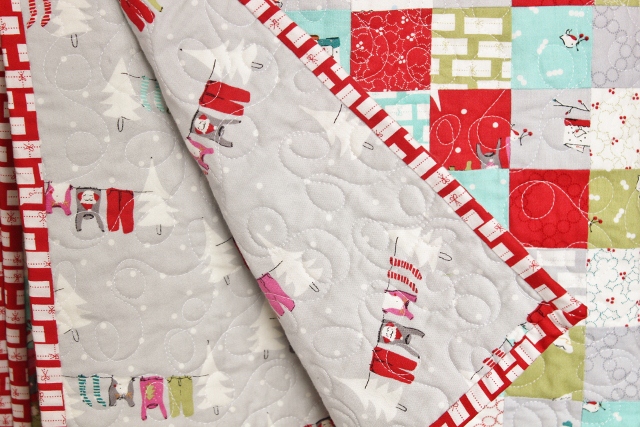
Lately I've spent a lot of time on Pinterest and reading quilting blogs, and have developed quite a list of techniques and things that I'd like to try. So I spent this past weekend trying out some new tricks. I had some extra 16-patch blocks left over from my Cherry Christmas Quilt, so I sewed them together and made myself the holiday table runner that I had originally set out to make. It was a small project (ie: didn't require wrestling a big bunch of fabric), so I decided to experiment a little with it. I used the walking foot on my new Pfaff sewing machine and tried out the "wavy" stitch pattern. Using that combo, I quilted down the center of each long row. And that was it! It's a whimsical fabric pattern, and I think that the wavy quilting goes along with that. I then decided to tackle a machine-sewn binding. I used my new clover clips to hold the binding in place and then followed this tutorial to attach the binding: first to the back, and then wrapped around and anchored on the front by sewing on the front along the edge of the binding. The result is a binding that looks like the reverse of a typical hand-sewn binding. It is an easy way to bind a quilt, but to me it looks backwards. In the photo below, the "Front" of the quilt has the squares, and the back is the gray laundry-line fabric. In the mean time I decided to attempt my first "Free Motion Quilting" (FMQ) project. Earlier this year I joined the Skill Builder Block of the Month Club. Rather than making a quilt, I'm using my blocks from this group to make table runners, place mats & hot pads, etc. This block was one of our first, and I turned it in to a table runner. Here I am using my new Pfaff sewing machine and its nice big extension table to FMQ wavy lines in the solid cream strips. On this project, I attempted another new binding method where you sew the binding on the front first, wrap it around to the back, and then attempt to anchor the back by sewing in the ditch on the front. (Click here for a tutorial from Red Pepper Quilts.) In theory, this would make a binding the way I like them to look, but it takes a bit of practice to get it just right and anchor the binding on the back without missing it or having lots of extra binding flapping around on the back. My first attempt is a bit rough on the back, but looks great on the front! I was so happy with the way the over-all project turned out, that I put it up on the wall in my sewing room. This is the first project up on my wall!
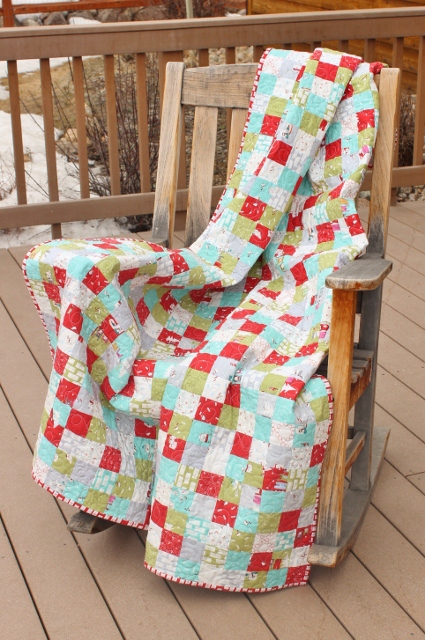
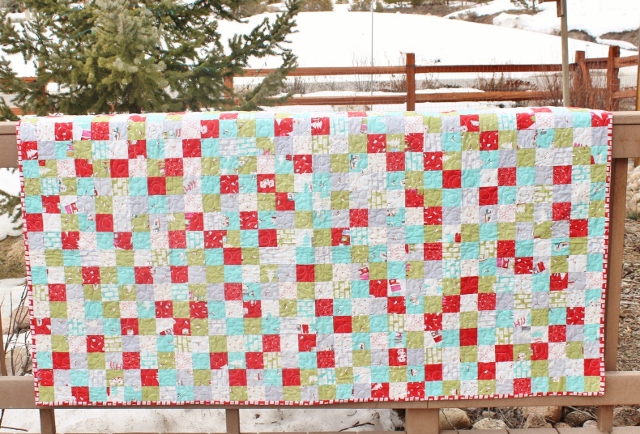
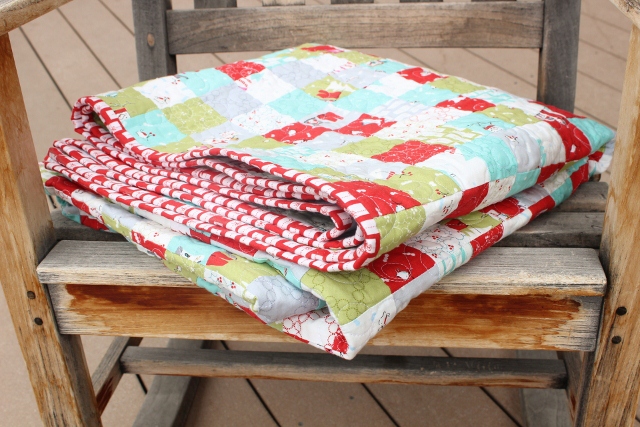
My first "finish" of 2013! Ok, I was aiming to have this done closer to Christmas '12, but it still feels good to say "DONE," and send this quilt off to my sister. Plus, it's still snowy where I live in the Rocky Mountains, so it doesn't seem SO out of season. This was my first time using a "fat quarter bundle" made entirely of 1 collection: Aneela Hoey's Cherry Christmas. I even used fabrics from this collection for the backing and binding. If you remember, this project started off as a table runner, and spontaneously turned in to a quilt. And at 70" x 62.5", it's a decent-sized quilt at that! (The squares are all 2" x 2".) A friend of mine's mother actually quilted this for me on her long-arm machine. I love the meandering swirl pattern and think it fits well on a wintery holiday quilt. It reminds me of blustery wind gusts. Now on to other unfinished projects:
|
Archives
November 2023
|





 RSS Feed