|
Lately I've spent a lot of time on Pinterest and reading quilting blogs, and have developed quite a list of techniques and things that I'd like to try. So I spent this past weekend trying out some new tricks. I had some extra 16-patch blocks left over from my Cherry Christmas Quilt, so I sewed them together and made myself the holiday table runner that I had originally set out to make. It was a small project (ie: didn't require wrestling a big bunch of fabric), so I decided to experiment a little with it. I used the walking foot on my new Pfaff sewing machine and tried out the "wavy" stitch pattern. Using that combo, I quilted down the center of each long row. And that was it! It's a whimsical fabric pattern, and I think that the wavy quilting goes along with that.  I then decided to tackle a machine-sewn binding. I used my new clover clips to hold the binding in place and then followed this tutorial to attach the binding: first to the back, and then wrapped around and anchored on the front by sewing on the front along the edge of the binding. 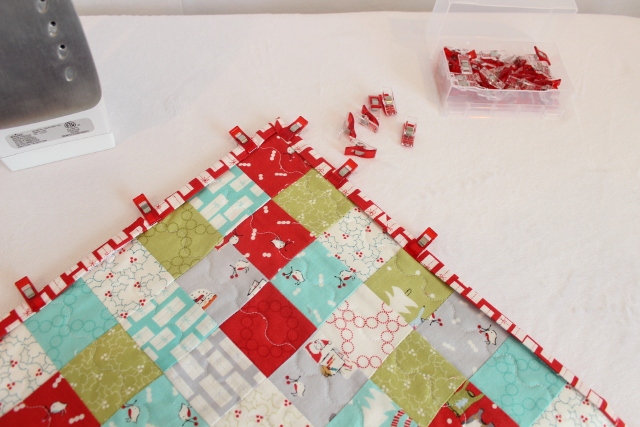 The result is a binding that looks like the reverse of a typical hand-sewn binding. It is an easy way to bind a quilt, but to me it looks backwards. In the photo below, the "Front" of the quilt has the squares, and the back is the gray laundry-line fabric. 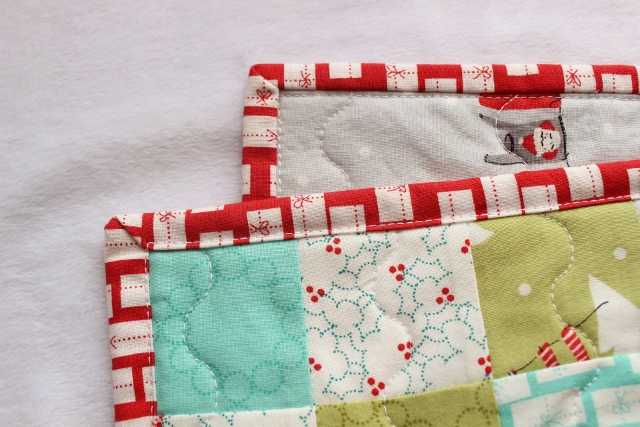 In the mean time I decided to attempt my first "Free Motion Quilting" (FMQ) project. Earlier this year I joined the Skill Builder Block of the Month Club. Rather than making a quilt, I'm using my blocks from this group to make table runners, place mats & hot pads, etc. This block was one of our first, and I turned it in to a table runner. Here I am using my new Pfaff sewing machine and its nice big extension table to FMQ wavy lines in the solid cream strips. 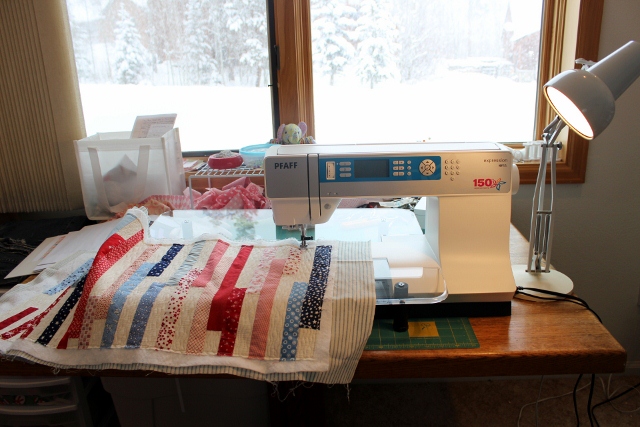 On this project, I attempted another new binding method where you sew the binding on the front first, wrap it around to the back, and then attempt to anchor the back by sewing in the ditch on the front. (Click here for a tutorial from Red Pepper Quilts.) In theory, this would make a binding the way I like them to look, but it takes a bit of practice to get it just right and anchor the binding on the back without missing it or having lots of extra binding flapping around on the back. My first attempt is a bit rough on the back, but looks great on the front! 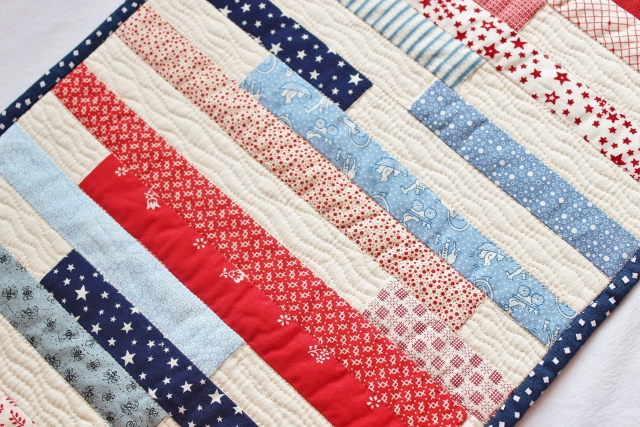 I was so happy with the way the over-all project turned out, that I put it up on the wall in my sewing room. This is the first project up on my wall! 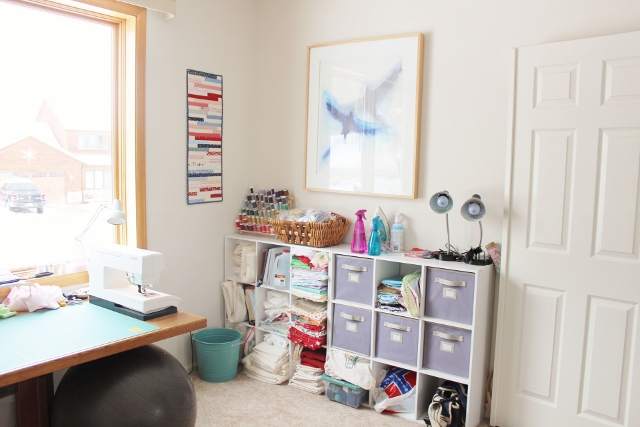
2 Comments
Linda
4/26/2013 10:20:10 pm
Thank you for sharing. I'm inspired.
Caz
5/1/2013 09:35:25 am
I have tried both methods too. I now use RPQ's way of doing them, and find it both fast and gives a lovely finish. Great job for your first time. I must try those clover clips!! Leave a Reply. |
Archives
November 2023
 |
 RSS Feed