- About Me
- Blog
- Commissions
-
Tutorials
- Solid HRT Quilt
- Solid HST Quilt
- Going Places Quilt Tutorial
- Star-in-a-Star Baby Quilt Tutorial
- Scrappy Inner Star Quilt Pattern
- Inner Star Quilt Pattern
- Grandma's Scrappy Quilt
- HST Chaos
- Scrappy Goose Quilt
- Scrappy Patchwork Wreath Quilt & Block - Reg Size
- Solid Wreath Block
- Quilt Show Ribbon Tutorial
- Double Bear Paw Block
- Improv Sticks Border
- Wreath Mega Block Quilt
- Contact Me
|
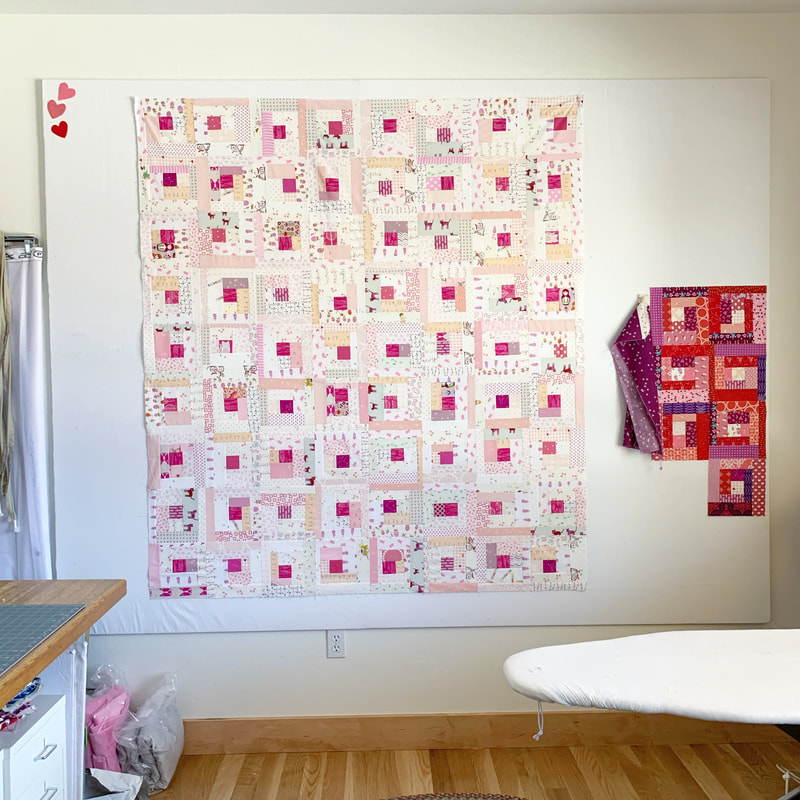
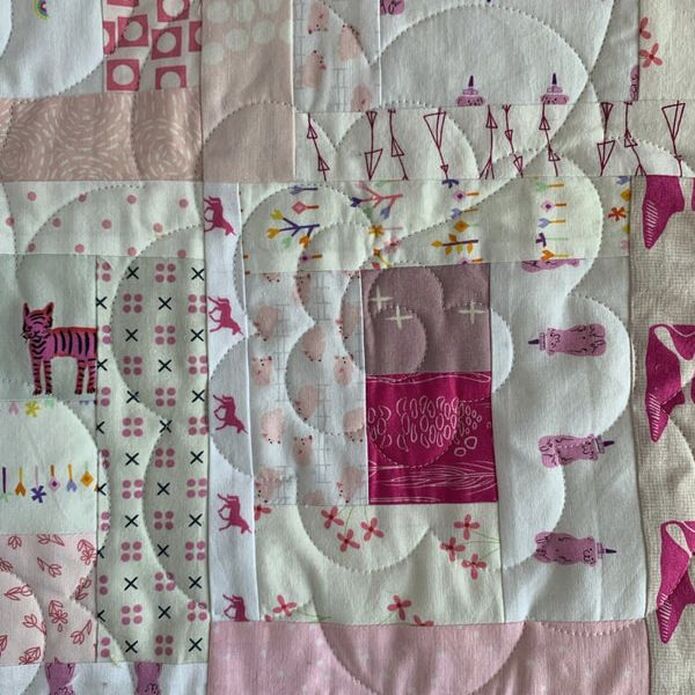
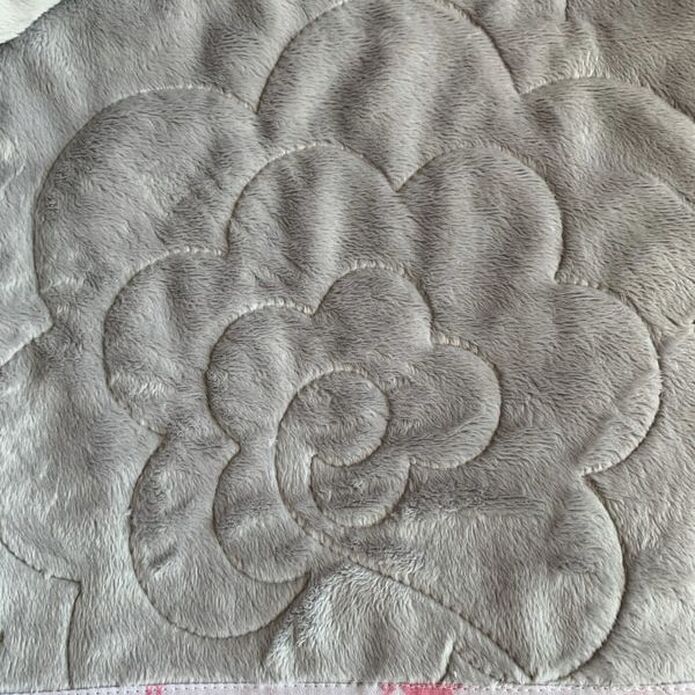
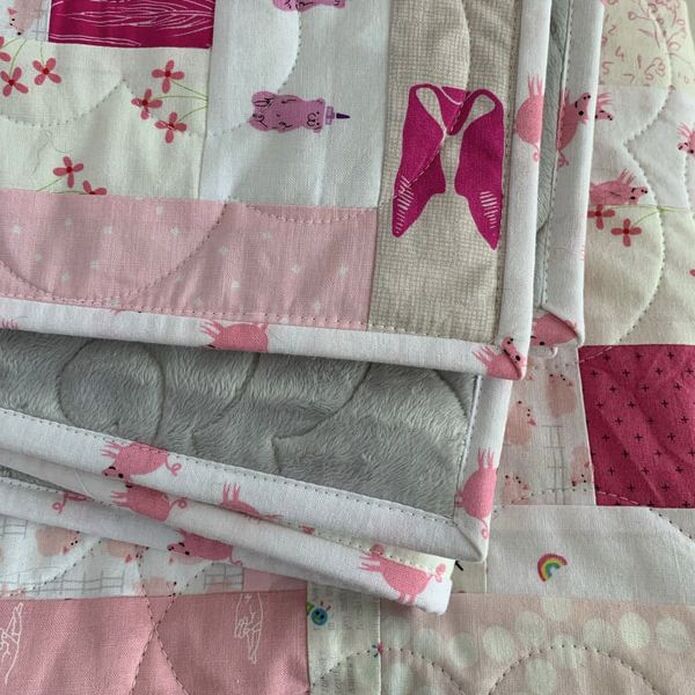
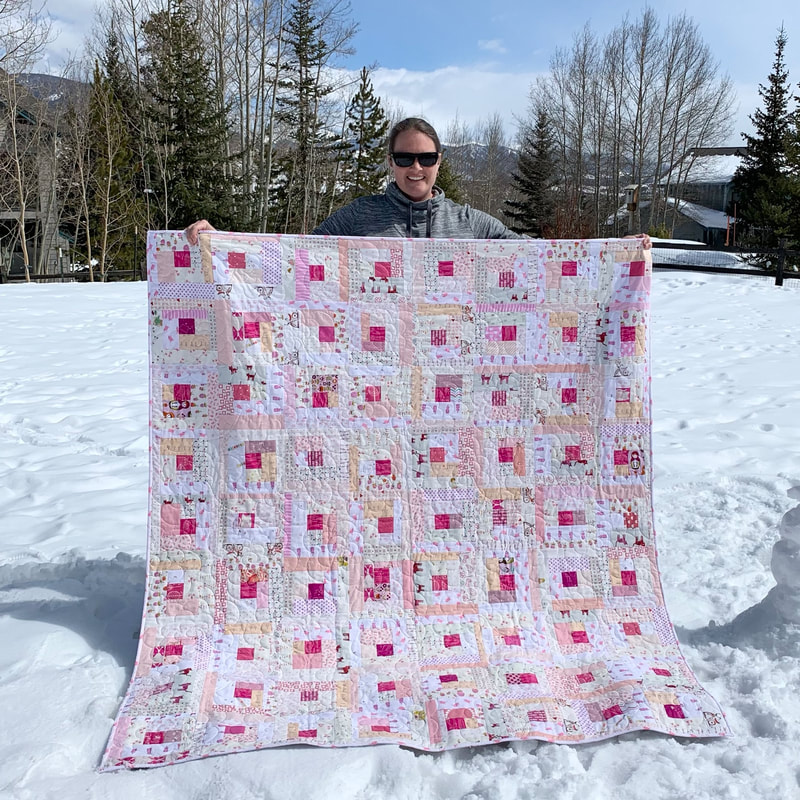
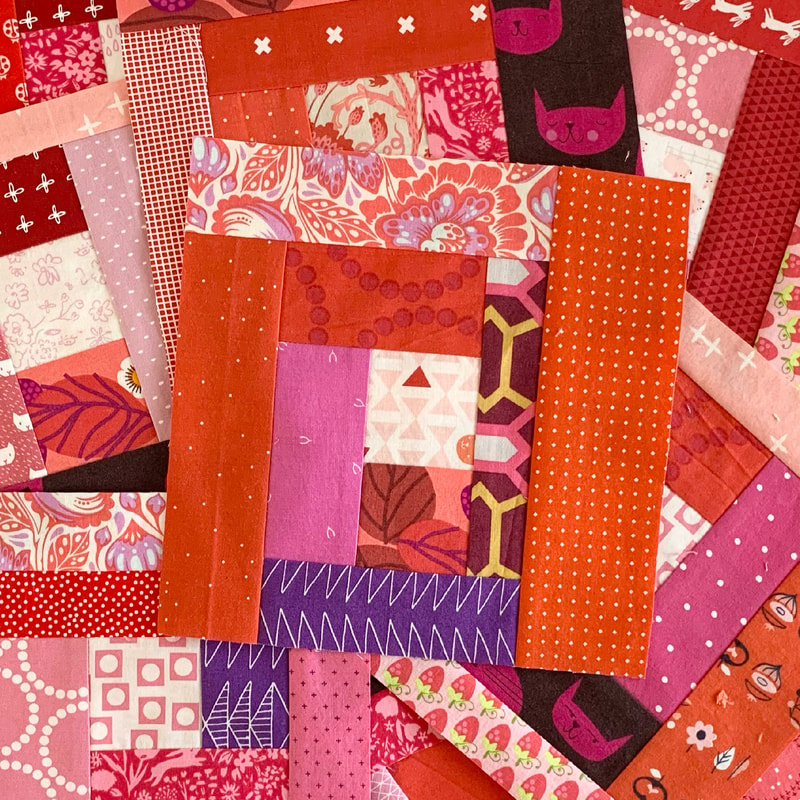
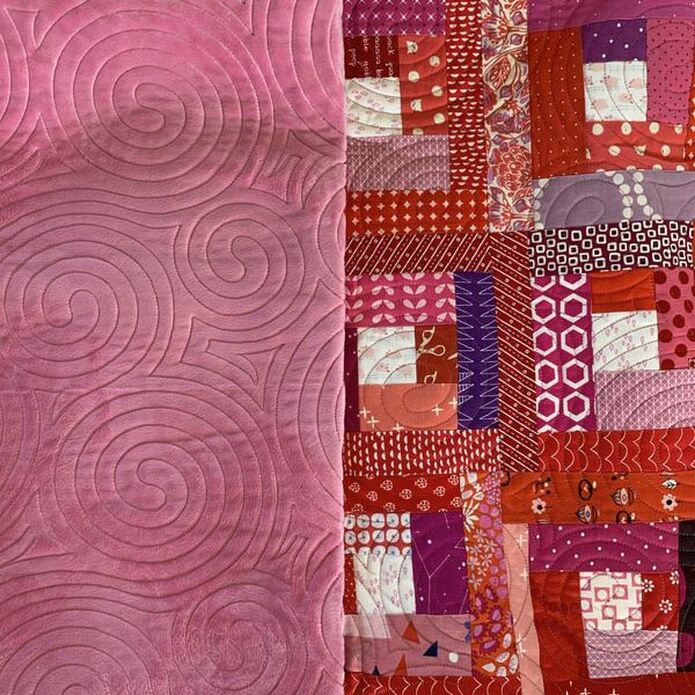
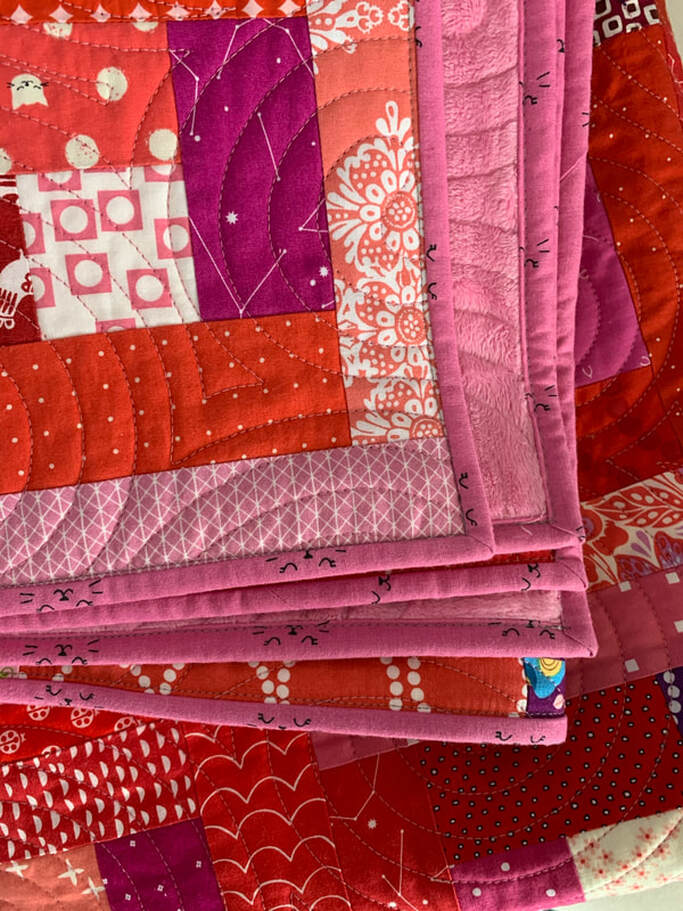
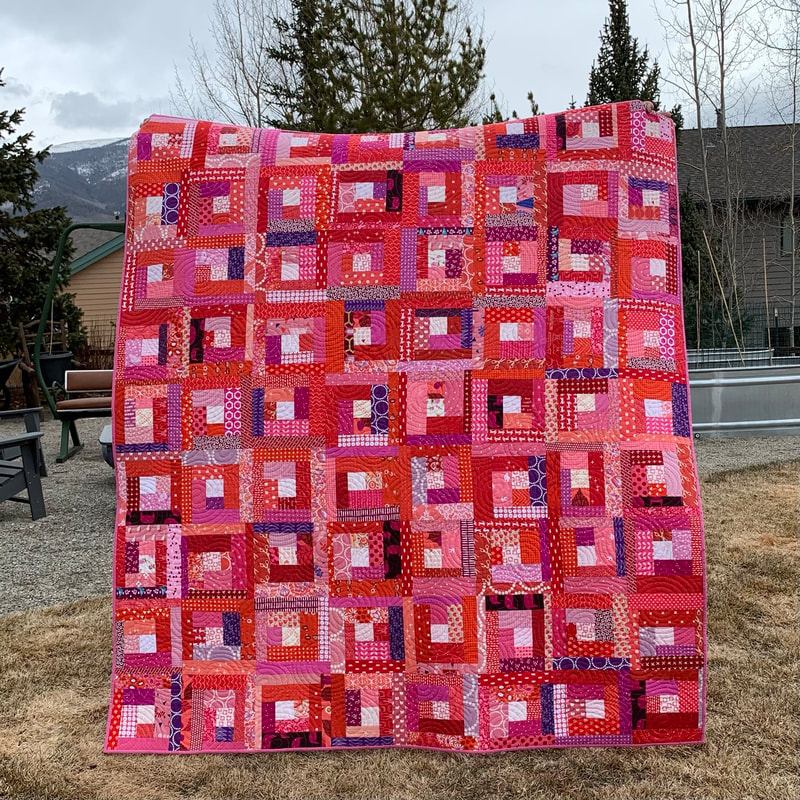
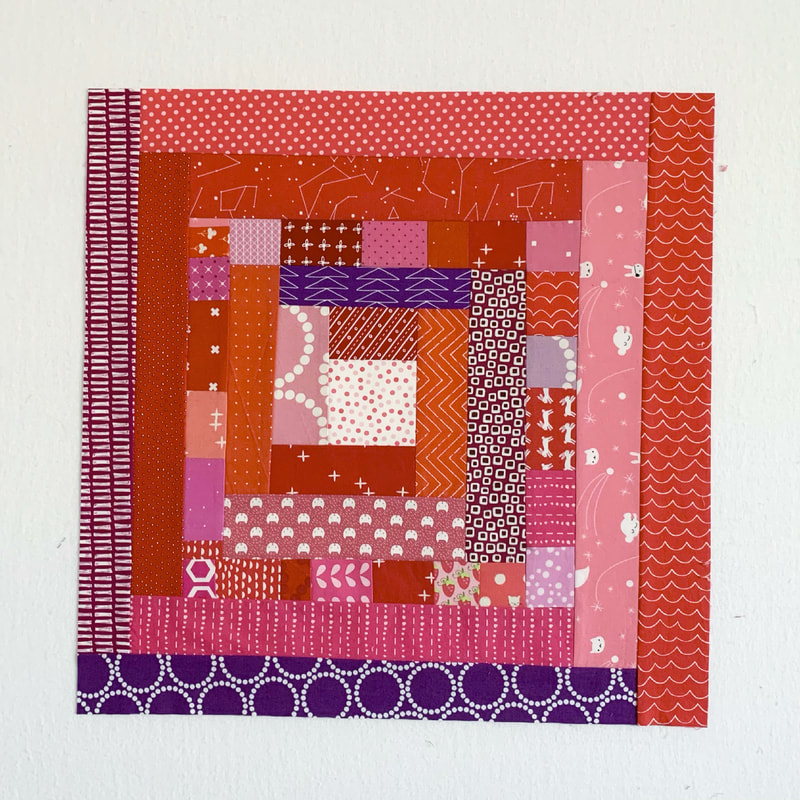
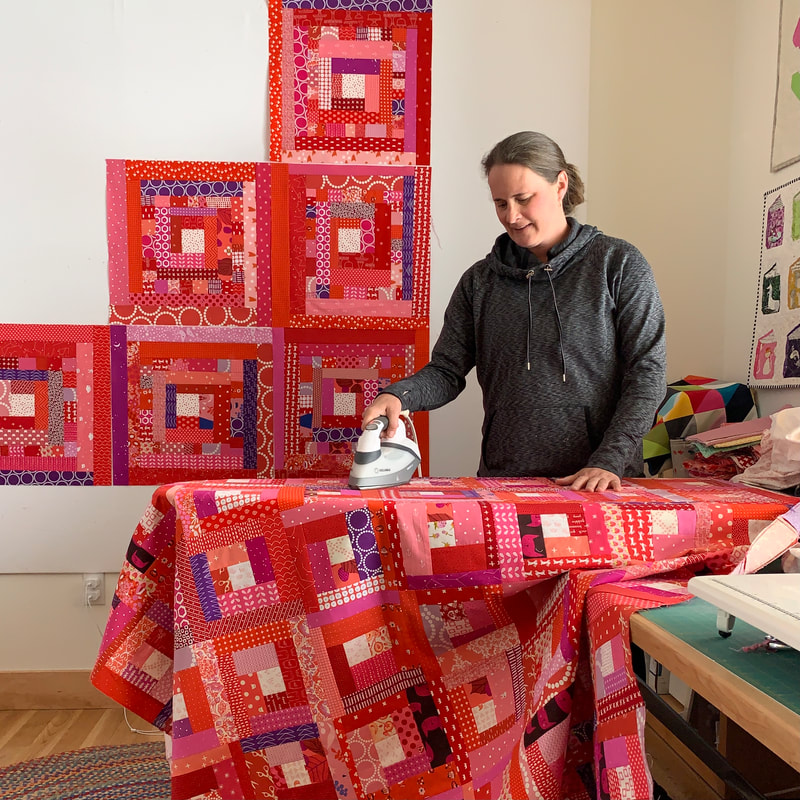
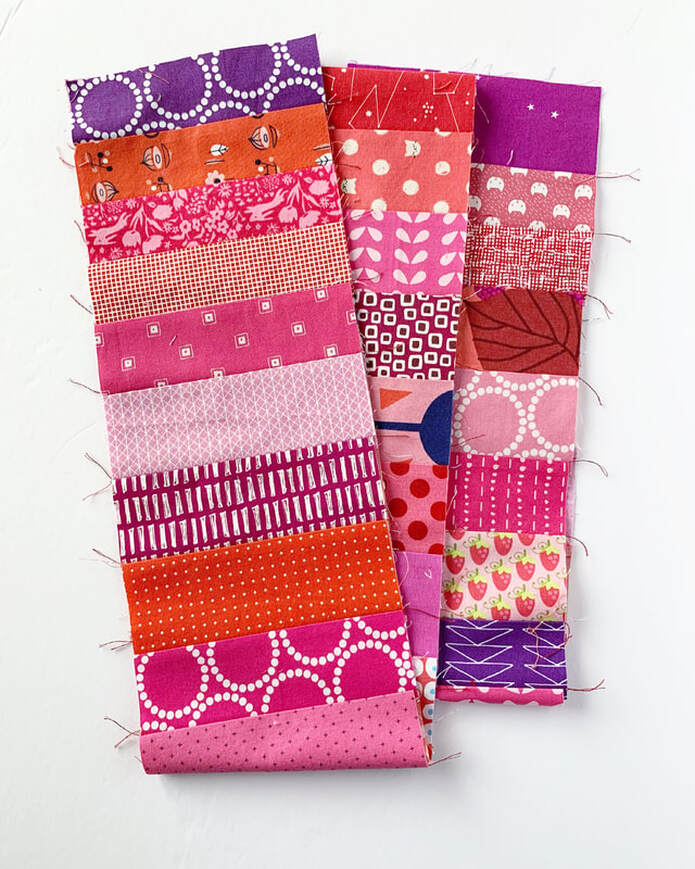
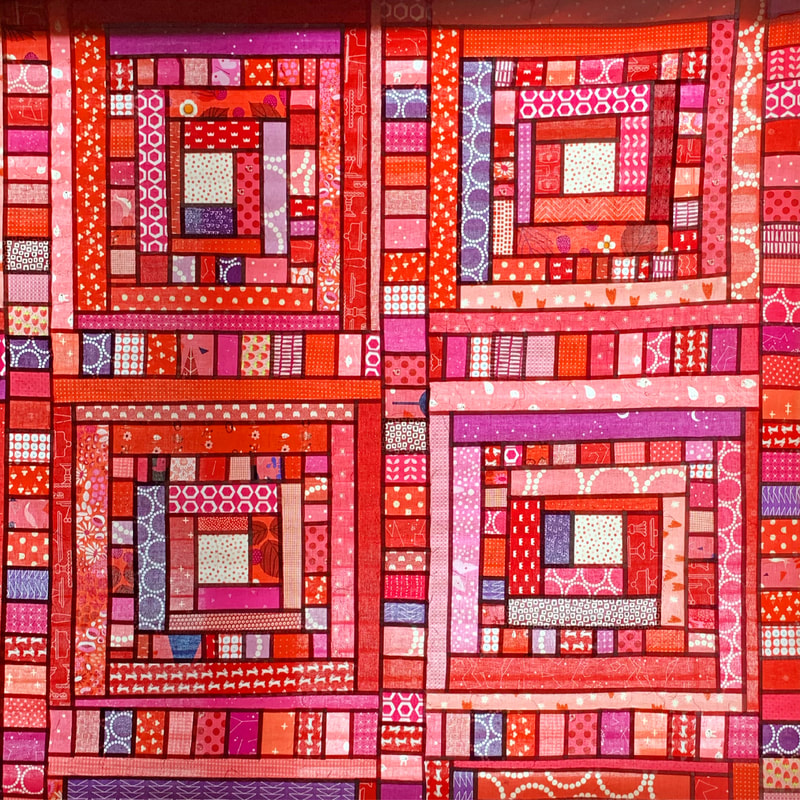
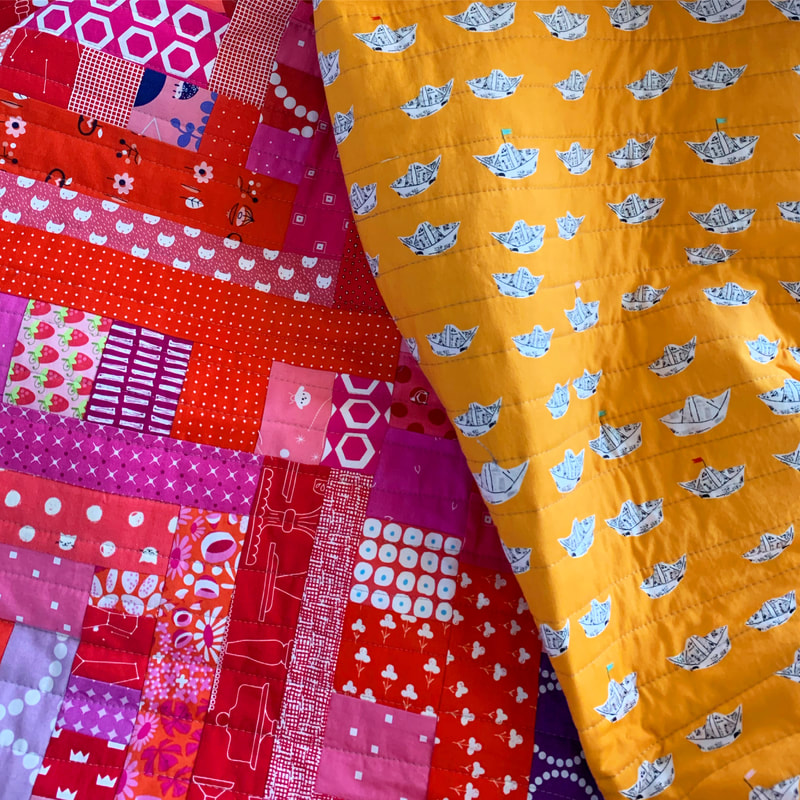
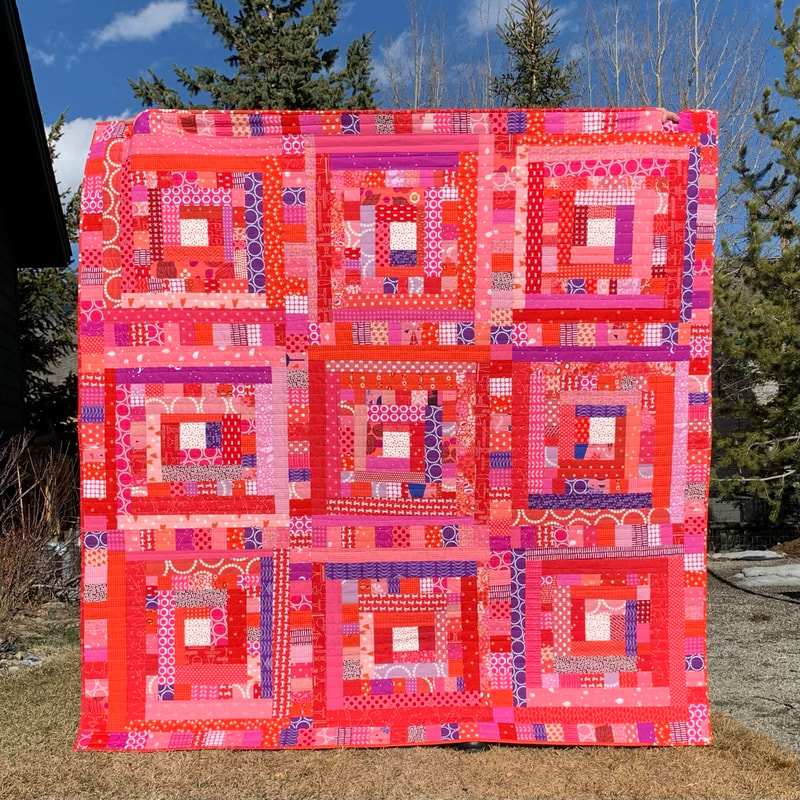
On Valentine's Day this year, I was supposed to be quilting that blue log-cabin baby quilt in my last post, or maybe I was supposed to be quilting some commissioned place mats. I just really didn't want to though, so I got out all of my red, pink & purple scraps & strings and started playing around with some new log-cabin blocks. I started off with the idea that I wanted to make a quilt with alternating light and dark pink/red log-cabin blocks. I used 12" blocks in all of the log-cabins quilts that I've made so far. This time I wanted to try making smaller blocks: 8" blocks. HOWEVER: I quickly discovered that I really didn't like all of the contrast with the light and dark blocks. I didn't take a picture of that stage in the evolution of these quilts - it really wasn't pretty. I made plenty of blocks in both light and dark before I decided that I didn't like them together. So I separated them and started on the light pink version first. This one has mostly low-volume prints with little bits of light pink fabrics. The center squares are magenta and I love how they pop. I backed this one in platinum wide-back minky and had it quilted with the Urban Elementz Rhododendron pattern. I wanted something loose & loopy with a large scale. For binding, I used the last pink low-volume fabric in my stash: tossed pink piggies. This quilt has 72 of those little 8" log-cabin blocks and finishes at 64" x 72". You ready for the next one? When I was done with the light pink version, I picked up the super saturated 8" log-cabin blocks and made some more of those. These guys have low-volume centers with dark pink and red logs and shots of medium & dark purples. I also backed this version in minky: bubble gum pink this time. I had my quilter quilt this one with the Dizzy Izzy pattern that I also used for my "Bee Wild" log-cabin quilt. I can't wait to wash this one and see the crinkle and drape. I bound this quilt with a orchid Halloween print that isn't super Halloweeny. This quilt also has 72 blocks and finishes at 64" x 72". As I was sewing along on these blocks, my mind started to wonder and I began to wonder what super LARGE log-cabin blocks would look like. Along with that thought, I also started to look the little bits that were left over from ends of strips and I wanted to try using them somehow. My first thought was so sew the "crumbs" in to strips and use them to make a round of logs in my blocks. I liked how the fabric crumbs looked (see above on my design wall), but it wasn't ENOUGH. You know? They didn't pop enough. They weren't noticeable enough. My next thought was to sew strips that were now too short to use on my growing blocks in to sashing and boarders. I sewed them in 6" lengths, and then cut them to be 3". This stained glass window shot of the quilt top hanging in front of my window shows you the "fabric crumb" sashing and logs. These blocks are 20" with 3" sashing. My mom wanted this quilt (which makes me happy because then I can visit it), so together we chose this paper boat backing fabric and I quilted it with straight lines in my machine. This one has 9 blocks and finishes 72" square. I had such fun with this quilt: making design decisions as I went along, and letting myself explore new ideas as they came to me. This one is truly improv and I love it the most right now! Thanks for reading along. If you'd like to see lots of pics of all of my log-cabin quilts check out #myrthslogcabins on Instagram.
2 Comments
Jane
4/18/2021 09:54:40 am
Big red is my favorite! I really like the improv/structure of it!
Reply
Sue
9/4/2021 10:30:37 am
Great use of all the scraps, gives me lots of ideas and in so many different color ways of course!
Reply
Leave a Reply. |
Archives
November 2023
|


 RSS Feed