- About Me
- Blog
- Commissions
-
Tutorials
- Solid HRT Quilt
- Solid HST Quilt
- Going Places Quilt Tutorial
- Star-in-a-Star Baby Quilt Tutorial
- Scrappy Inner Star Quilt Pattern
- Inner Star Quilt Pattern
- HST Chaos
- Scrappy Goose Quilt
- Scrappy Patchwork Wreath Quilt & Block - Reg Size
- Solid Wreath Block
- Quilt Show Ribbon Tutorial
- Double Bear Paw Block
- Improv Sticks Border
- Wreath Mega Block Quilt
- Contact Me
|
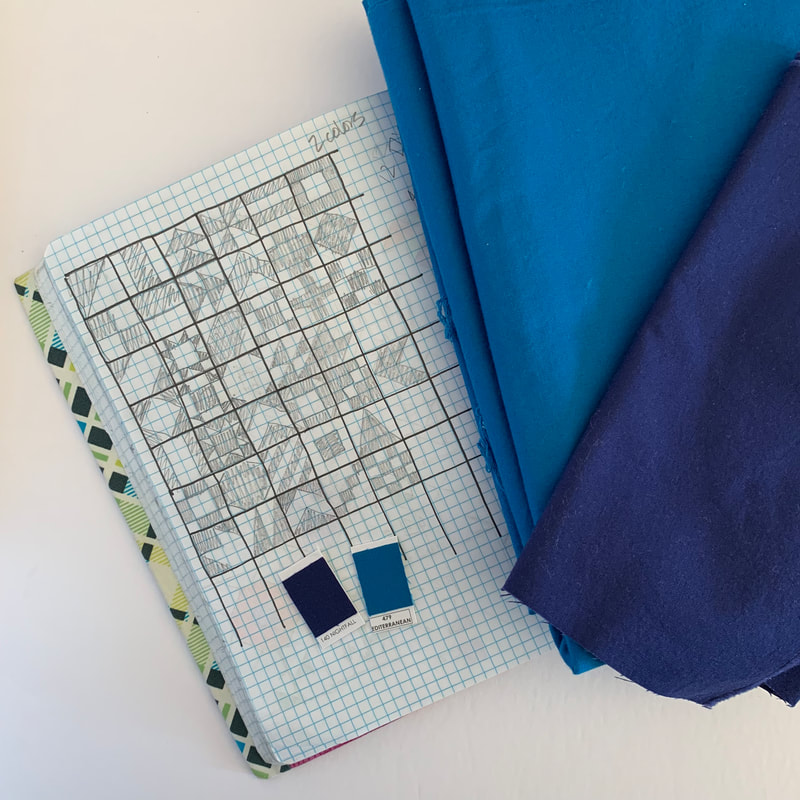
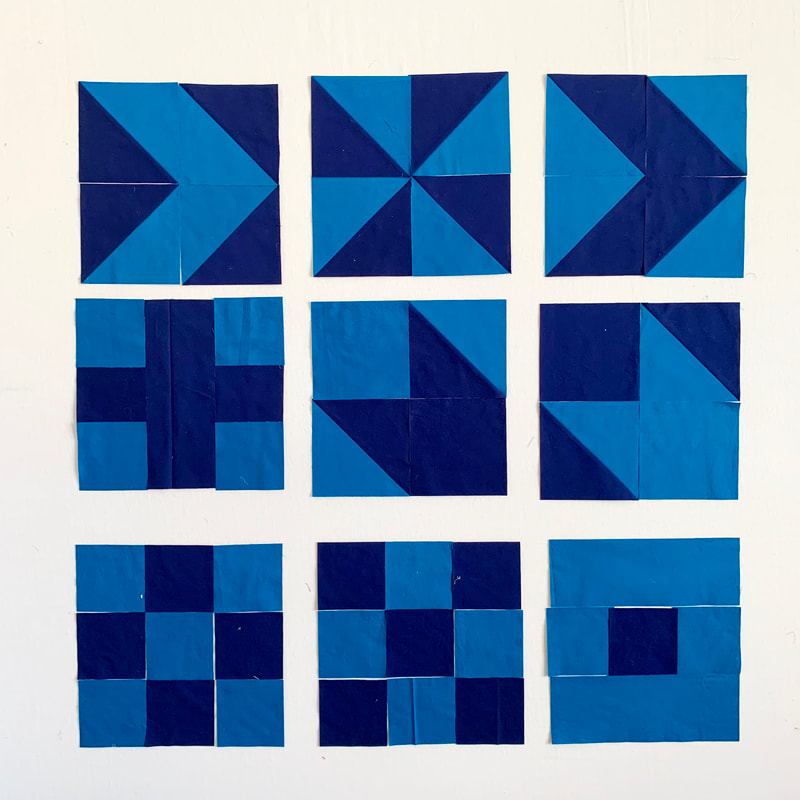
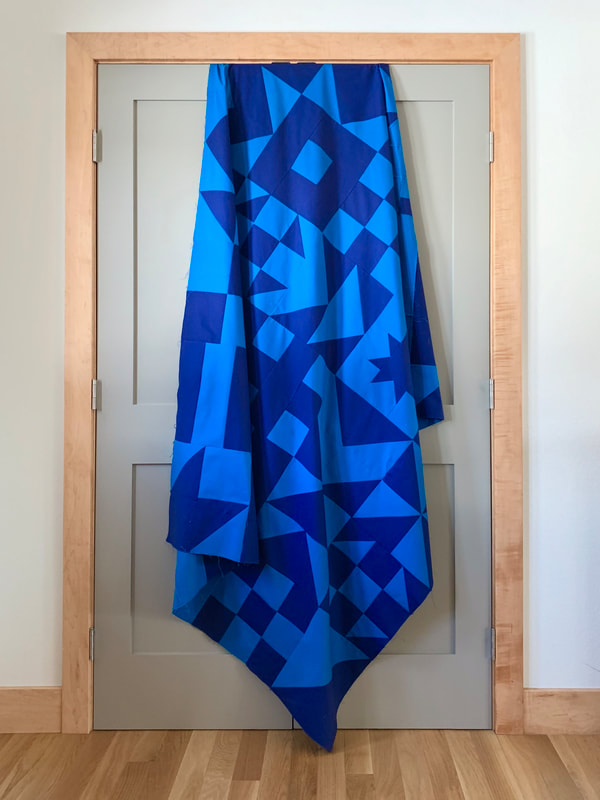
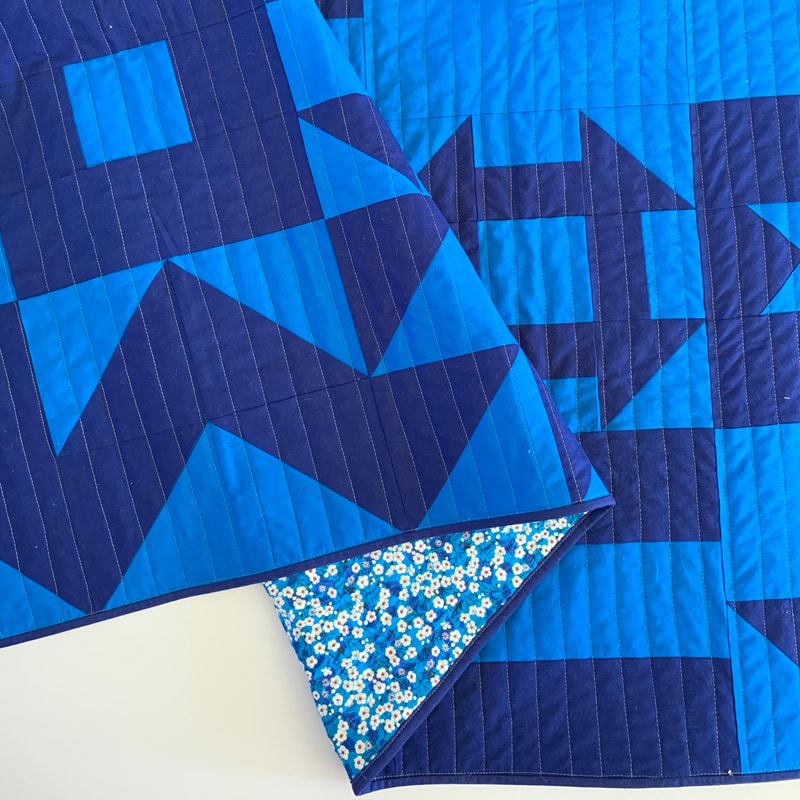
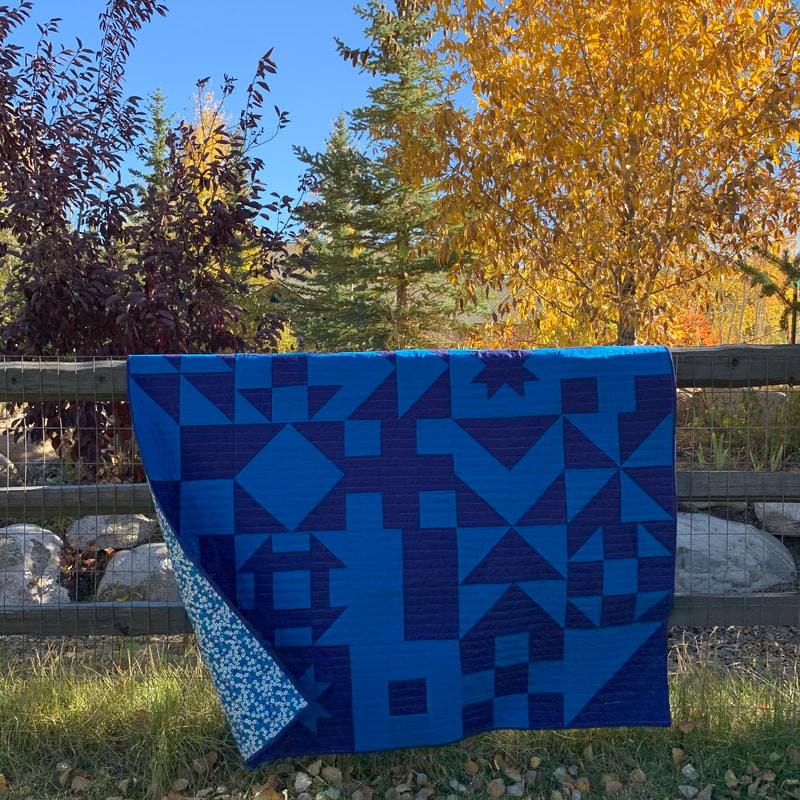
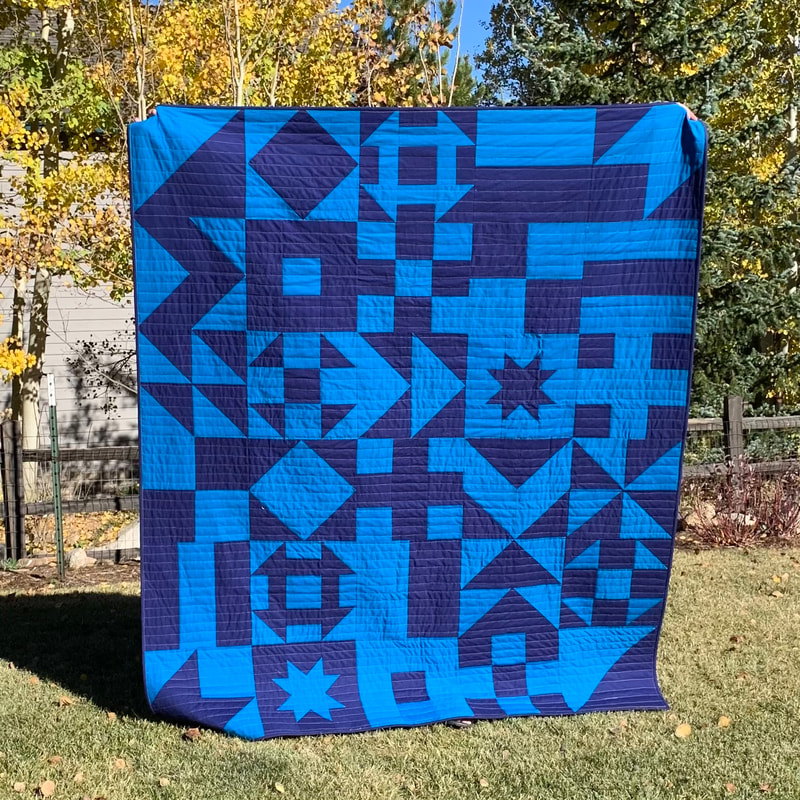
This next quilt was a long time in the making - at least the design percolated for quite a while. The story of this quilt starts back in 2016 when I participated in the Lucky Spool "Mighty Lucky Quilting Club" where different quilters did a lesson each month. Jacquie Gering's lesson was on "Space: the Final Frontier" and prompted us to play with negative space using black and white paper. After reading through the lesson, I filed it away in the back of my mind...until a year or two later when I made the above sketch. I don't actually really like traditional samplers, but I do like traditional blocks. My thought was: what if I made simple sampler blocks with just 2 fabrics and no sashing: a more modern simplified sampler where the positive and negative spaces were random and new shapes jumped out at you. In January 2020, I decided to finally jump in and begin making blocks. I had two larger cuts of blue solid fabric in my stash (Kona Nightfall & Mediterranean). They looked good together, so I began cutting and assembling blocks. I generally made two of each block and switched the color placement in the sets. You can see some of the 4-patch and 9-patch blocks above. Can you see the traditional blocks when the quilt top is sewn together? When I finished the quilt top in January, I felt like it needed a floral monochrome backing that incorporated both blue tones, but I couldn't find what I wanted online. So the top hung in my sewing room, until I ordered a fat 1/16th pack of Liberty lawns to make masks in August (ordered from Duckadilly). This blue floral fabric jumped out at my from the bundle. I loved the blues! Then it dawned on me: this was the backing fabric for my quilt!! I quilted this on my own with my normal straight lines spaced roughly 1" apart, and I bound it with more of the Kona Nightfall fabric.
The blocks are 12" square and I used a 5x6 layout. That made for 30 blocks, and a quilt that finishes at 60" x 72". Thanks for stopping by!
1 Comment
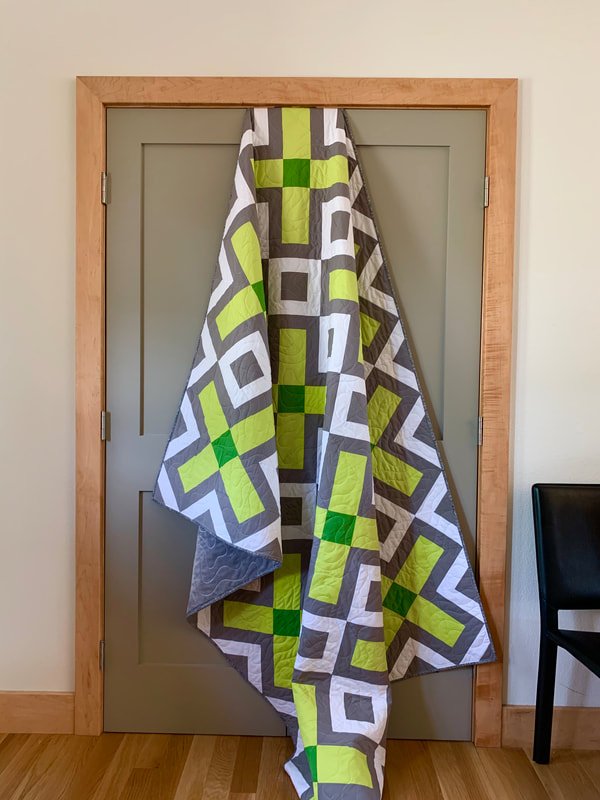
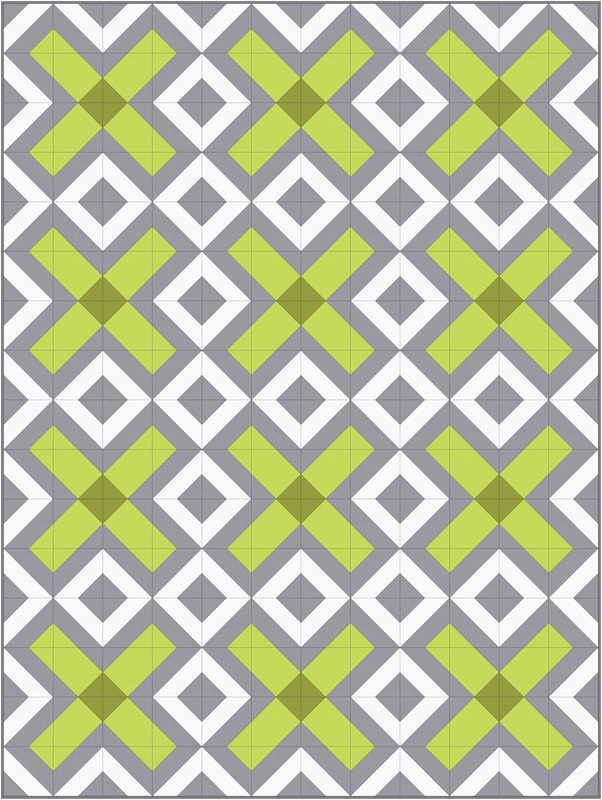
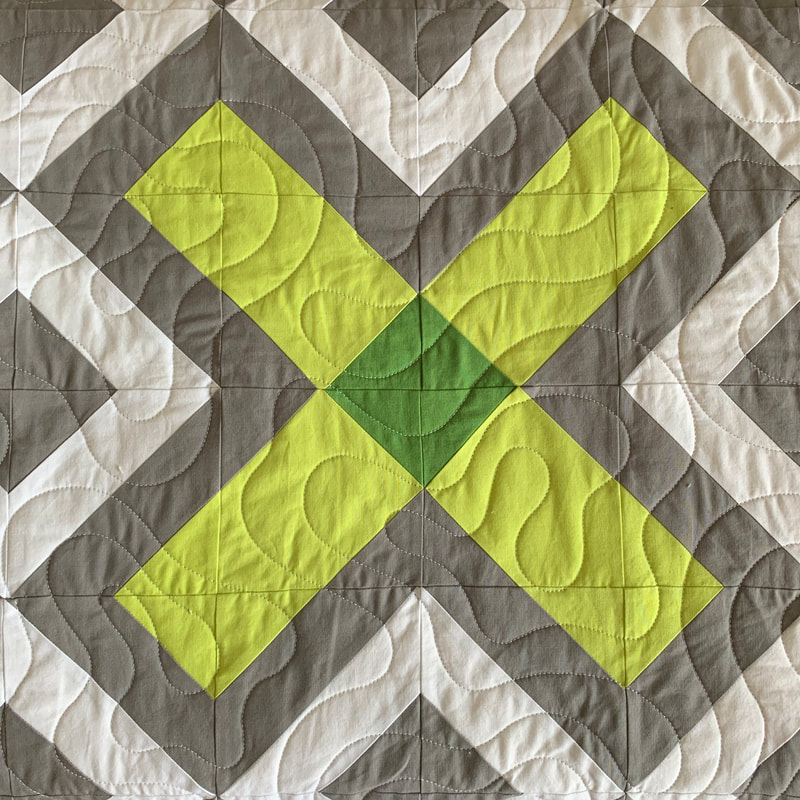
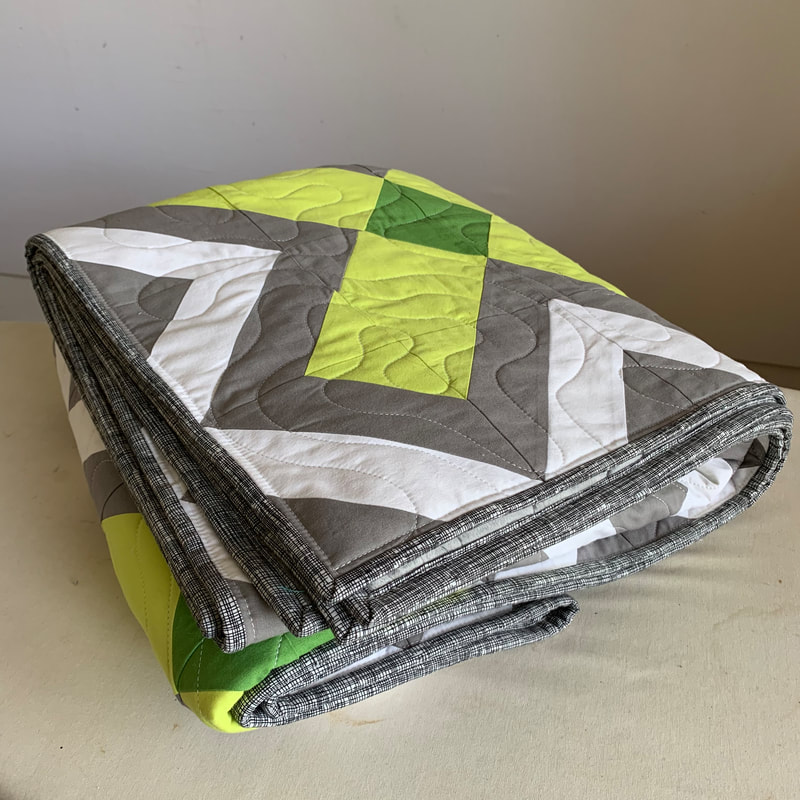
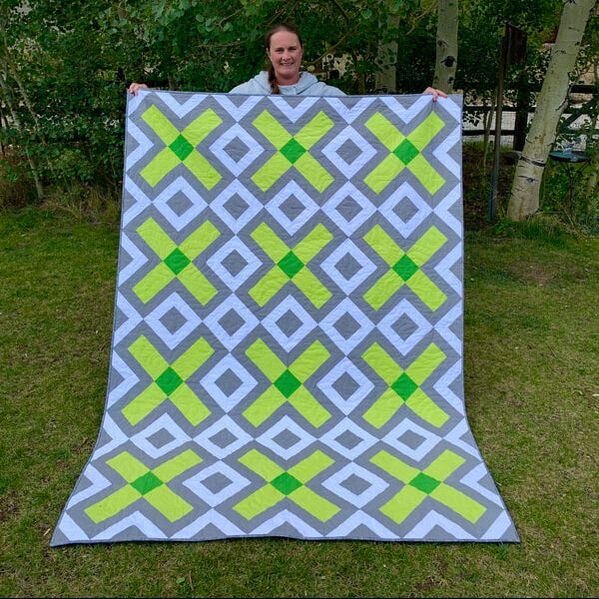
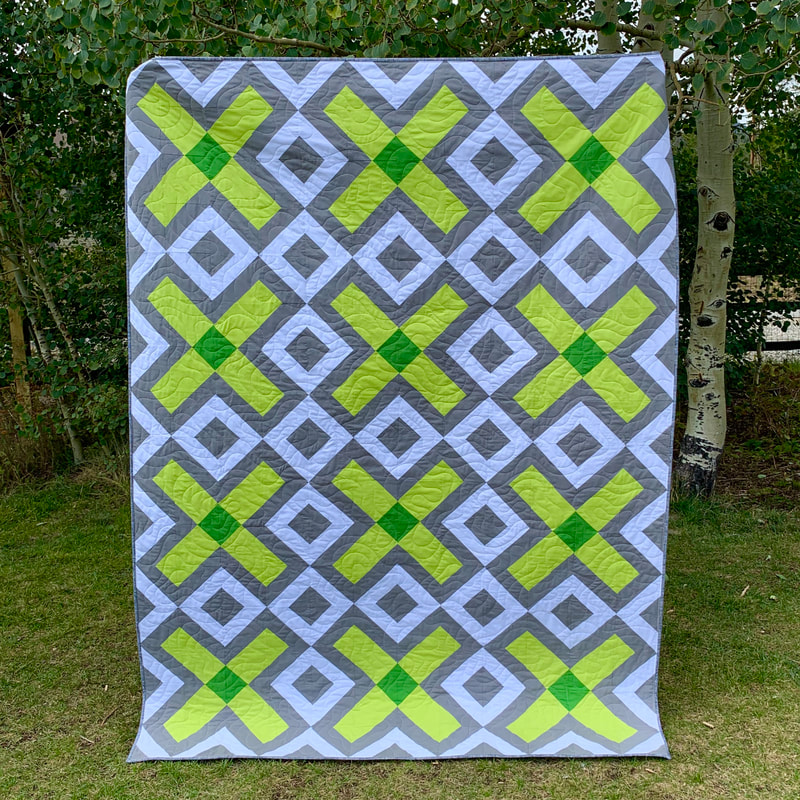
During COVID, given all the time we've been spending at home together, my quilts have become even more popular than ever (with my family). I made a new quilt for my youngest (read about it here), my middle child claimed my Scrappy Inner Star quilt, and my oldest child wanted me to make him something with minky backing. I had him look through some designs I had mocked up a while ago, and he was drawn to something similar to the design below. It is a derivation of the Criss-Cross block from "1000 Great Quilt Blocks" by Maggi McCormick Gordon. To come up with our color palette, I matched the gray to his existing duvet cover, and the green to his existing rug. From there he established the he didn't want to introduce any new colors, so I went with a green several shades darker from the green that matched his rug. The colors that we ended up using are all Kona solids: White, Cactus, Grass Green, and Pewter. Given that my child wanted his quilt backed with minky, I knew that I would have it long-arm quilted. (I've quilted one full-size minky-backed quilt and that was enough for me.) When it came time to choose the quilting pattern, I wanted something that didn't have strong vertical lines that wouldn't conflict with the strong diagonals in the quilt top. I also didn't want to use the same "modern waves" pattern that I've been defaulting to lately. So I landed on this "malachite" pattern from Urban Elementz. I love that it looks like a topo map and the "X" blocks remind me of a treasure map. If I had had enough left over "Pewter" fabric, I would have used that for binding; or if the quilt wasn't for my son, I would have added fuchia or orange binding. But it was for him, and I didn't have anymore pewter fabric, so I went with this Timeless Treasures cross-hatch fabric. It works well enough for me and it was on hand: win-win. I won't be writing a pattern for this quilt. My sewing minutes are so few and far between these days, and I don't want to spend the time working on Illustrator graphics, and cutting instructions. If someone really wants to know how I made this, let me know and I can walk you through it a little bit. For now, I'll say that this quilt has 12 blocks, and each block is made up of 16 - 5" pieces that make up a 20" block overall. I've got some highlights in my Instagram stories that will show how the 5" pieces are assembled.
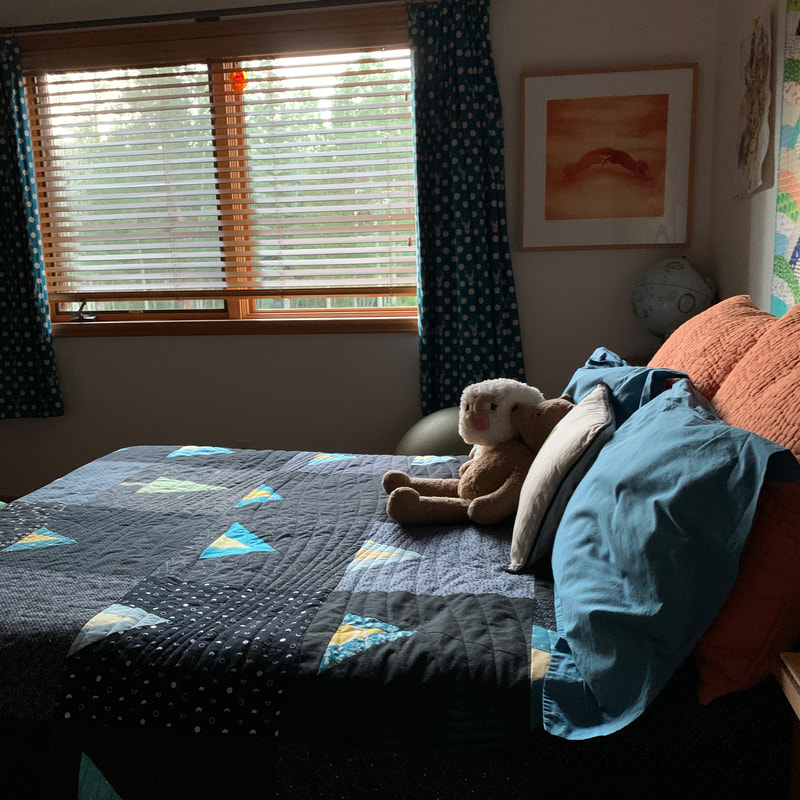
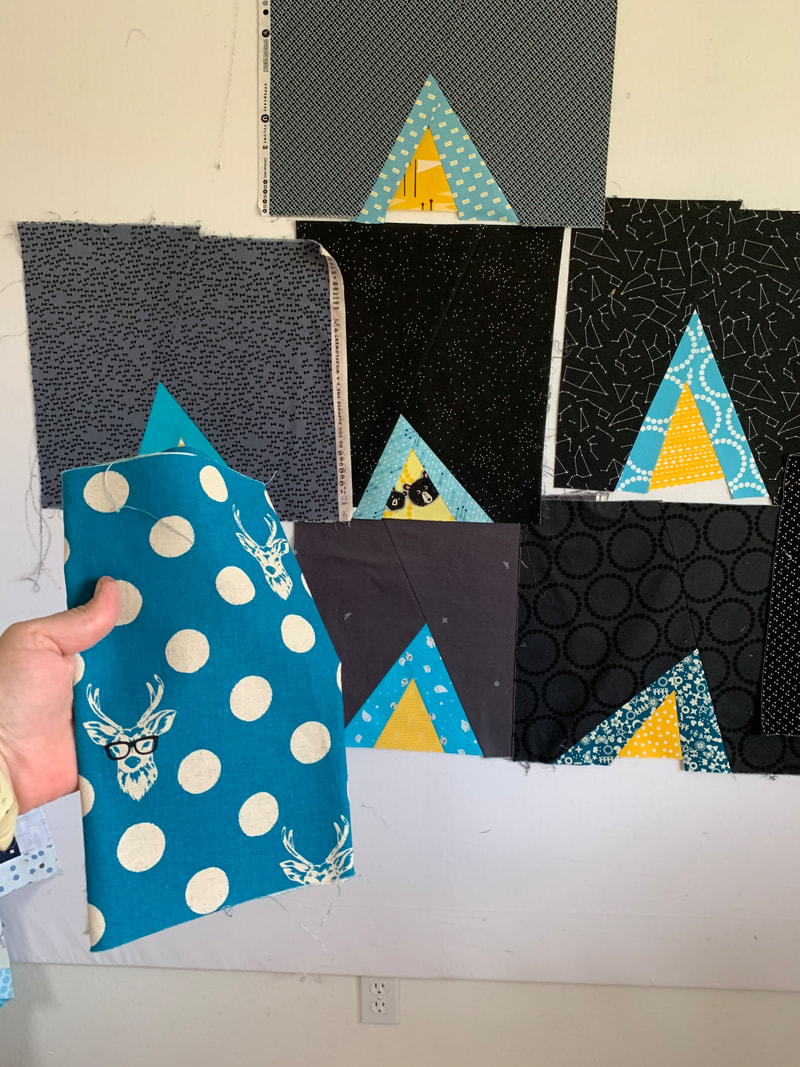
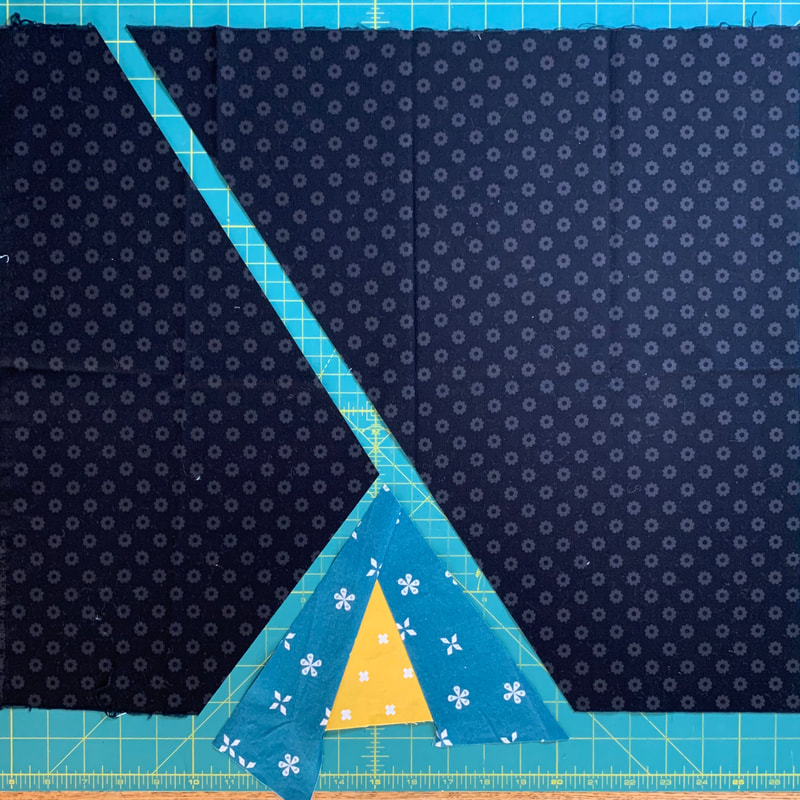
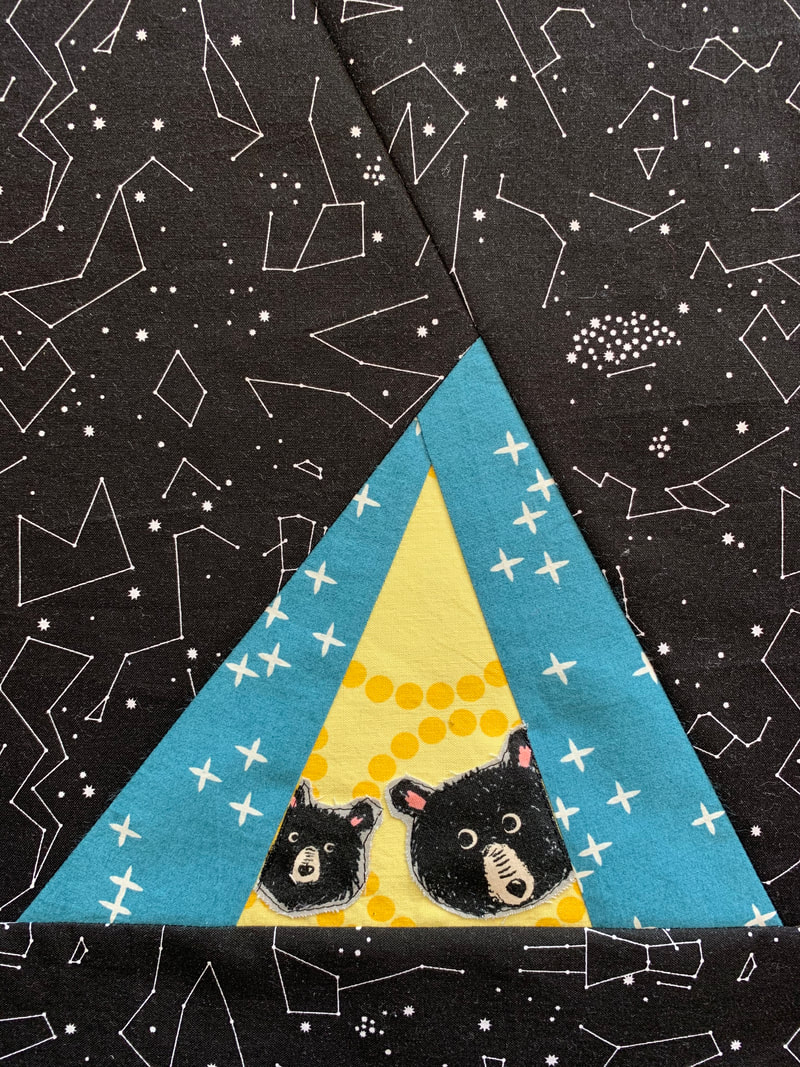
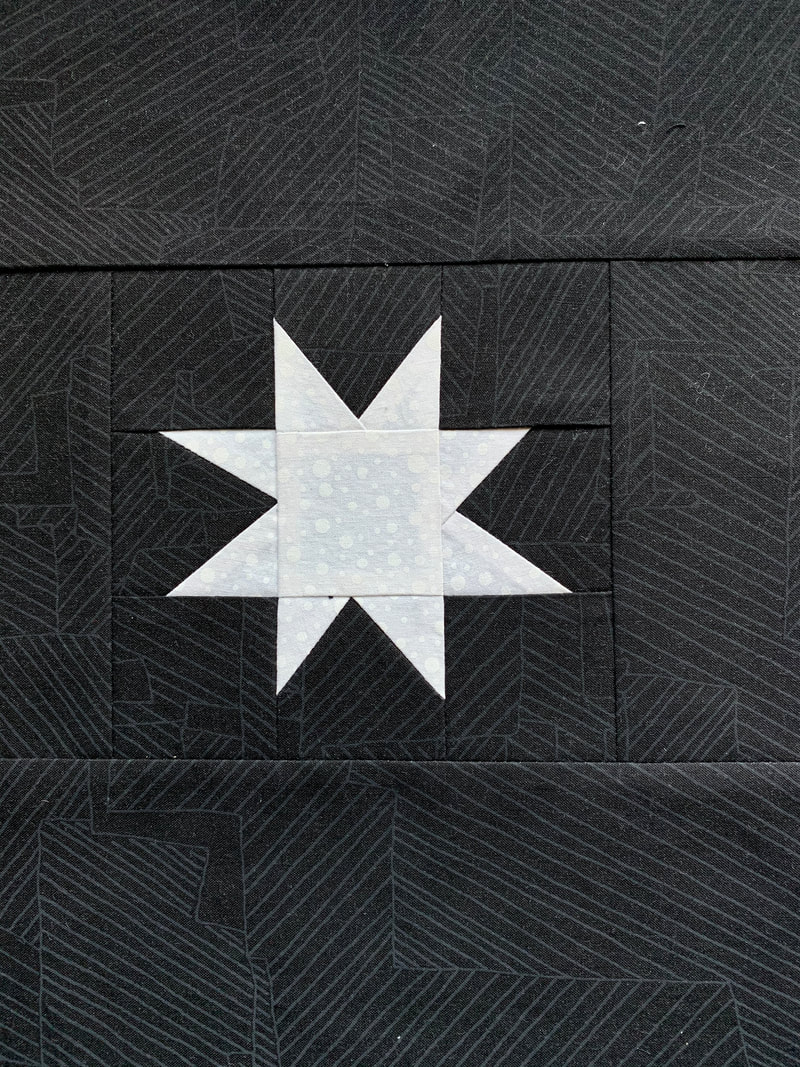
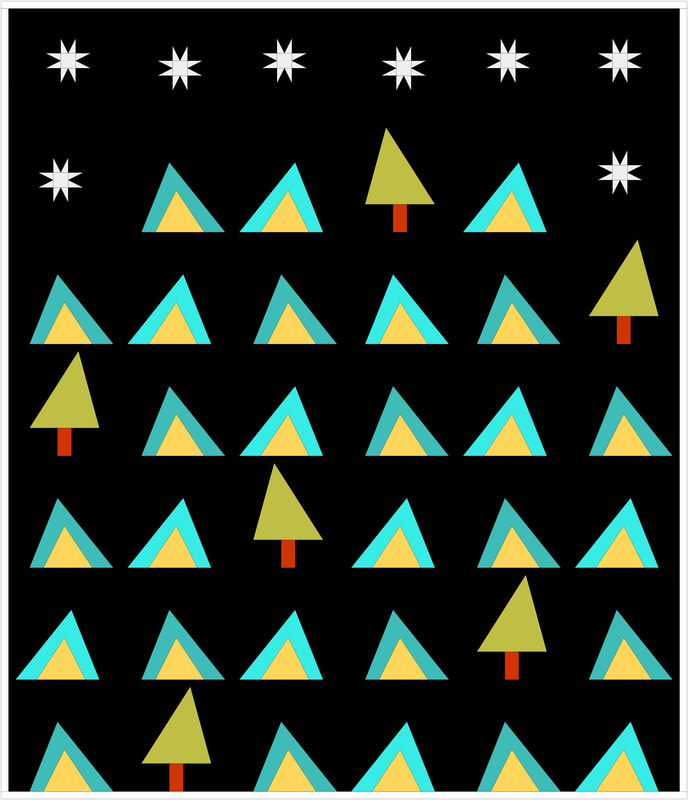
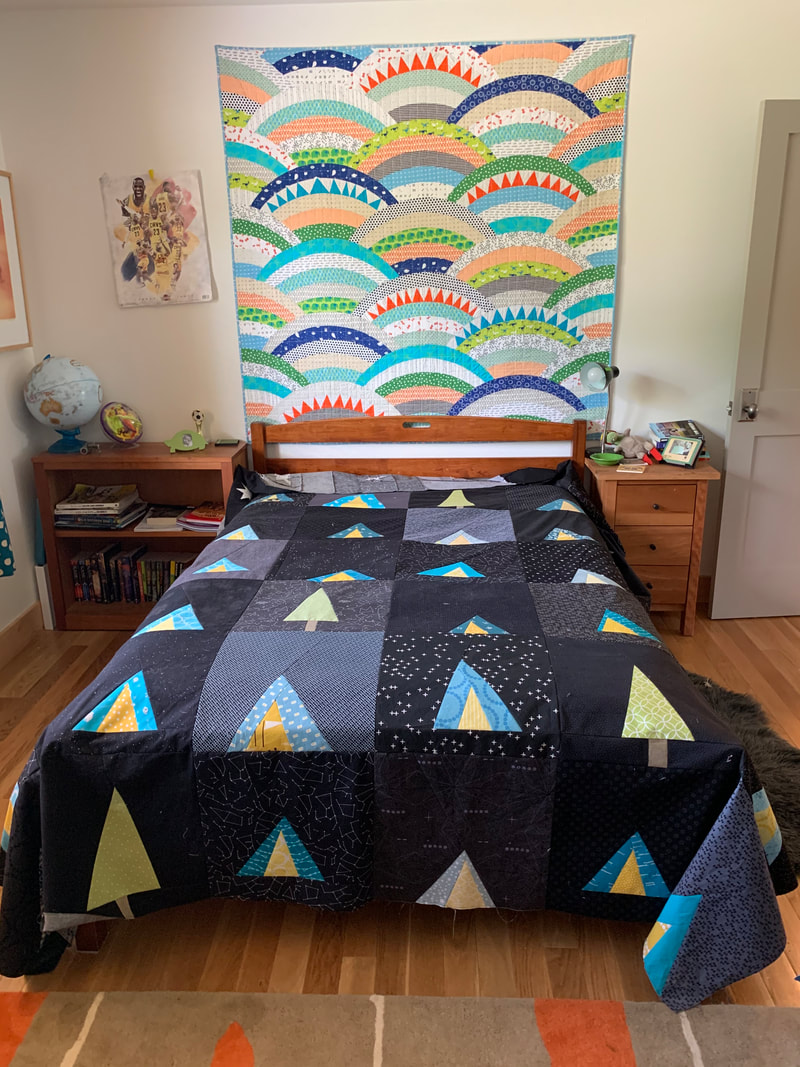
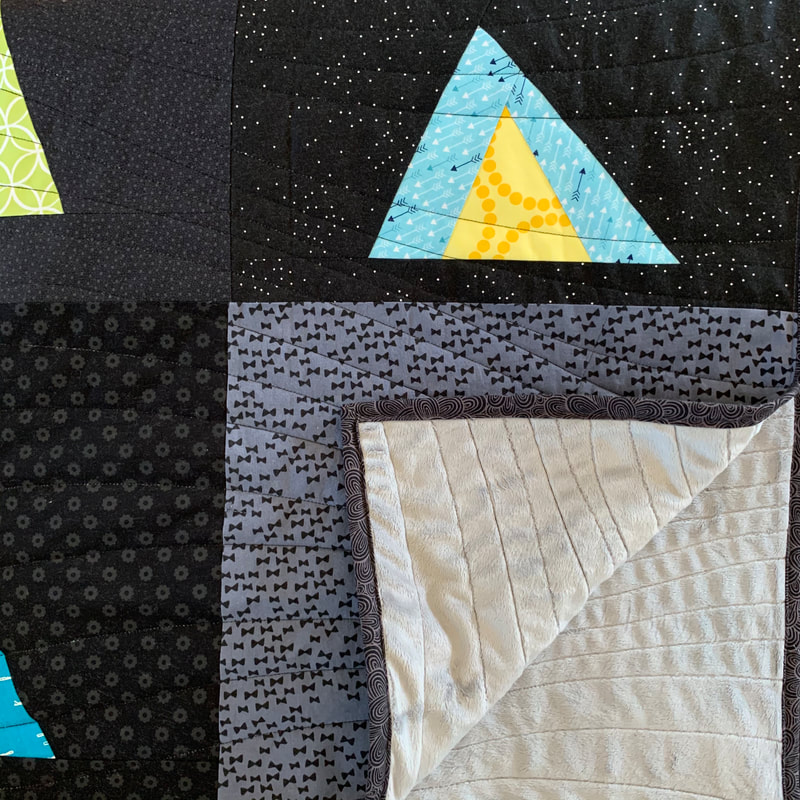
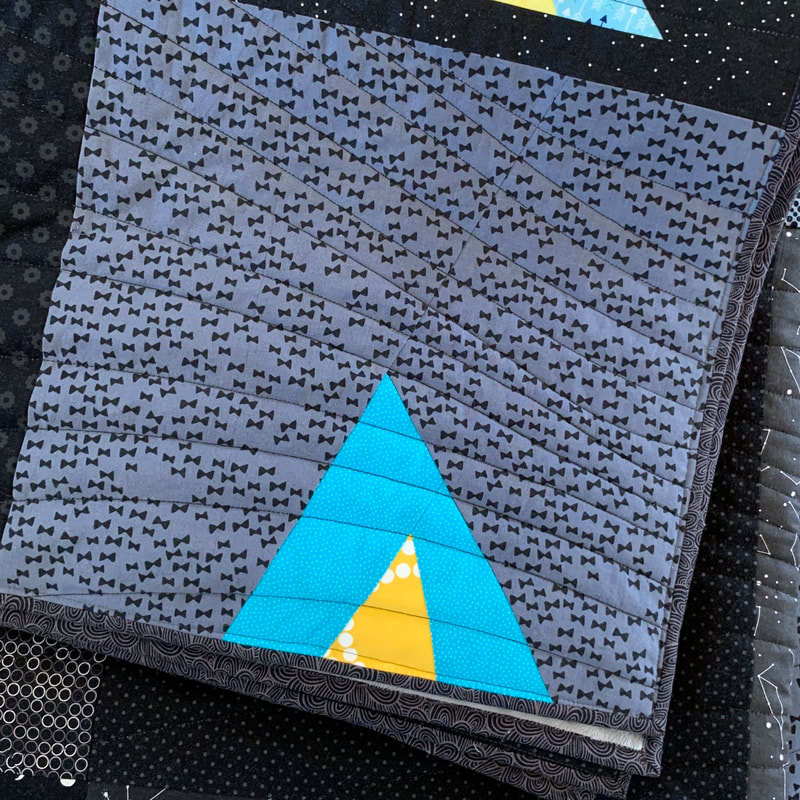
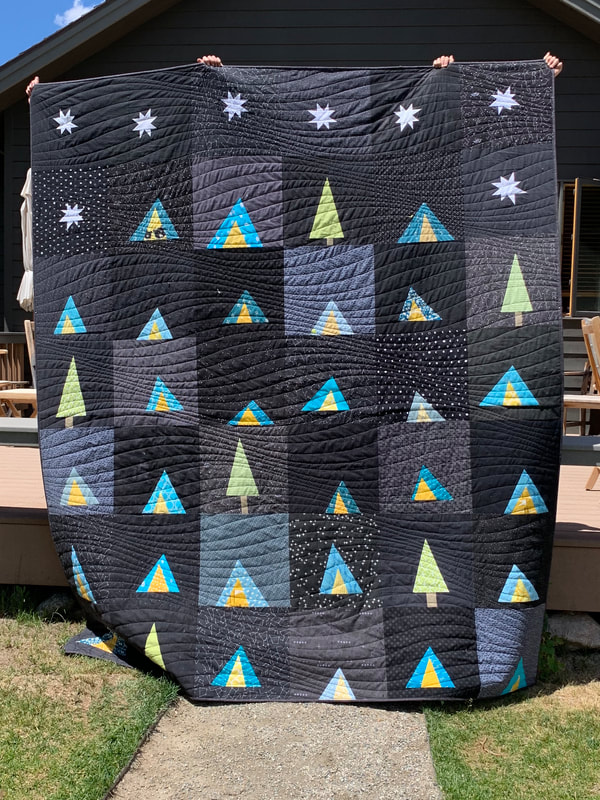
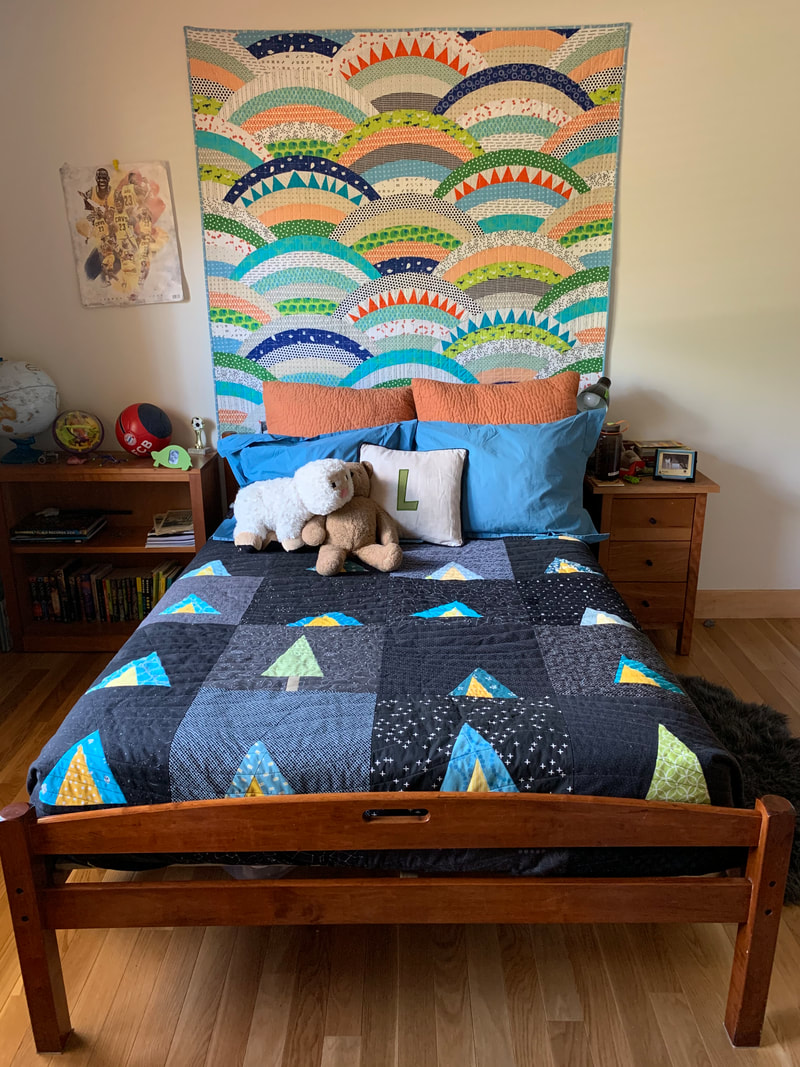
The quilt finishes at 60" x 80". Thanks for stopping by! My youngest son requested a new (bigger) bed quilt and I was happy to oblige. A few years back I made a quarter-log-cabin quilt for him, but it's too short when we tuck it in on his bed (and actually use it as a comforter/bedspread). You can see pictures of that one here. That meant that my #1 goal for this quilt was "big!" Back in May, when I began designing the quilt, my family and I were really missing some previously-schedule camping trips. We longed to get outside, and travel and see new things. So I went with tents for the quilt blocks. I went with improv-pieced tent blocks with lots of black negative space. My son has fun Echino canvas curtains in his room (see above), so I made my tents turquoise, and ended up going with dark yellow for the center of the quilt. I used one fat-quarter of black fabric per block and came up with a simple piecing method: I added two turquoise strips to my yellow triangle and then laid that triangle on the black fat-quarter. I cut one long line along one side of my tent (above that would be the right side cut), and then pulled that black piece away and cut the second background piece along the left side of my tent. Then I added the black pieces to the tent in the reverse of how I cut it, ie: in the example above I sewed the left side on first, then sewed on the right side. Once all my blocks were complete, I trimmed them down to 15.5" square. At my son's request, I added two little fussy-cut applique bears in one of the tents. I know that I personally have spent many nights in a tent listening to branches and leaves scratching against my tent, and imagining that it might be bears outside. For that reason I think it's humorous to have the bears in the tent peeking out cautiously. I added a few improv stars to the top of the quilt because I love them...and I knew that the top of the quilt would most likely be folded over on my son's bed ( so he could pet the minky as he fell asleep) and I didn't need to make any more tents. This was the general plan that I laid out in Electric Quilt 8 (EQ8). The tents aren't quite the same scale that I ended up using in my blocks, in real-life the trees are much taller, and the tree blocks have much less negative space. I like the contrast in negative space between the tree blocks and the tent blocks. I designed this quilt to be 90" x 105" with the idea that quilting it would make it shrink a bit...and then washing and drying it would make it crinkle more. We checked for size and it's a keeper (see below). (Spoiler: the quilt finished so large & heavy that it won't fit in my washer...and who wants to go to a commercial laundromat if you don't have to right now). I backed the quilt in silver minky, and had it quilted with "modern waves". My kids all struggled to hold it up for me to take a photo - but we got it! One day, when the pandemic is over, I'll venture out to wash this quilt and the crinkle will be amazing (and it won't be quite so huge).
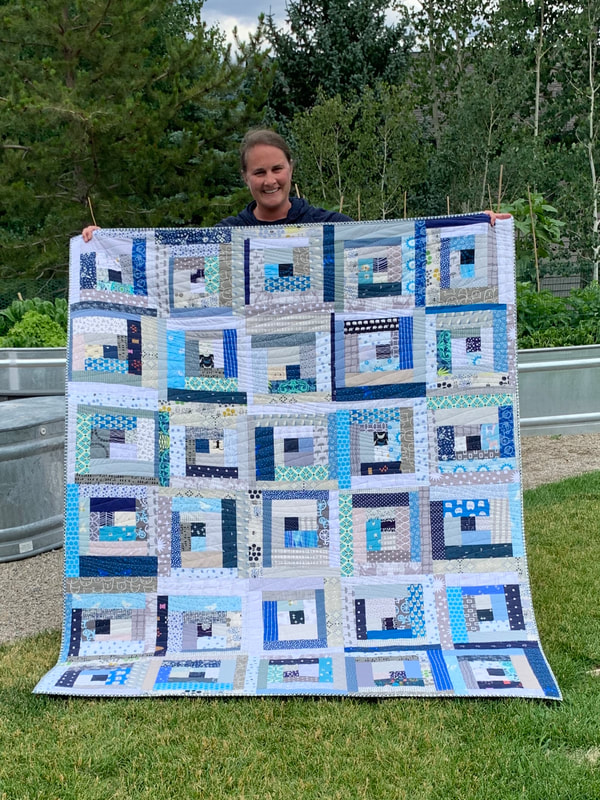
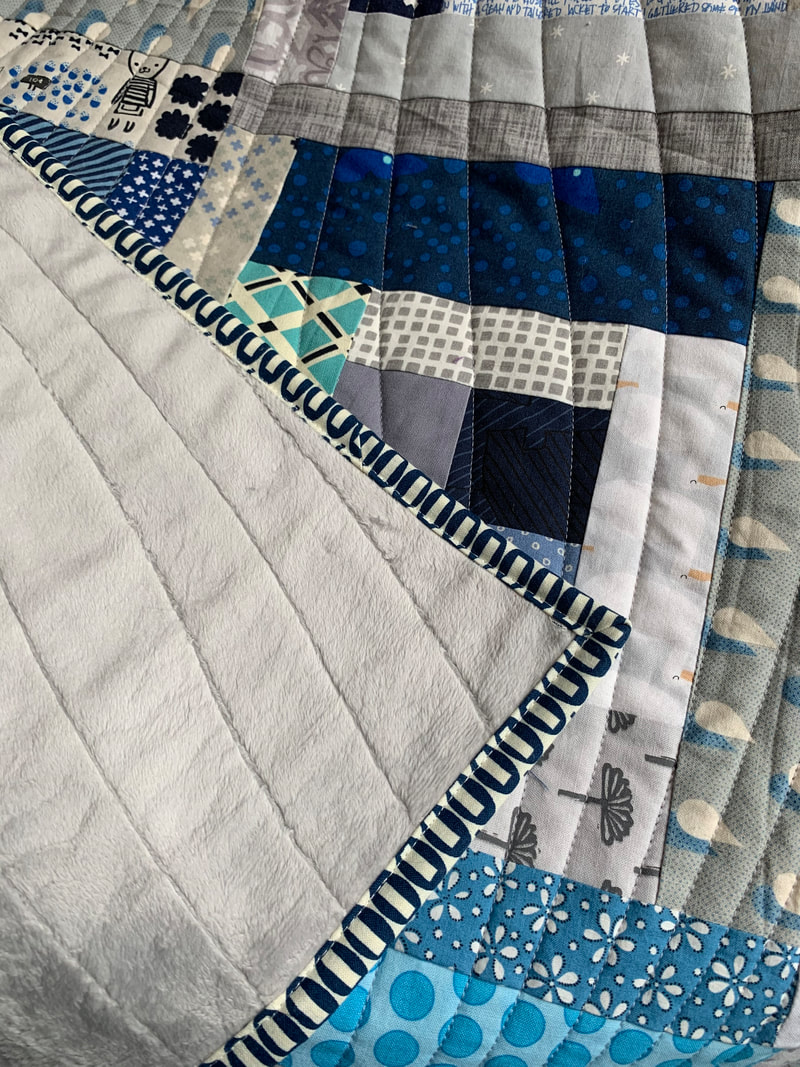
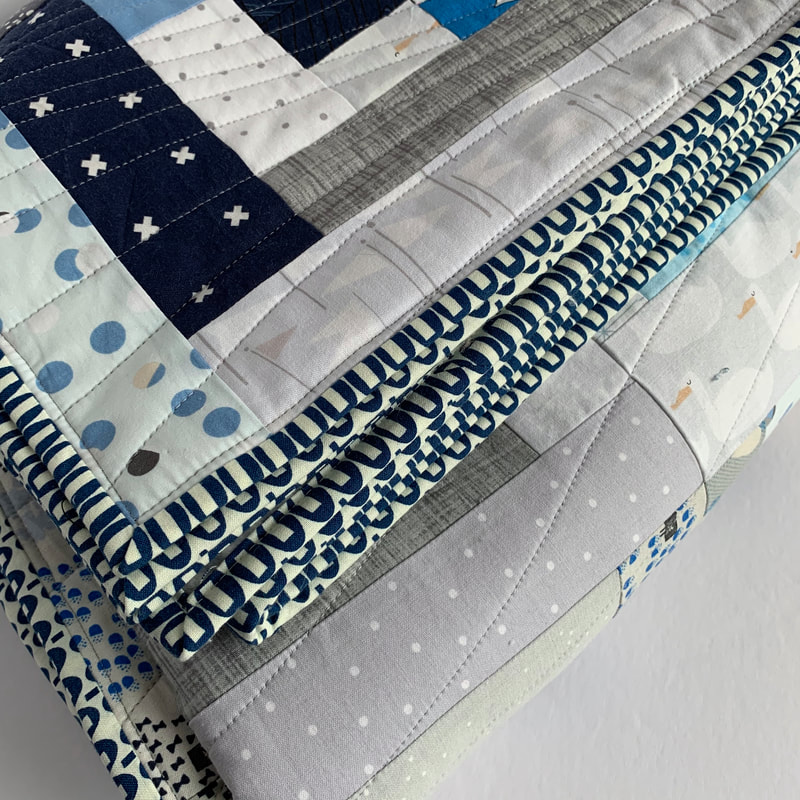
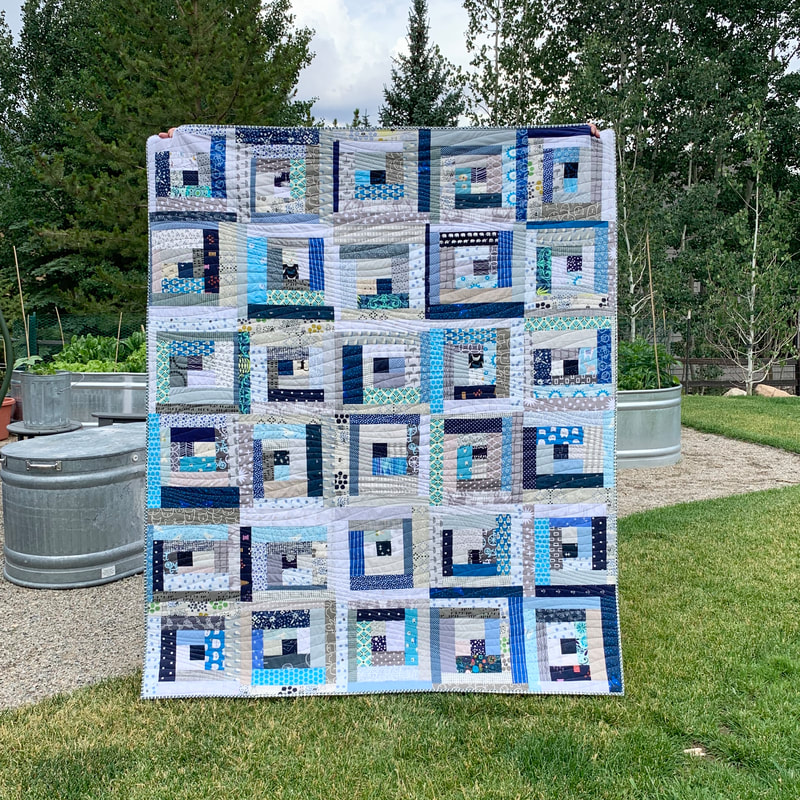
Until then, it's being used and loved and that makes me happy. This is going to be super quick, but I wanted to document that I liked making my last log-cabin quilt so much (see here), that I made another one! For these blocks, I used gray and varying shades of blues with navy squares in the center. I made this quilt one row longer, so it finishes around 60" X 72". Another difference with this quilt is that I backed this quilt with minky and had it quilted by my local long-arm quilter. I used another shade of the Pezzy prints to bind this one - just like the spring green version.
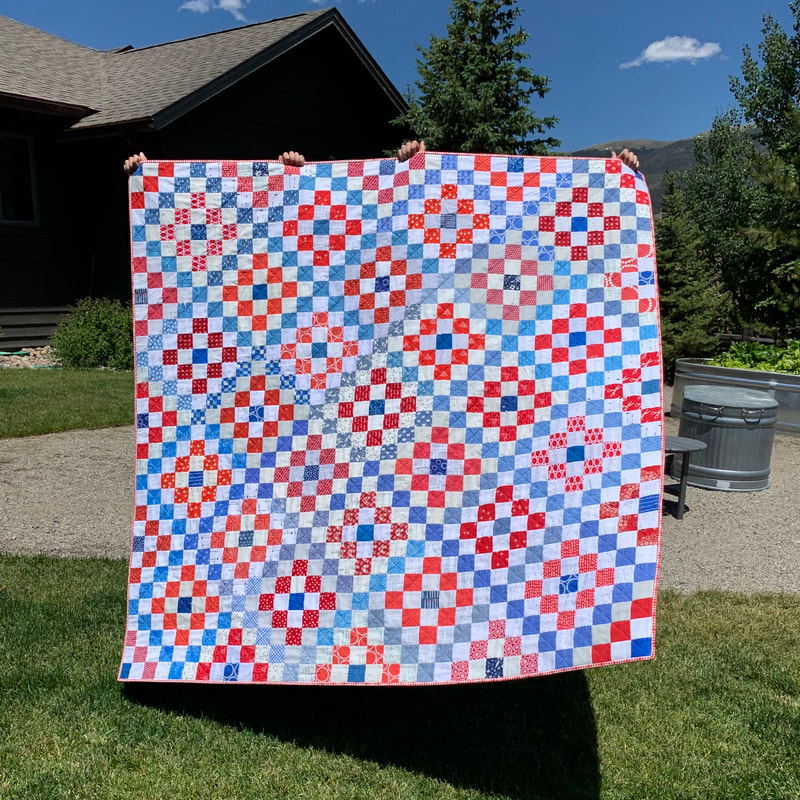
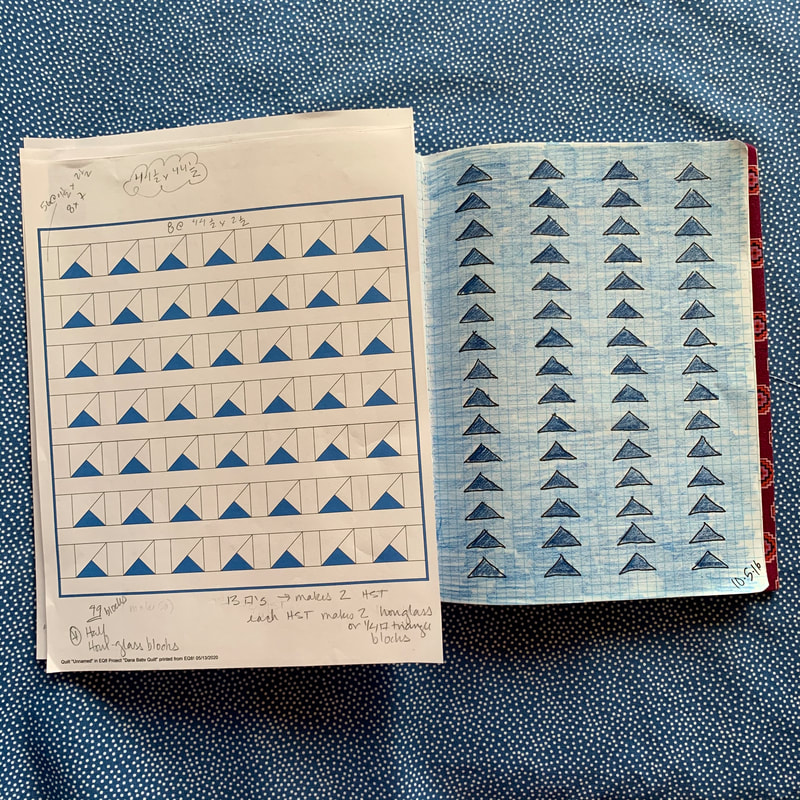
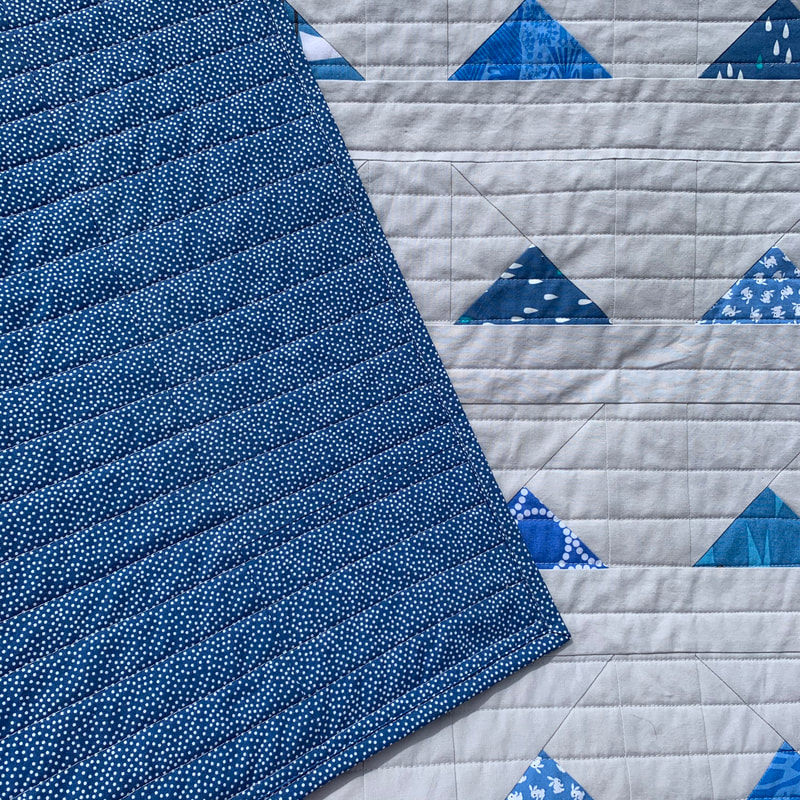
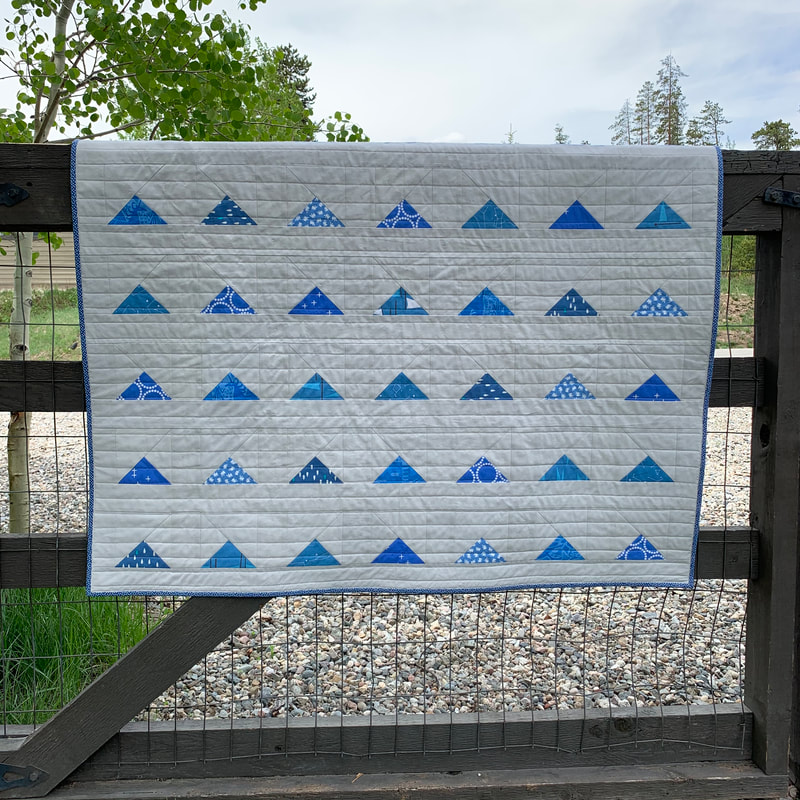
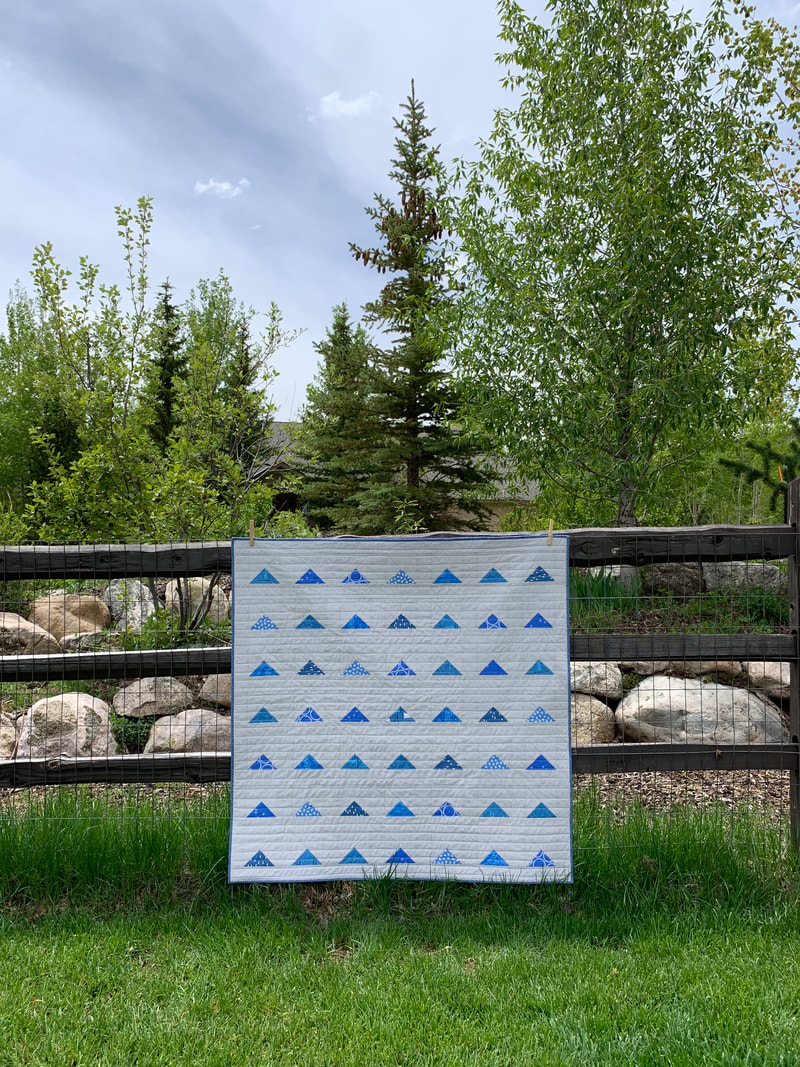
I like to jump back and forth between making stash-busting quilts, and scrap-busting quilts. So after my last few quilts, it was time to get out my 2 1/2" scrap squares and play. As I was laying these squares out on my design wall, one of my sons asked me if scrappy quilts took more or less time to make than a quilt made with fabric yardage. My answer: scrappy quilts like this take more time to lay out, but they sew up quicker than a quilt that requires assembling blocks. This one - like others similar to it - went quickly at first, as I pulled pre-cut scrap squares from my box...and then progress slows as I struggle to find enough low-volume scraps to cut in to more 2 1/2" squares. Then, once everything is on the wall, assembly flies by as I web-piece everything together in one fell swoop. Sticking with the "use what I have" theme that I've had during this pandemic, I pieced another backing for this quilt (tho I had to buy a few new 1/2 yards to complete the back). I quilted diagonal lines through every-other fabric square to create a nice texture, and bound it with an old favorite red and white print. 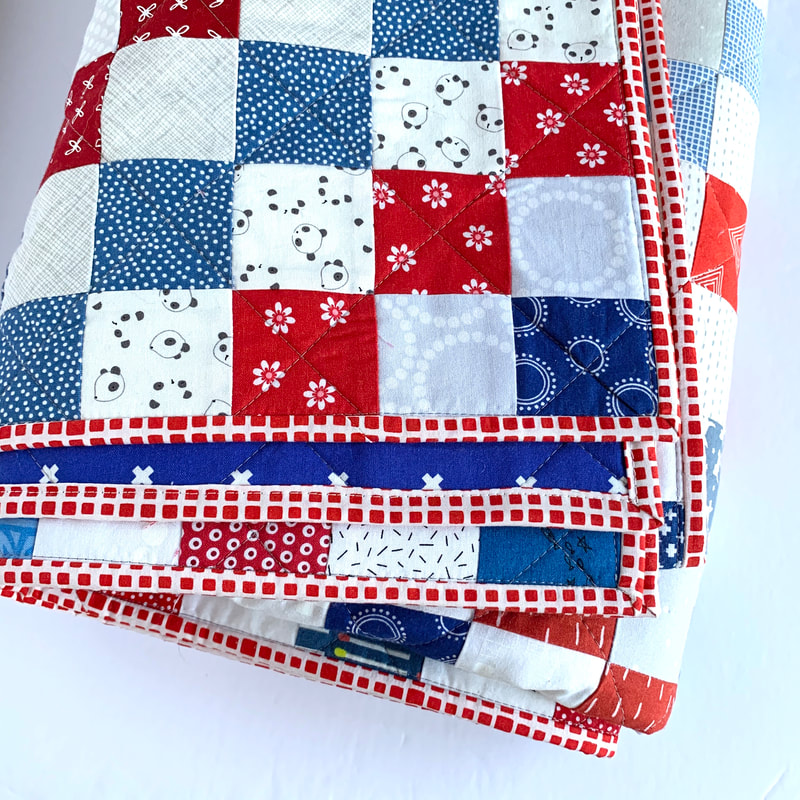 This weekend I am going camping and I am looking forward to bringing this quilt along for some in-camper snuggling. Quilt Details This quilt uses 1,089 fabric squares that are all 2 1/2" x 2 1/2". I laid them out with 33 squares across and 33 squares down - resulting in a quilt that is roughly 66" x 66". Thanks for stopping by and Happy 4th of July! Back in 2016, I participated in a 30-day quilt design challenge. I had a blast doing it, and I produced several designs that I like - and have made. The hashtag was #30daysofquiltdesign if you want to see more of people's designs. The pictures/posts weren't fancy - most were just sketches on graph paper - but I believe it was a really good exercise. One day I shall do something similar again, but for now, I wanted to share my latest quilt (that came from that design challenge). Sometimes when I draw up quilt designs, I just work with shapes on a page, and later I go back and figure out how I would actually construct the blocks and quilt. Other times I start the process by thinking of how I would manipulate or change simple block shapes to make a design. For this quilt, I just started playing with triangles laid out in lines, and when someone reached out to commission a baby quilt, I sat down and started to think about how I would actually make this quilt design become a quilt. As you can see above, my design in EQ8 is a little different than my original sketch. Most obviously, my triangles are a whole lot closer together in the original design. Perhaps next time I work with half-hourglass blocks, I'll eliminate the horizontal sashing and see how I like that. I went with Kona Cotton in Silver for the background of this quilt, and a Michael Miller blue pin-dot fabric for the backing. I went with more straight lines for the quilting and I did it myself on my Juki home machine. When I was trying to figure out construction of this block, I googled "quarter-square triangle" and found this helpful tutorial from Bonjour Quilts (and math cheat sheet) to make what I now know are called "half-hourglass blocks."
Quilt Details This quilt is 44.5" x 44.4" There are 49 blocks in the quilt (4" x 4" finished), along with horizontal and vertical sashing. More pictures are posted on my Instagram account under #halfhourglassblocks.
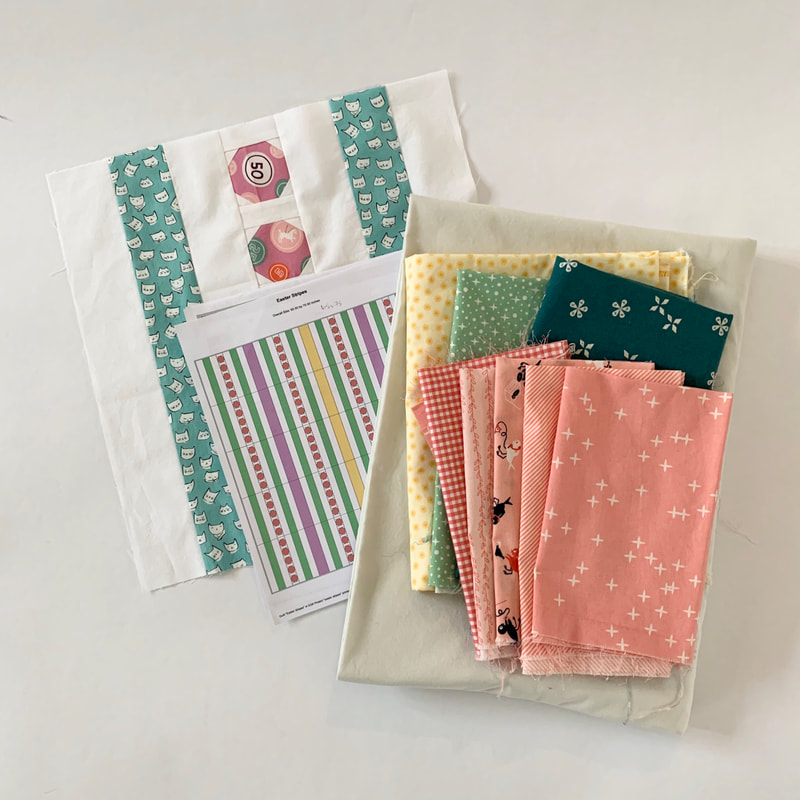
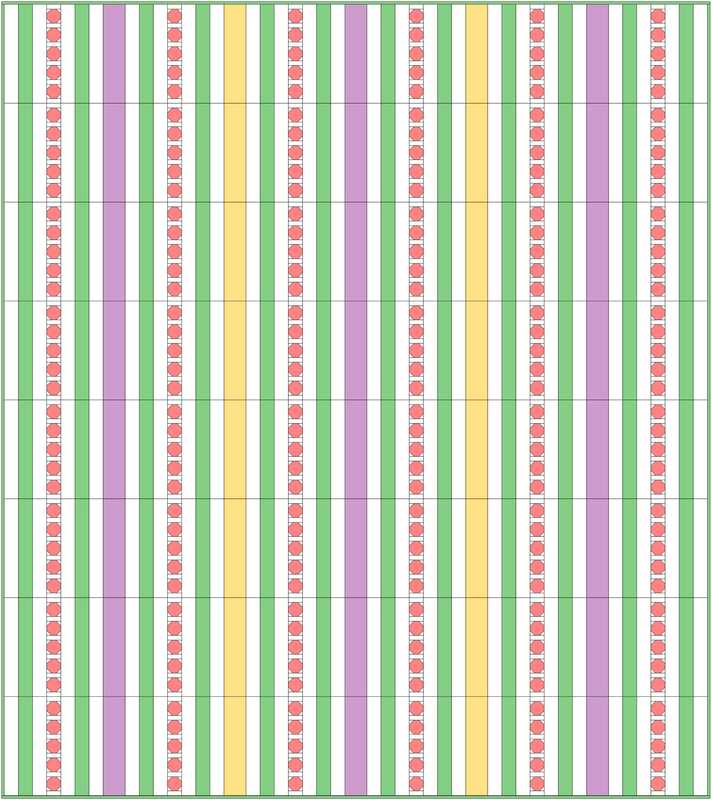
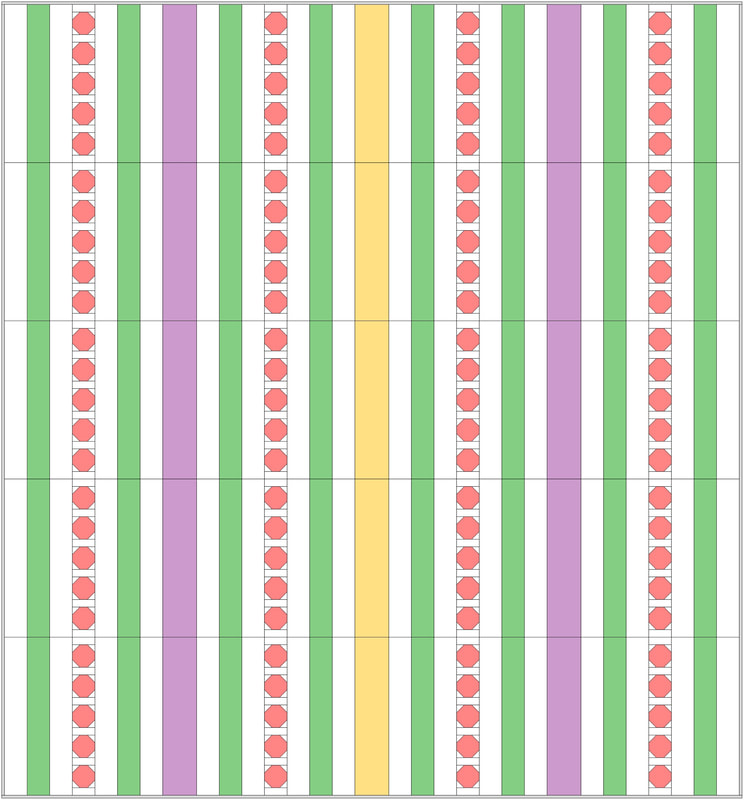
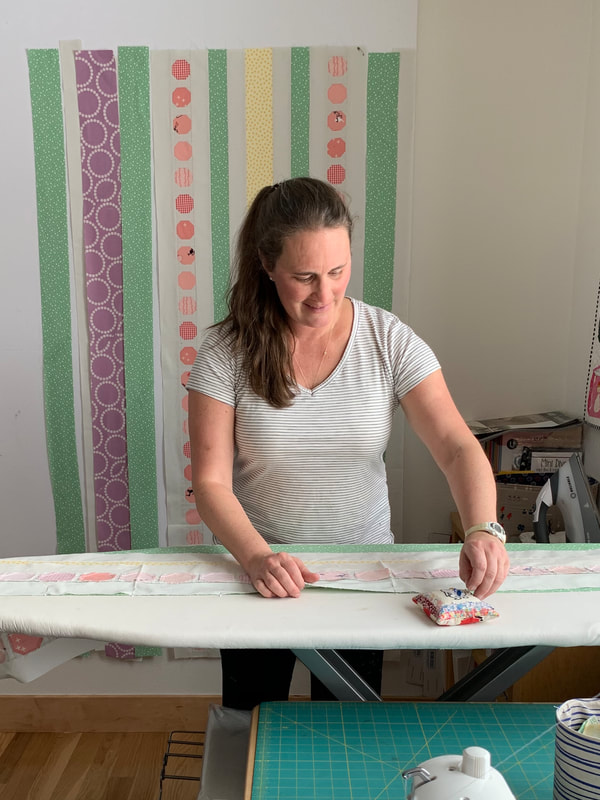
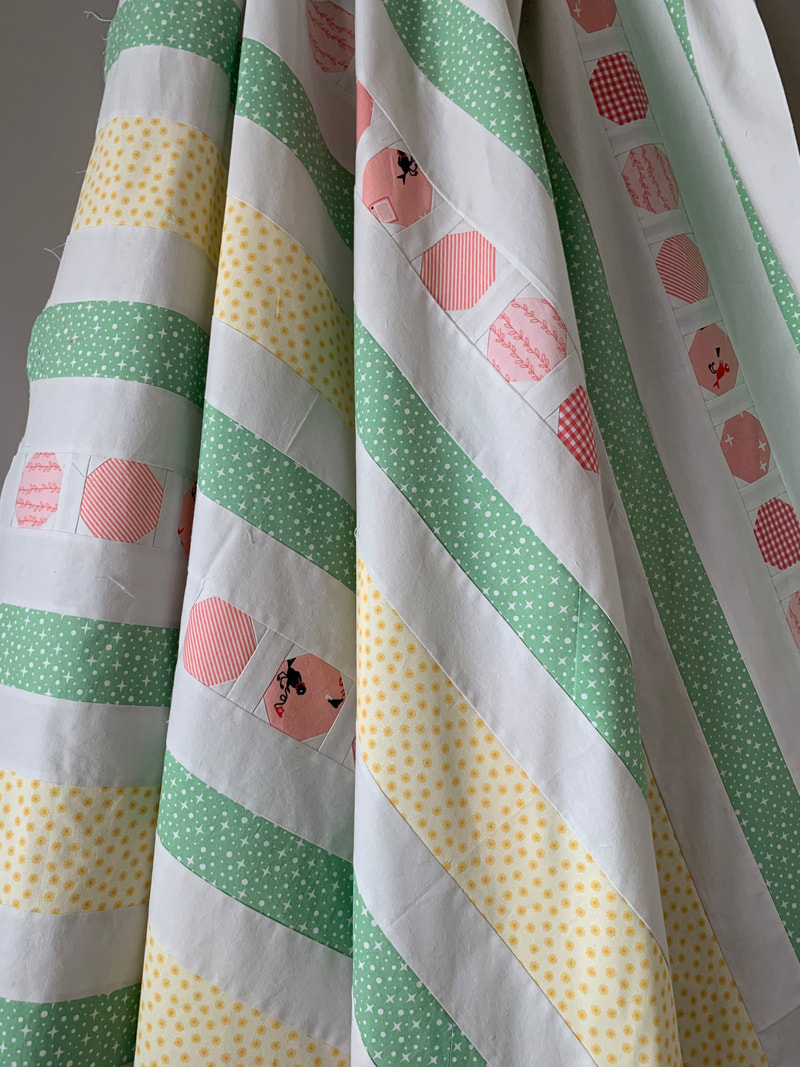
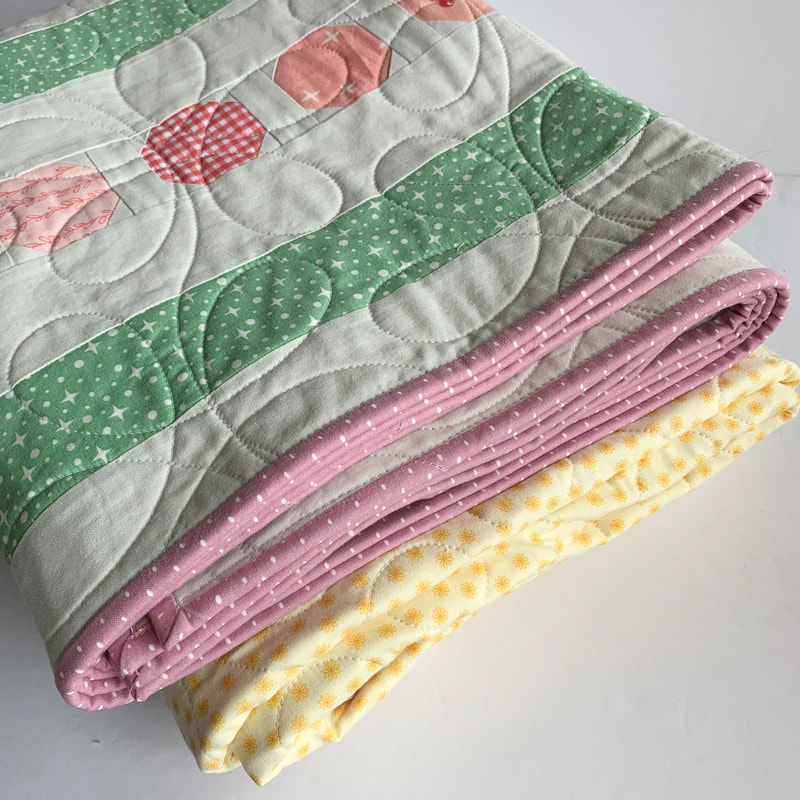
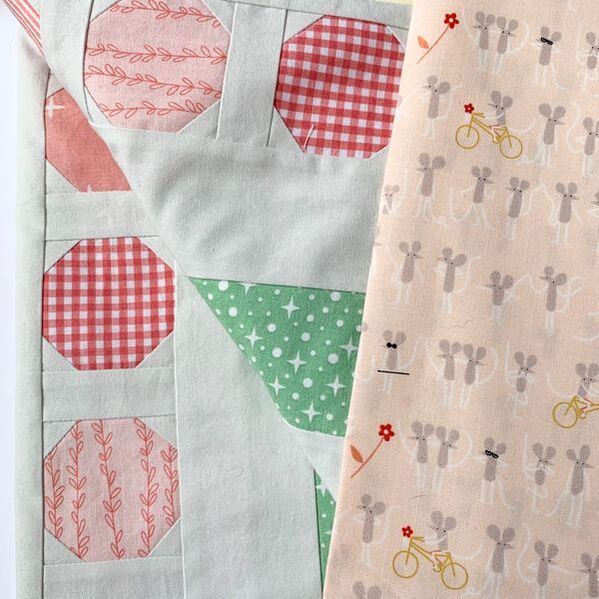
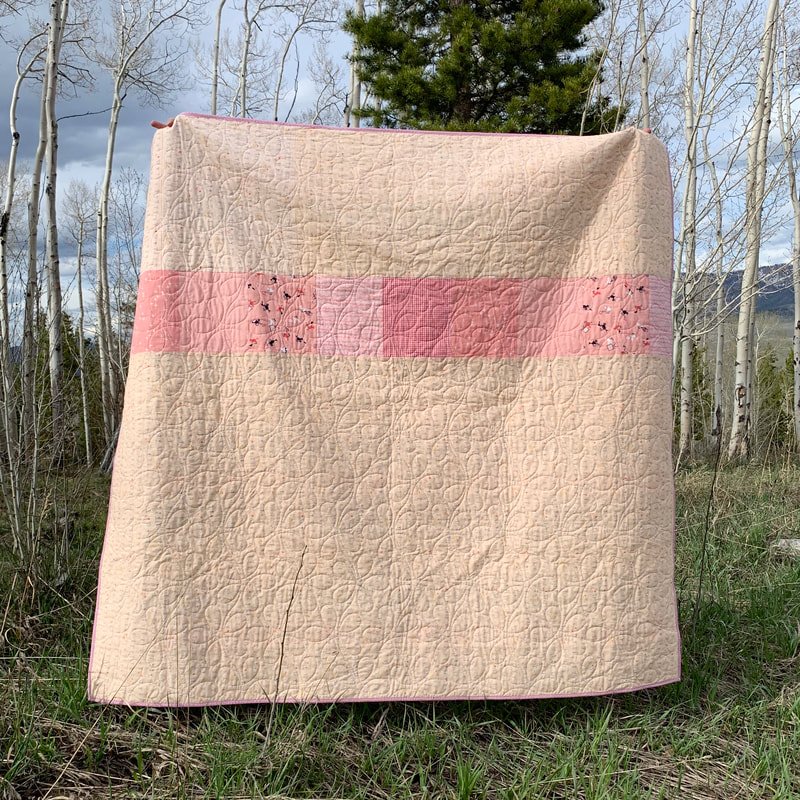
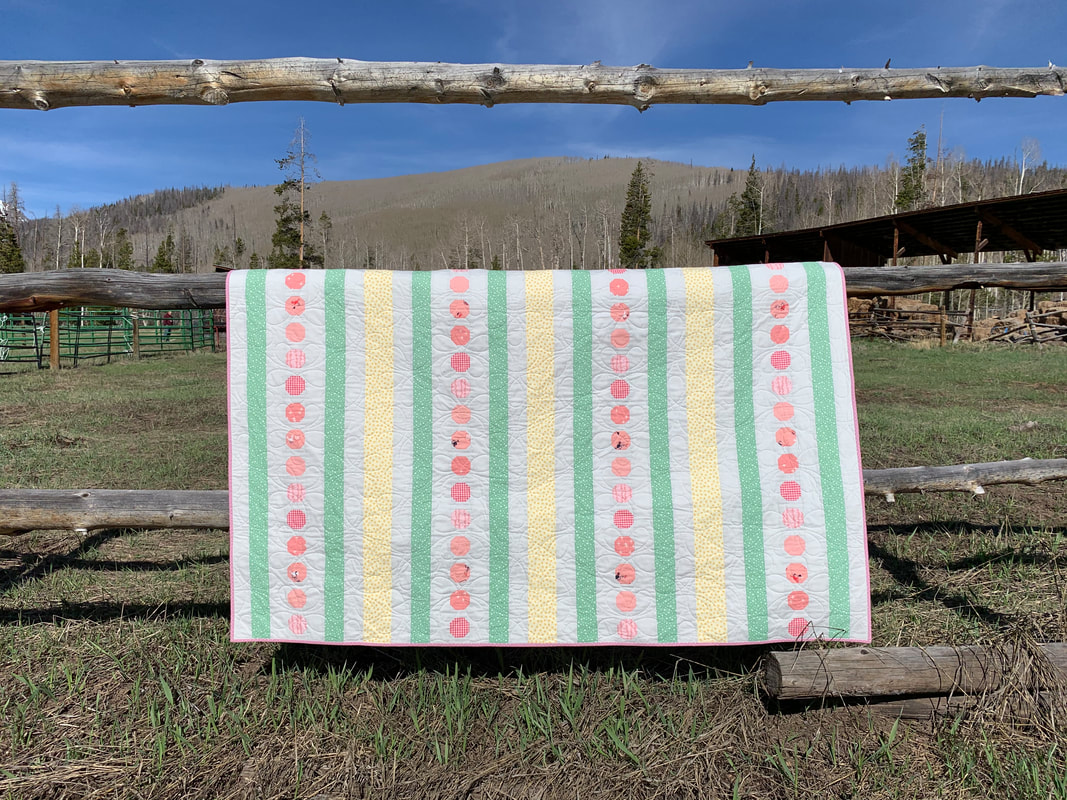
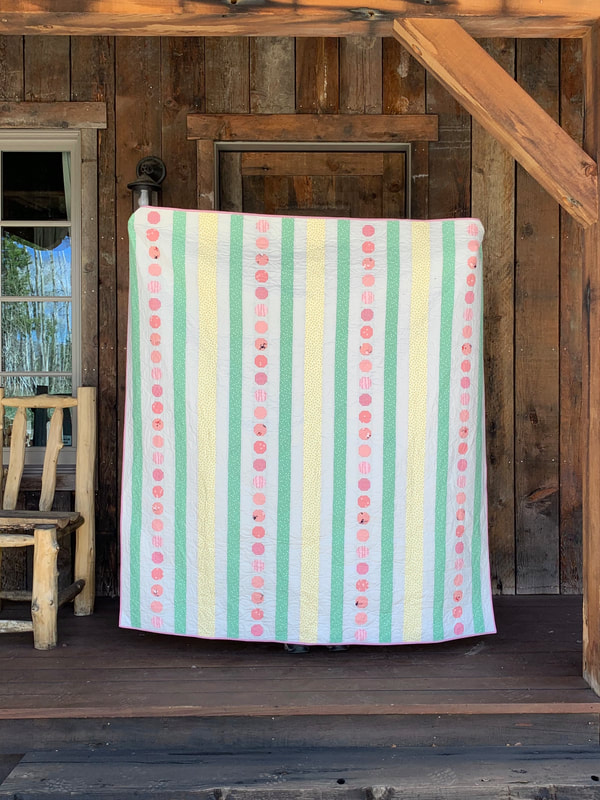
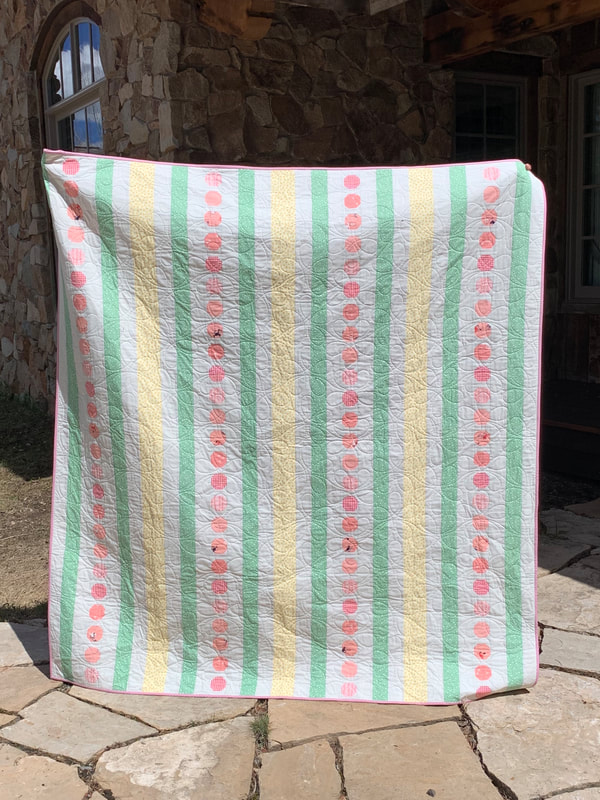
If you follow me on Instagram, you already know that I had fun using Play Craft's palette builder to choose colors, and then fabric, for this quilt. (You can also find those stories saved in my Instagram Highlights here.) You can see the fabric I originally pulled in the top photo in this post. You might notice tho, that some of those fabrics are missing from the next picture...and actually I also eventually removed the purple stripe (shown below) from the quilt top too. In the end, I went with just green and yellow stripes, on a "haze" lt gray background (Kona Cotton). I loved making the polka dot blocks, and it renewed my design to make an all polka-dot quilt some day. The purple fabric ended up on the binding and I love how it works with the other colors in the quilt. I had this guy quilted by my local long-arm quilter using a design from Urban Elementz called Flower Child. The back of this quilt is mostly a peach (OOP) mouse print from Lizzy House, however I wasn't able to find all that I needed online, and I ended up having to piece a strip using the peach fabrics from the quilt's front.
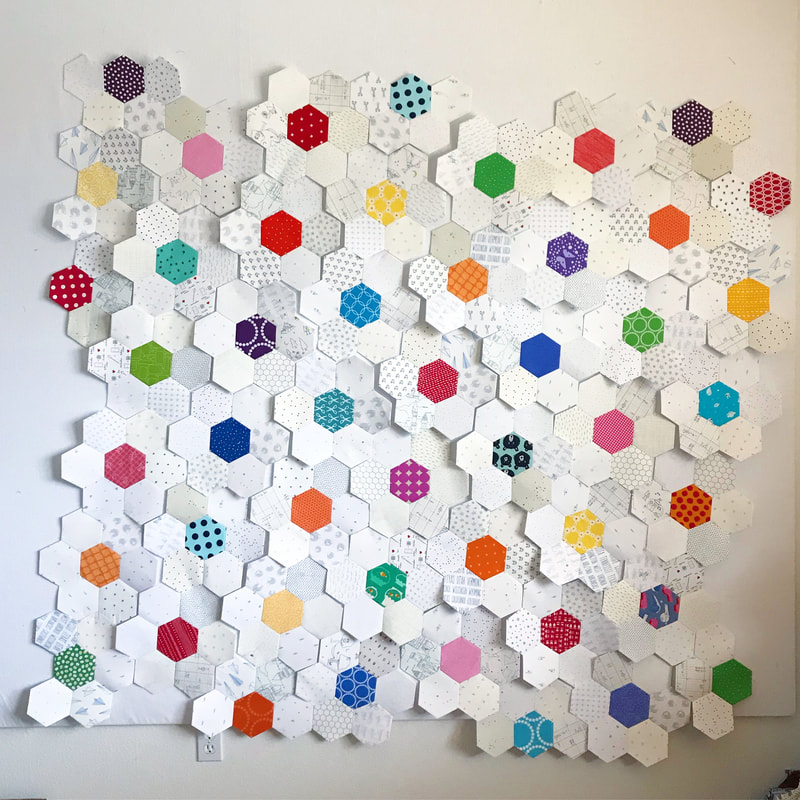
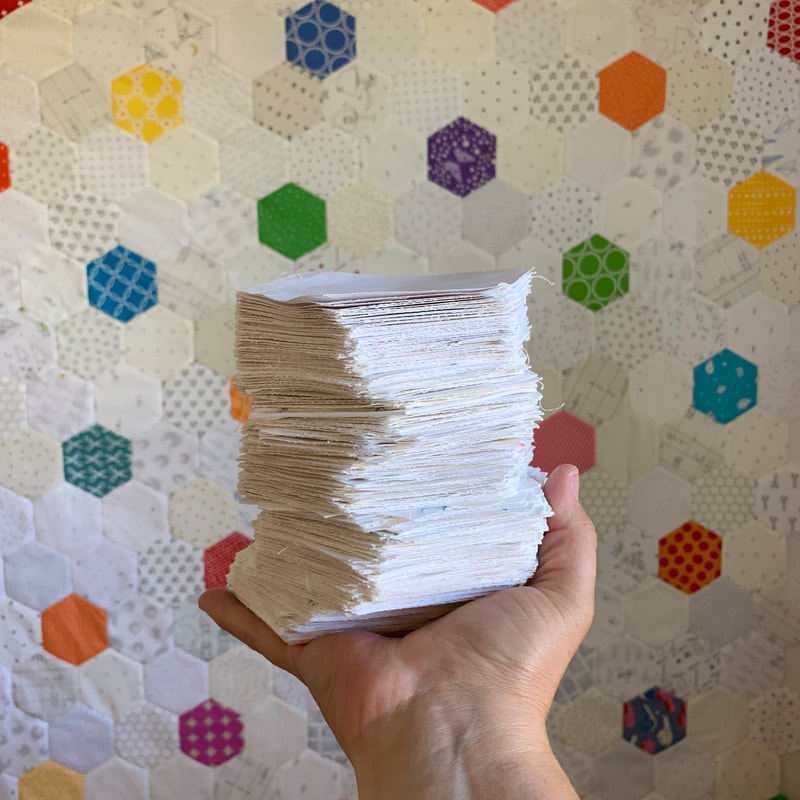
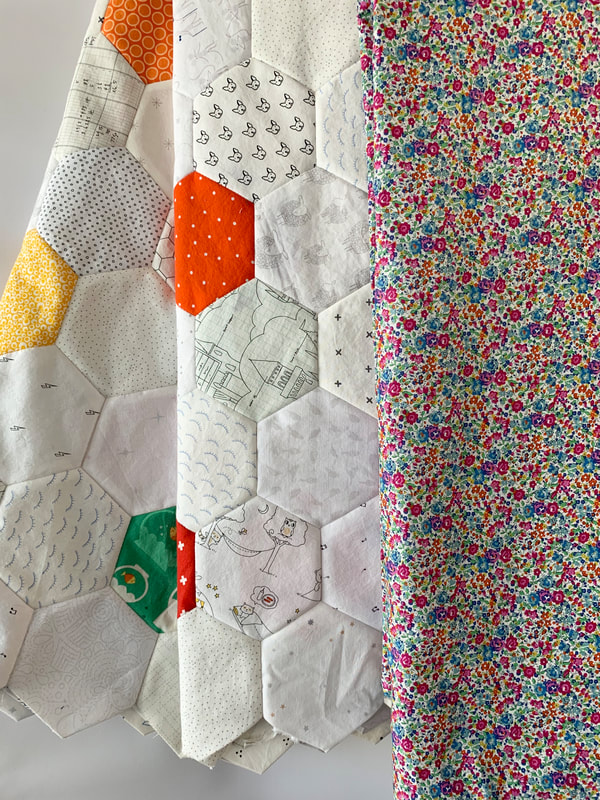
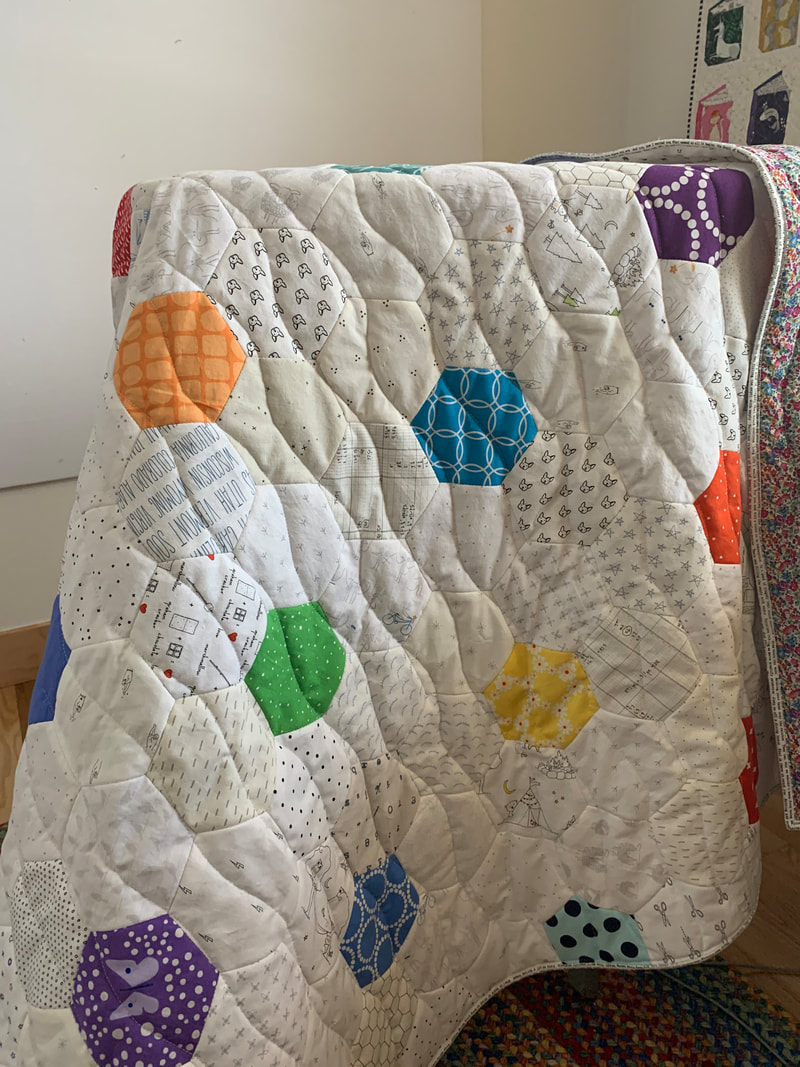
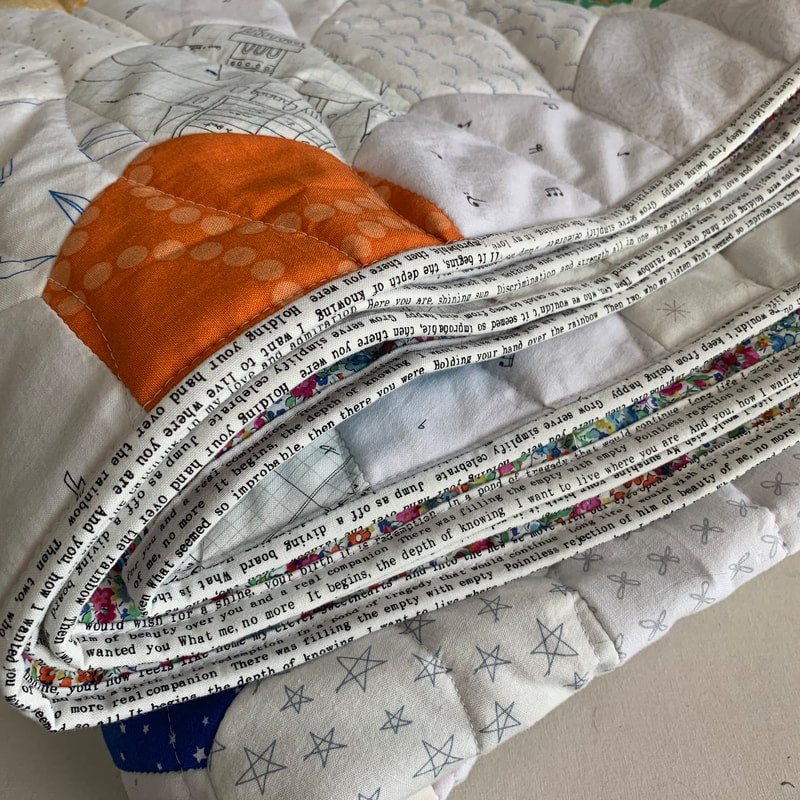
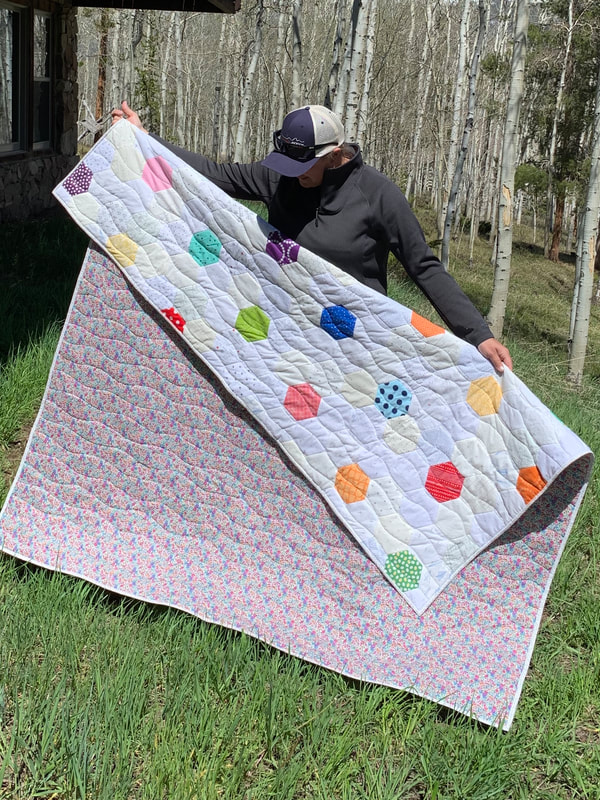
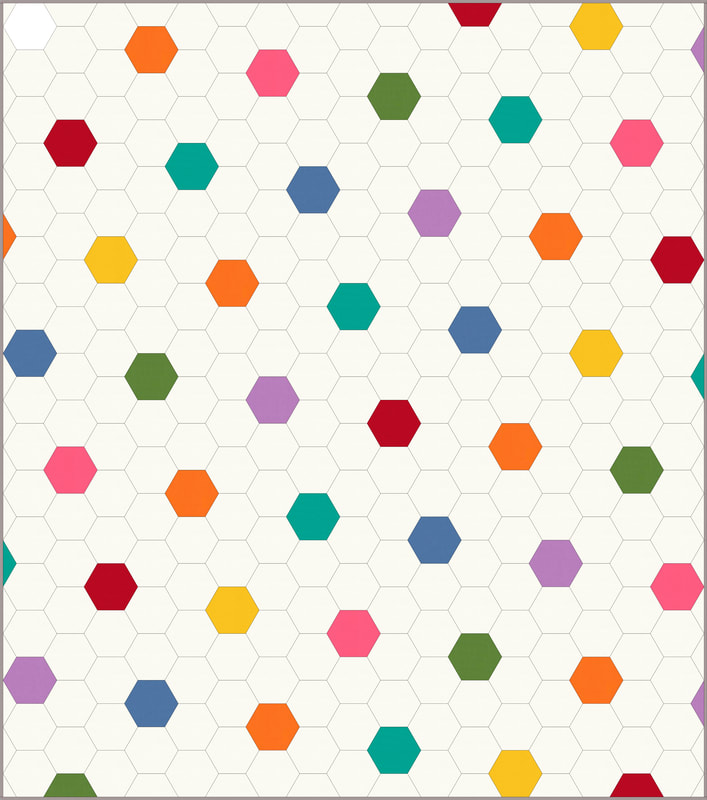
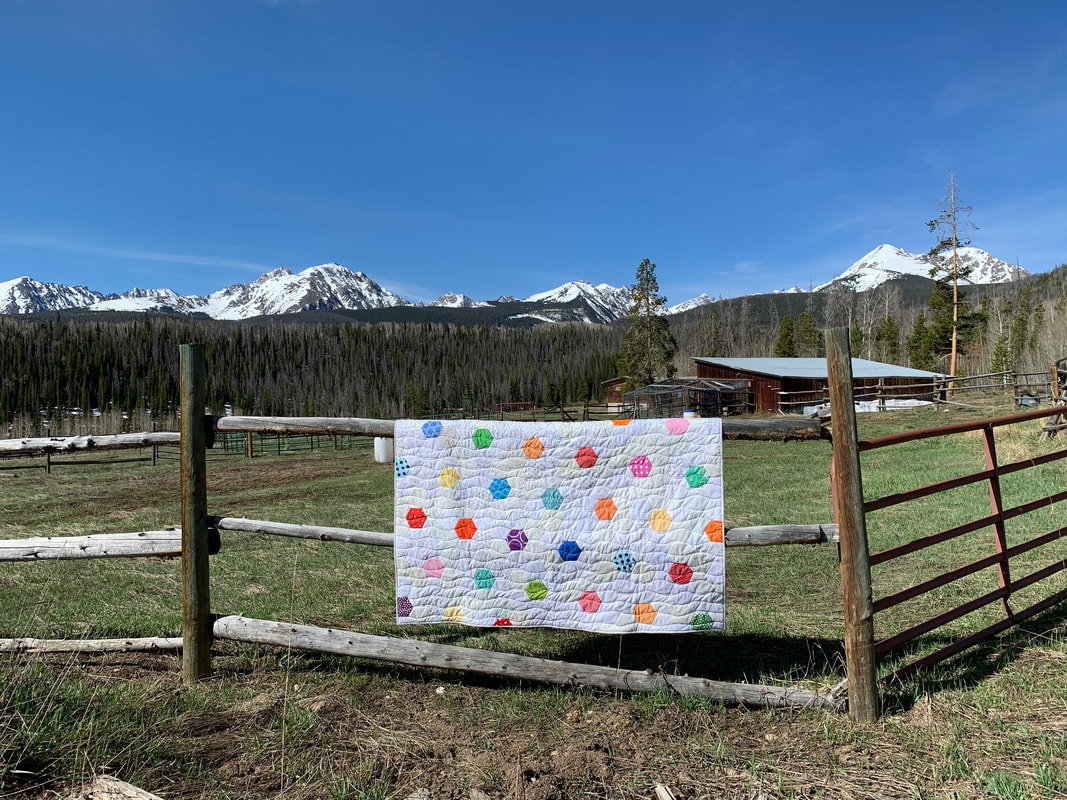
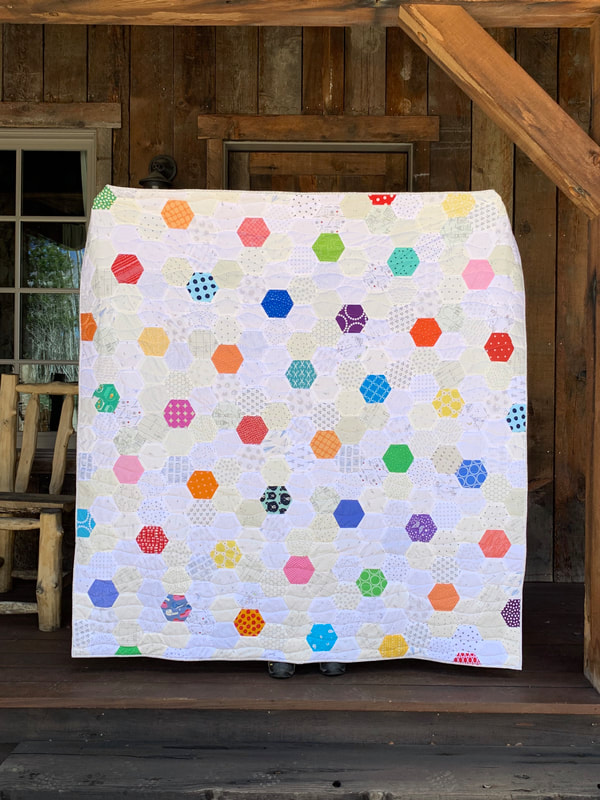
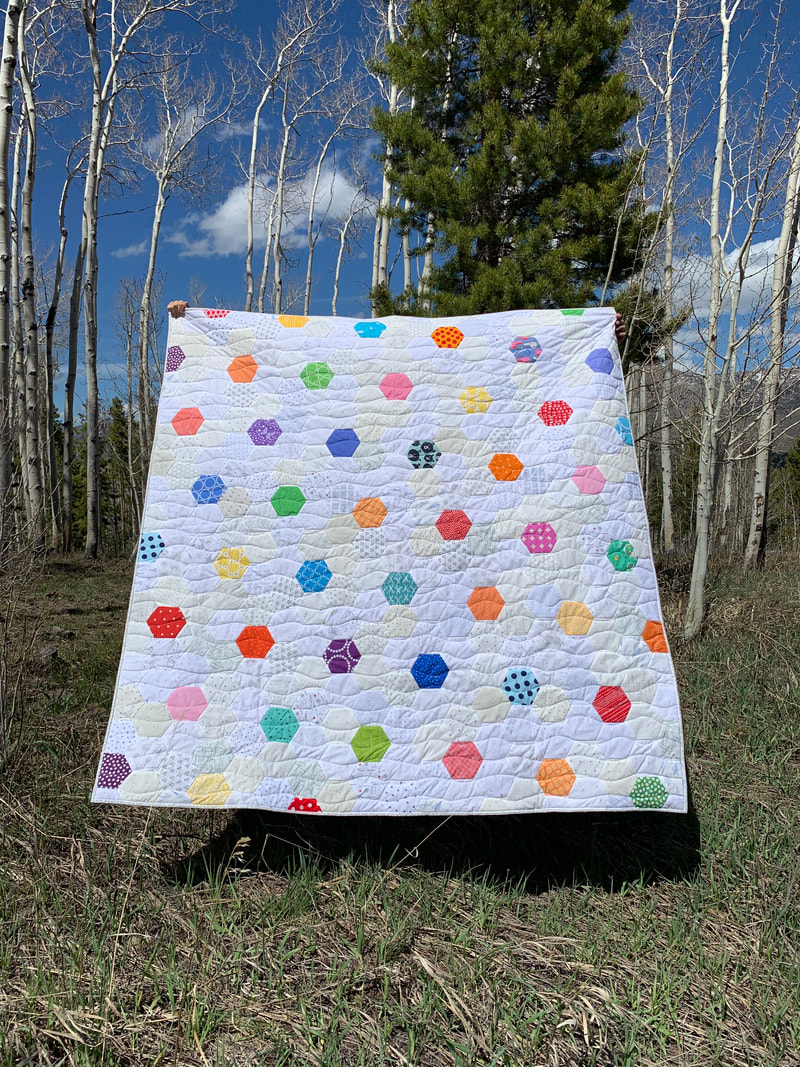
In all, this quilt finishes at around 67 x 72. Scroll through for more photos, and thanks for stopping by! In September 2018, I started my second large-scale English paper-pieced (EPP) quilt project. After a few stops and starts, I settled on this design: bright pops of primary colors surrounded by predominantly black and white low-volume fabrics. Check out #myrthsbluehexies to see pics of my first epp quilt, or read this blog post. It is worth noting that my first EPP quilt was gifted to my mother for a significant birthday, and ever since that I wanted a quilt like it for my own. So this EPP quilt followed a similar pattern and was finished with similar materials. Similar to my first EPP quilt, I used 2 1/2" hexagon pieces from Paper Pieces. I am not a fussy (sewing) person, so to me the bigger the hexie, the better because bigger = less piecing overall. For fun, this time I pulled all of the papers out of the back of my quilt at the same time (soooo satisfying) and I had to snap the picture above. Again - similar to my first EPP quilt, I wanted to back this quilt with a "lawn" fabric - and who makes the most fabulous lawn fabrics? Liberty of London! Yes it cost a small fortune, but this just might be my last hand-sewn quilt, and it was worth it to choose a fun multi-color print that is soft as butter to back this quilt. I went with their "Emma & Georgina" fabric and got it from DuckaDilly here in the US. I used Hobbs Tuscany wool batting in this quilt - and again it delivered a lofty soft quilt. I quilted it on my home machine with wavy lines going through the center of each hexagon in quasi-lines. For me the wool batting is so puffy that it lends itself to the wavy lines more than straight lines. I bound the quilt with an Allison Glass text print and I love how it's a slightly denser print than the other low-volume prints in the background of the quilt. It draws a visual line around the edge of the quilt that is noticeable, but not over-bearing. Quilt Stats:
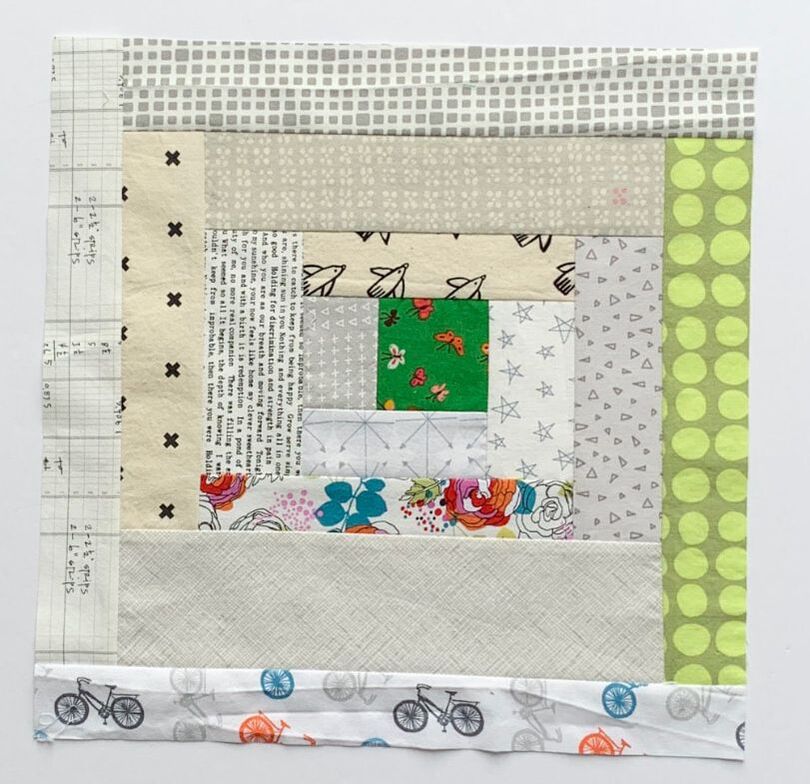
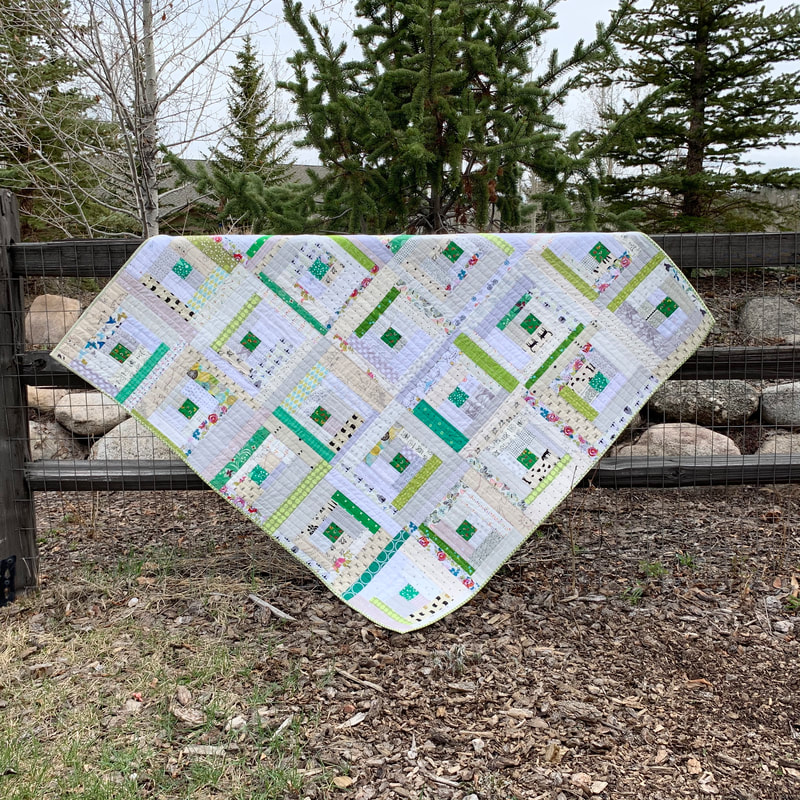
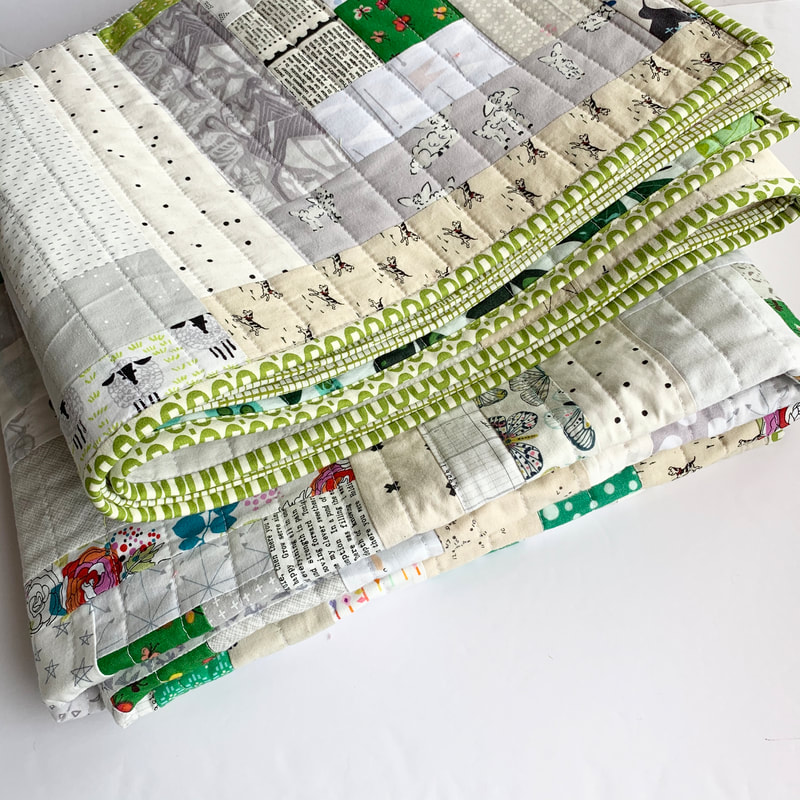
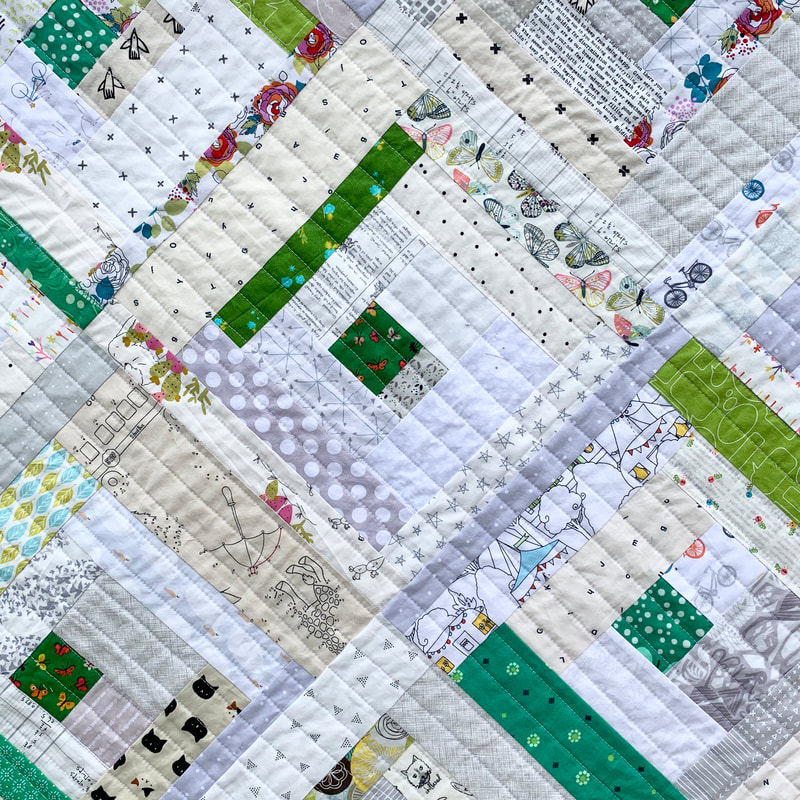
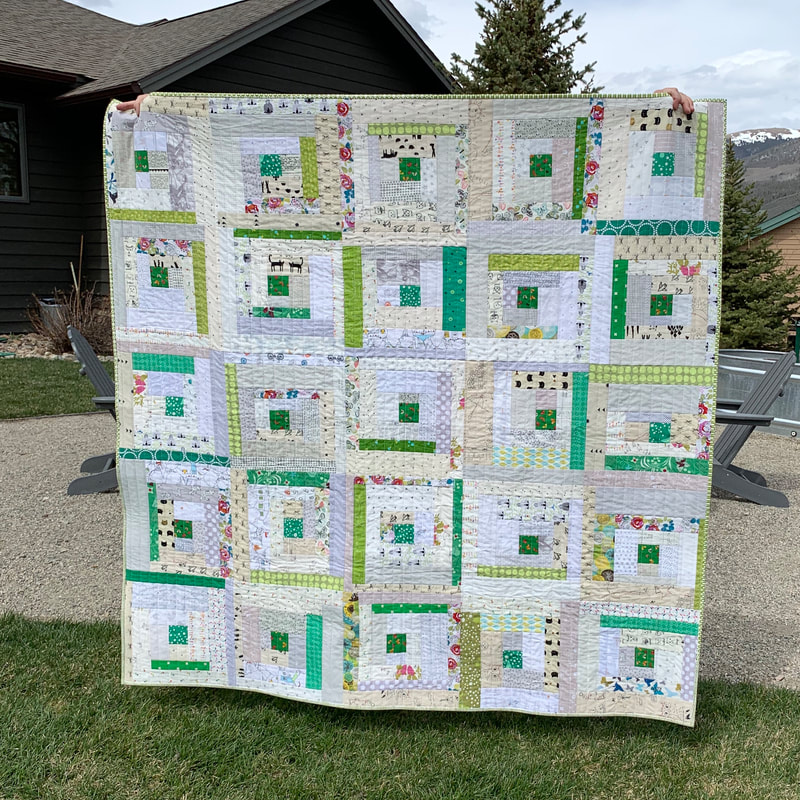
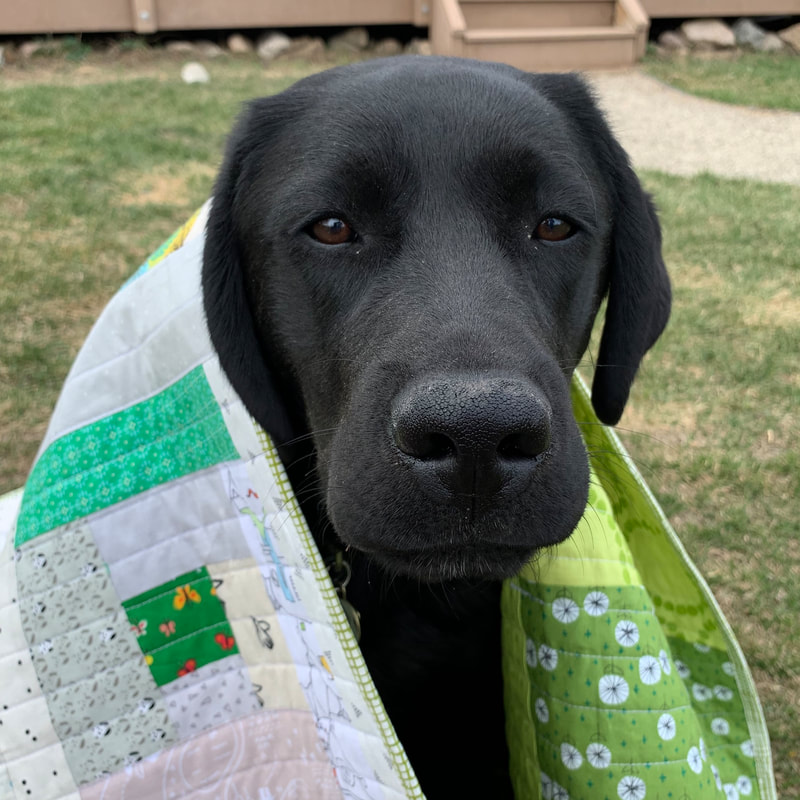
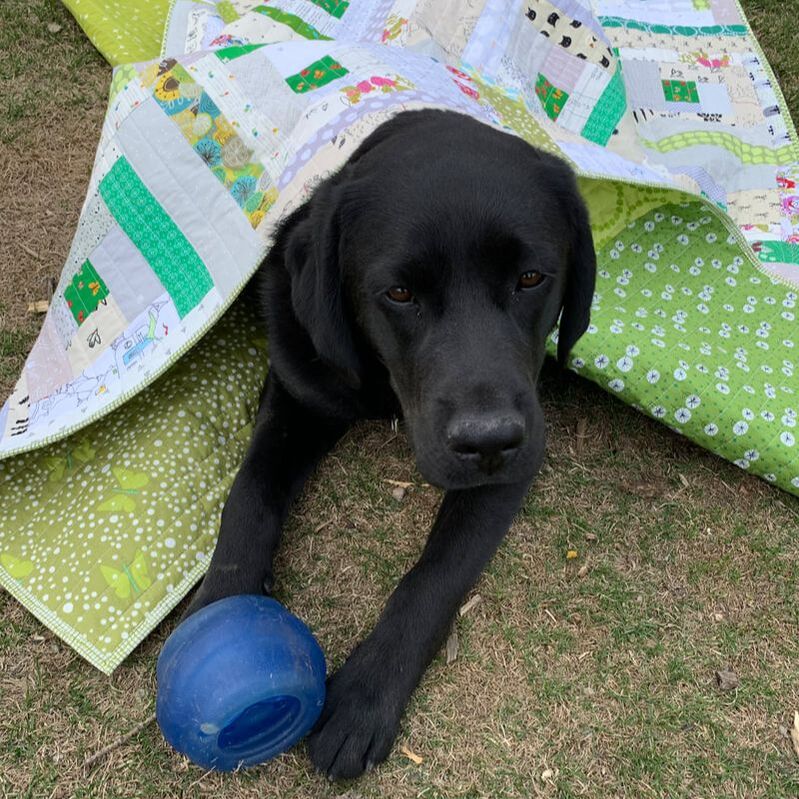
This quilt has 333 hexagon pieces that make up the quilt top, and it finishes at 65.5" x 74". Of those 333, 48 are primary colors, and 285 are low-volume background fabrics. There are 33 whole "flower" blocks, and the rest are partial flower blocks, or just low-volume hexies filling in the edges. Thanks for reading along! Below are a few more pictures for your visual enjoyment. I find it hard to believe, but in my 19 years of quilting, I'd never made a log-cabin quilt. I did make a baby quilt with 1 "mega" log cabin block, and I've made individual small log-cabin blocks for swaps and bees - but those are different in my book. So this month, I decided to change that. A few weeks ago, Rossie Hutchinson (@rossiecrafts) started an informal log-cabin sew-a-long and it sparked inspiration. Conveniently, recently I had begun saving "stings" when cutting quilts - and a friend (@robineggbluedesigns) offered to send me some of her scraps. The multi-colored print above is from her, and it was the jumping off point for this quilt: I loved the pops of color in the print, and the green in particular (the green dot shown above is also from her). So, during Zoom calls with friends & family, I began sewing together strips of assorted widths. It was the perfect mindless improv project to work on while chatting. Fast forward a couple of weeks, and I have a completed quilt! I made 25 blocks and trimmed them to 12 1/2" square and ended up with a roughly 60" x 60" quilt. Every inch of this quilt top came from my scrap bins (or the scraps sent to me), and the back is 100% from my stash. The greens on the back don't perfectly match - but they all remind me of spring and they all were on hand. I bound the quilt with two more fabrics that I had on hand, and quilted more 1"-spaced straight lines on my home machine. After spending so much time & focus on my Inner Star Quilt patterns, and the three versions that I made of that quilt, this log cabin quilt was a breath of fresh air. I absolutely love this quilt, but my Mom expressed interest in it, so it'll be a late Mother's Day gift to her. I know she'll give it lots of love.
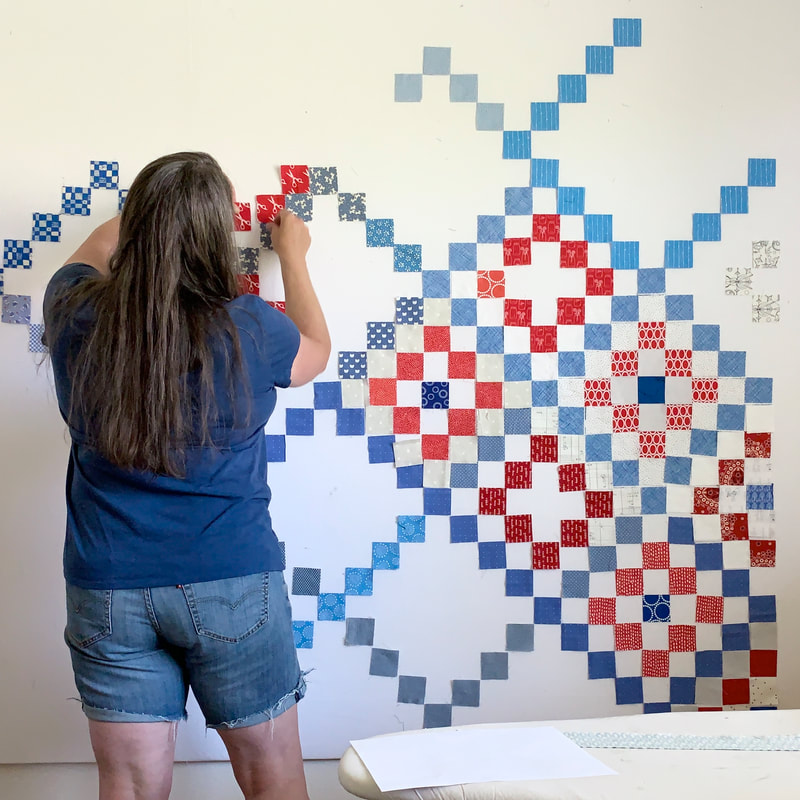
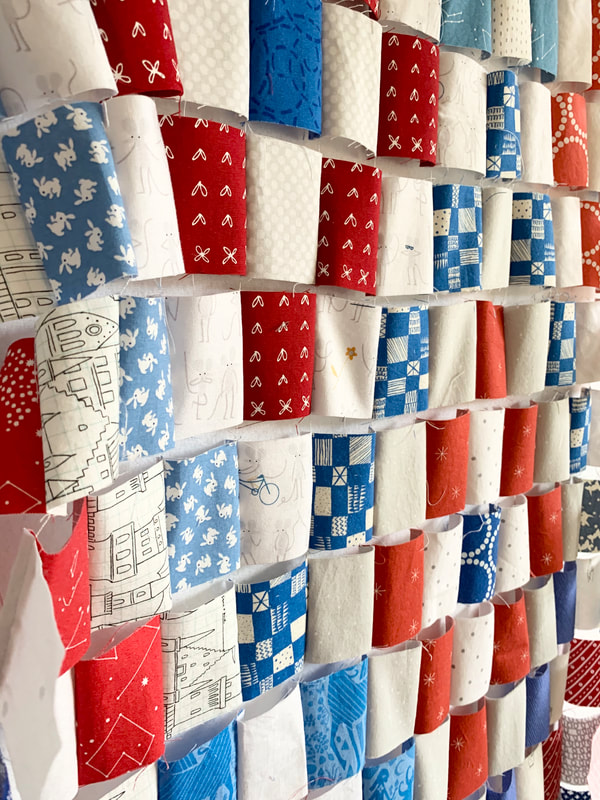
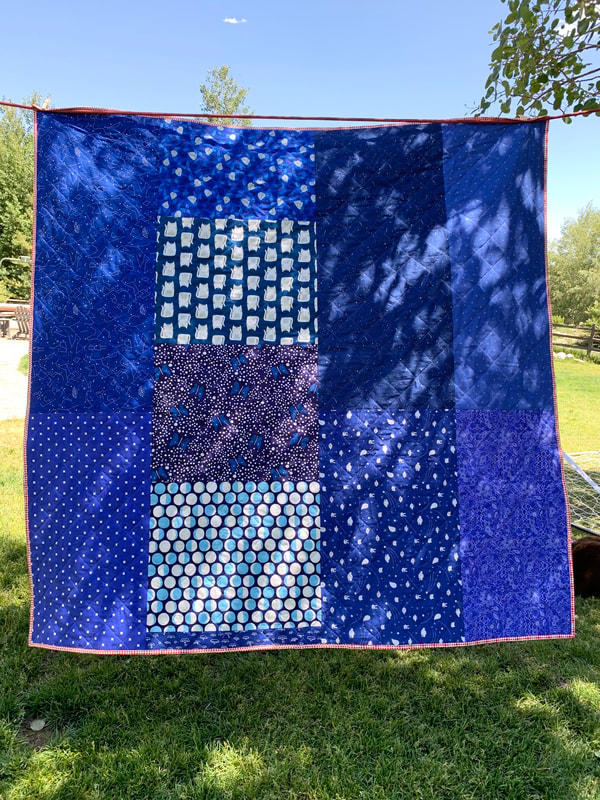
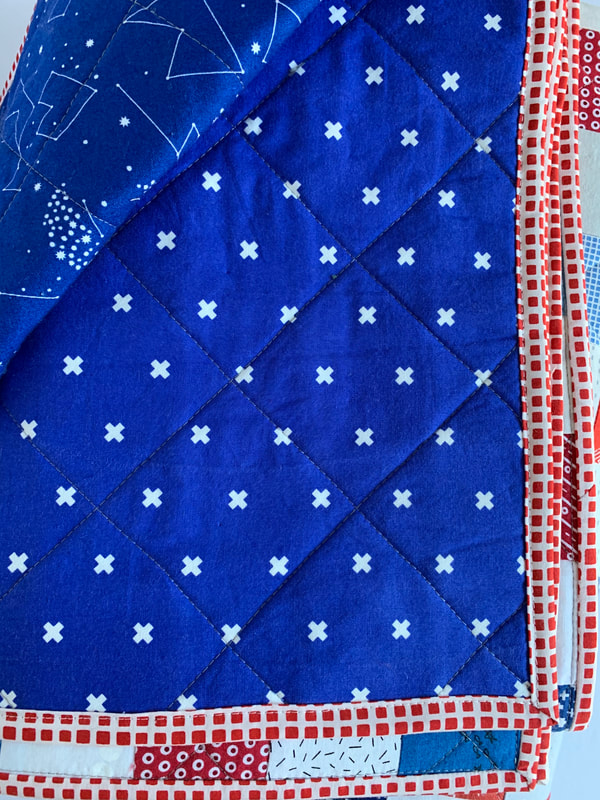
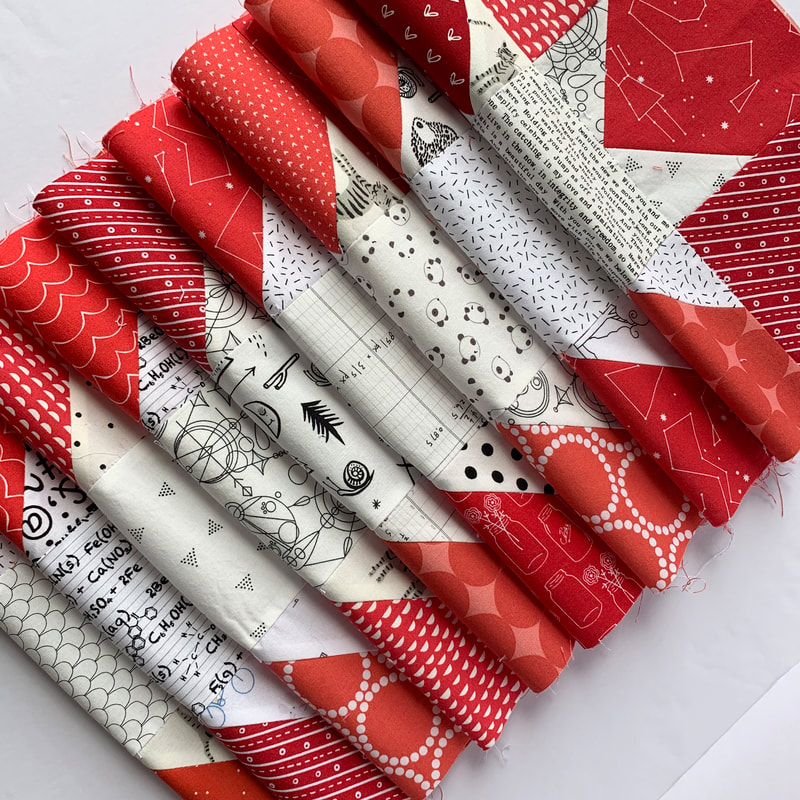
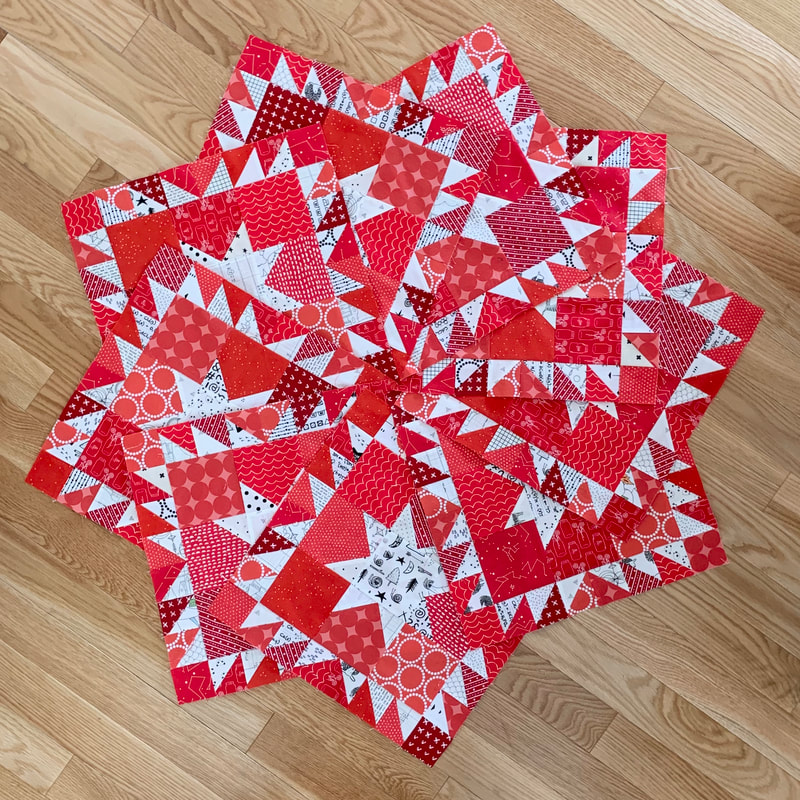
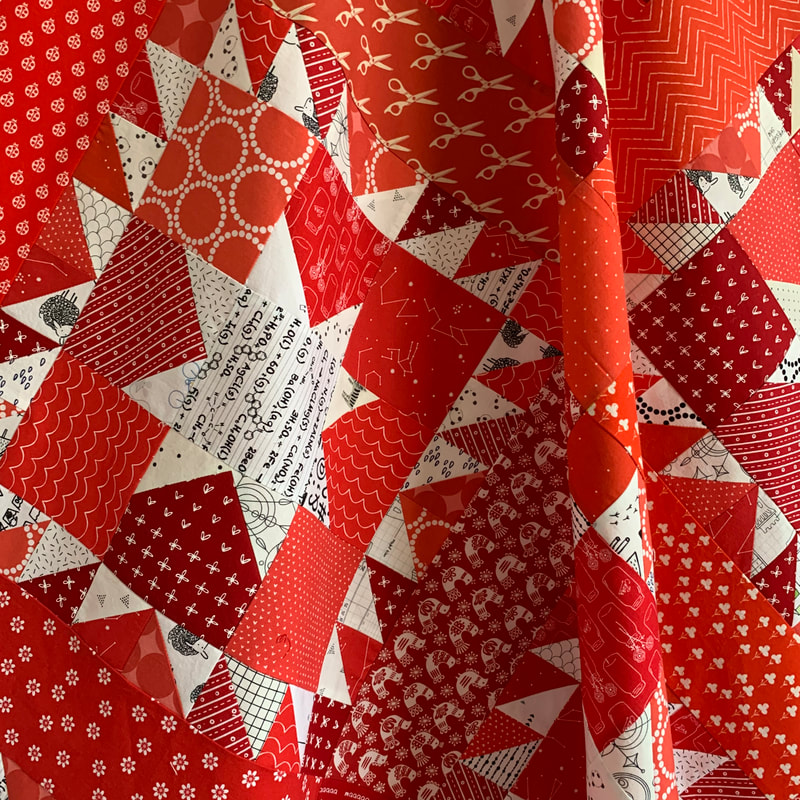
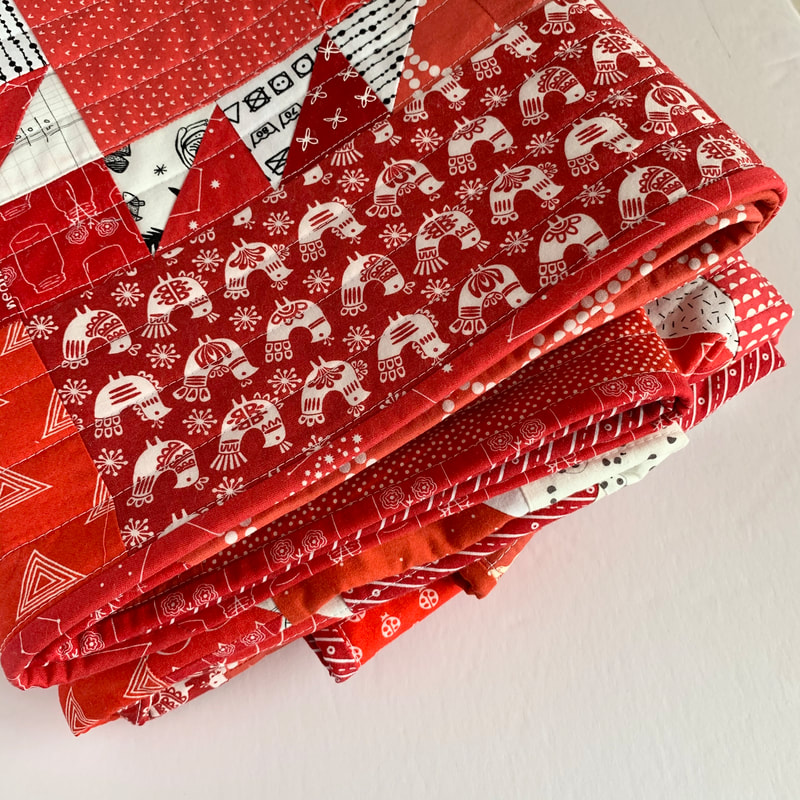
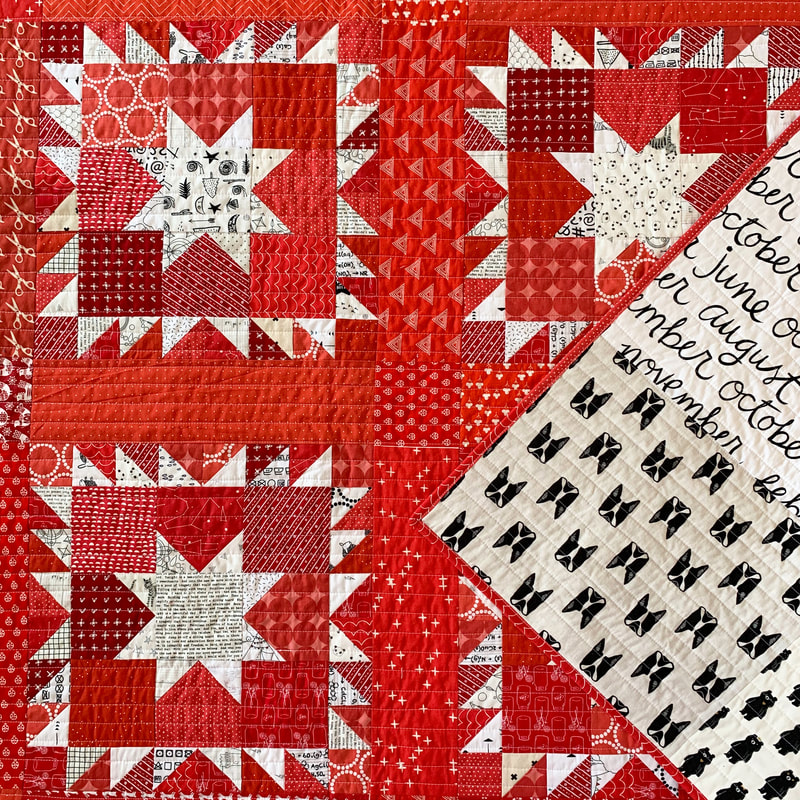
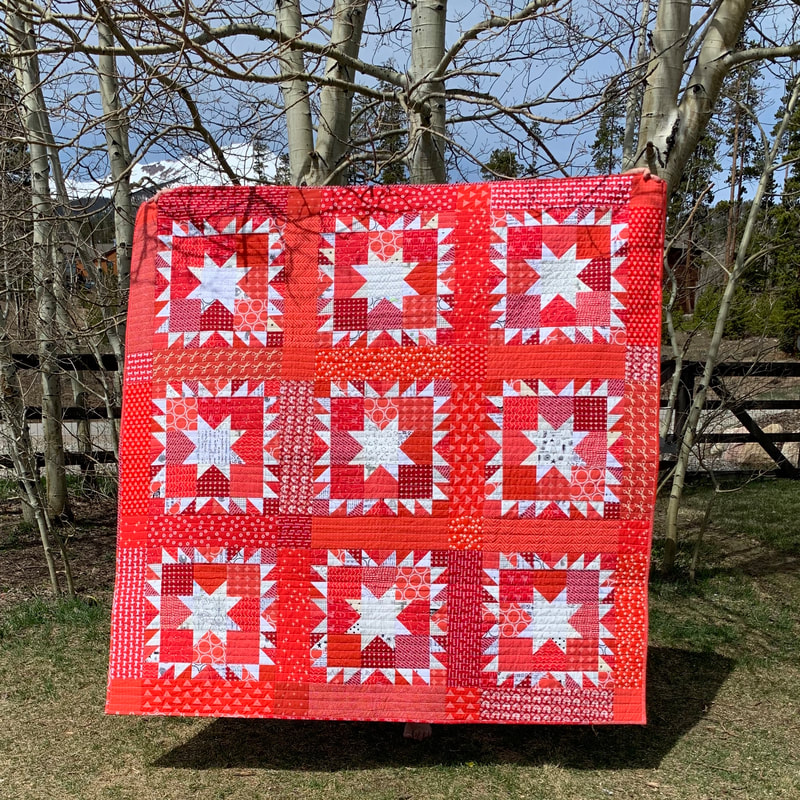
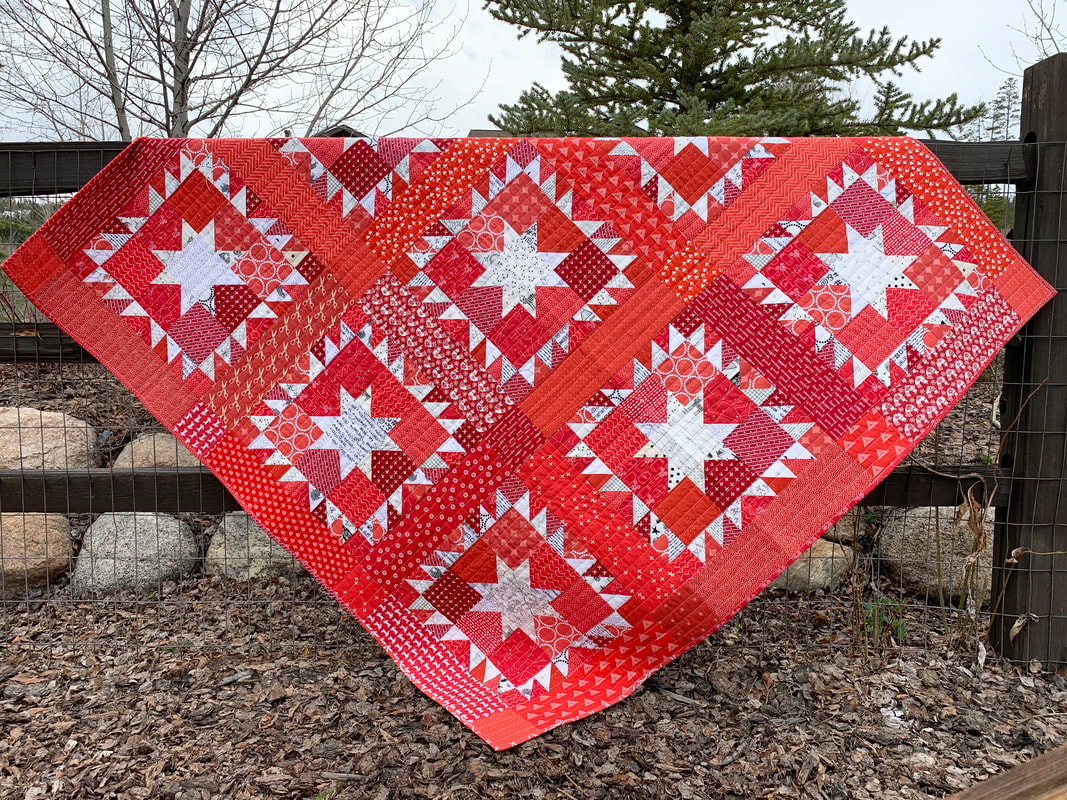
Thanks for following along with me on my sewing adventures, and scroll on to see some pics of my dog, Leo, and the quilt. He loves to jump in my quilt pics, so when he had a quiet moment I took my revenge and wrapped him in the quilt. Pretty soon after I started my original blue version of my Inner Star pattern, I had the thought that I must make a scrappy one. I raided my stash and found 21 red and white prints and I paired those with more of the same low-volume fabrics from the blue quilt. I used 9 of the red fabrics to make the blocks, and another 12 to make up the sashing. That made it easy to layout the quilt and not have a sashing piece next to the same fabric in the adjacent block. I used strips left over from cutting the red 2 1/2" corner squares to make the quilt binding. A scrappy quilt needs a scrappy binding, right? I pieced the backing for this quilt using large-scale black and white prints, and b/w prints that don't qualify as "low-volume" in my book; and quilted it on my home machine with straight lines that are about 1" apart. Making a scrappy quilt always takes a little more time to cut and place fabrics, but in the end I think that the result makes it all worth it.
I've updated my Inner Star Quilt pattern to make a scrappy version, and you can find it here. For more pictures of Inner Star Quilts, check out #innerstarquilt and as always, please tag me if you make one of my patterns @handmademyrth - I love seeing your work! |
Archives
May 2023
|


 RSS Feed